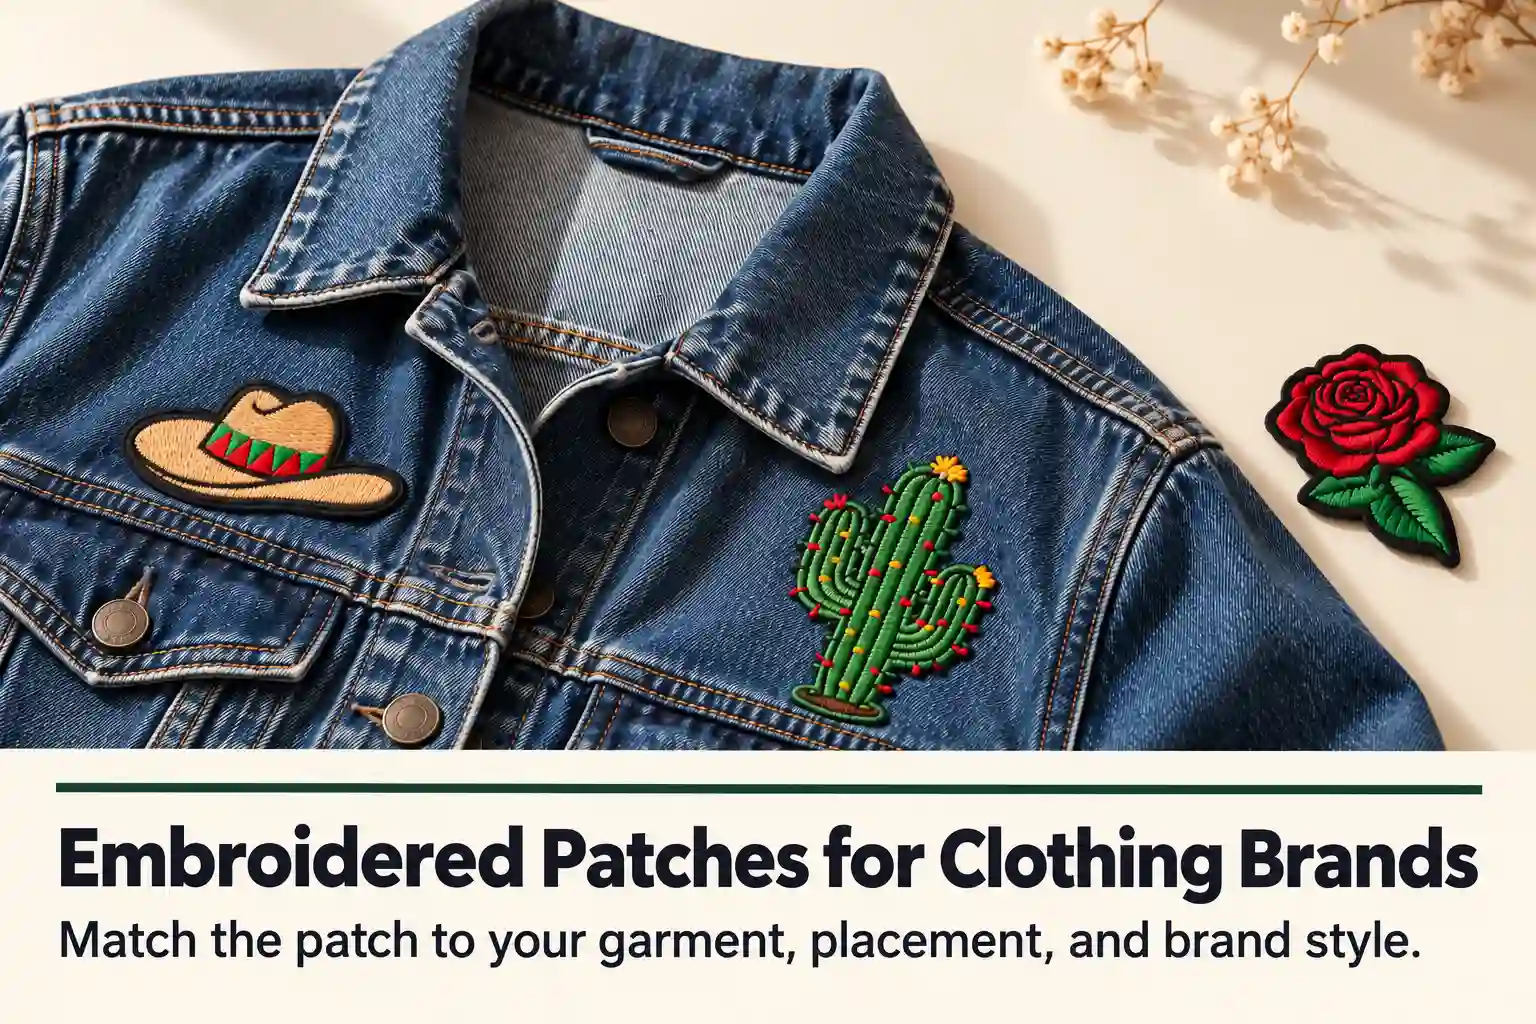
Before approving embroidered patches for a clothing collection, place the sample on the garment it will be used on. A chest patch can look balanced on a large jacket and overcrowded on a smaller size. A stiff construction can also change the way a soft shirt hangs.
For clothing brands, the useful questions concern fit, readability and attachment. Start with the fabric and placement, then give your supplier a clear specification. Explore our custom embroidered patches alongside the garment checks below.
Images are AI-generated application illustrations based on supplied patch references.
1. Define the Purpose and Placement of Your Embroidered Patches
Start with the garment and the job the patch needs to do. A chest logo identifies the brand; a large back patch becomes part of the collection’s visual identity. A removable sleeve patch offers another styling option.
Placement affects construction. Check the space between seams, pockets, zippers and folds. On a finished jacket, an attachment stitch can accidentally close a pocket or pass through the lining. Decide whether installation happens before or after garment assembly.
Heavy denim generally supports a substantial patch more easily than fine jersey. On softer fabrics, inspect sagging, stiffness and distortion. Approve a sample attached to the intended fabric.
2. Choose the Right Patch Size for Your Garment and Logo
Use a full-size paper mockup. Place it on the garment and check the proportions on someone wearing it, including smaller and larger clothing sizes.
For a sampling comparison, try widths of 60 mm and 80 mm for the same chest logo. These are illustrative trial dimensions, not standard recommendations. The larger version may improve readability but occupy too much space on a smaller garment.
Measure the complete patch, including its border. Define placement from a stable reference, such as a seam or pocket edge, and specify the distance in millimetres. Check whether a single patch size works across the collection.
Compare size and placement on the intended garment. AI-generated illustration; ruler markings are not production measurements. 3. Check Whether Your Design Details Can Be Embroidered Clearly
Embroidery converts artwork into stitches. Thin outlines, tiny lettering, gradients and narrow gaps may need adjustment because thread has physical thickness.
Review the smallest lettering first. Madeira describes its Polyneon #60 polyester thread as suitable for lettering down to 3 mm tall. This is a product-specific capability, not a universal minimum or a guarantee for your design. Font, spacing, fabric and digitizing still affect the result. See Madeira’s thread specifications .
Request a physical stitch-out at the finished size. Check letter openings and separation between details. Simplify secondary elements or enlarge the patch if the logo becomes crowded. Extra density alone may make it harder without improving clarity.
4. Select Thread Colors and Embroidery Coverage for Your Brand Look
Approve colors using physical thread samples beside the garment fabric. Thread reflects light differently from ink, so a Pantone reference guides selection without guaranteeing an identical appearance under every light.
Record the approved thread manufacturer and color codes for reorders. Consider contrast stitching, trims and seasonal fabric colors.
Coverage describes the stitched portion of the patch face. 50% coverage leaves roughly half the face as visible base fabric; 100% coverage aims to cover it with stitches. Confirm the supplier’s calculation and treatment of borders. More coverage changes texture and can increase stitch count and production time. Exposed twill may give a simple logo a cleaner background.
Inspect thread direction, color contrast and edge finish on the physical sample. AI-generated detail illustration. 5. Compare Sew-On, Iron-On, and Hook-and-Loop Backings
Match the backing to the fabric, wearer and assembly process.
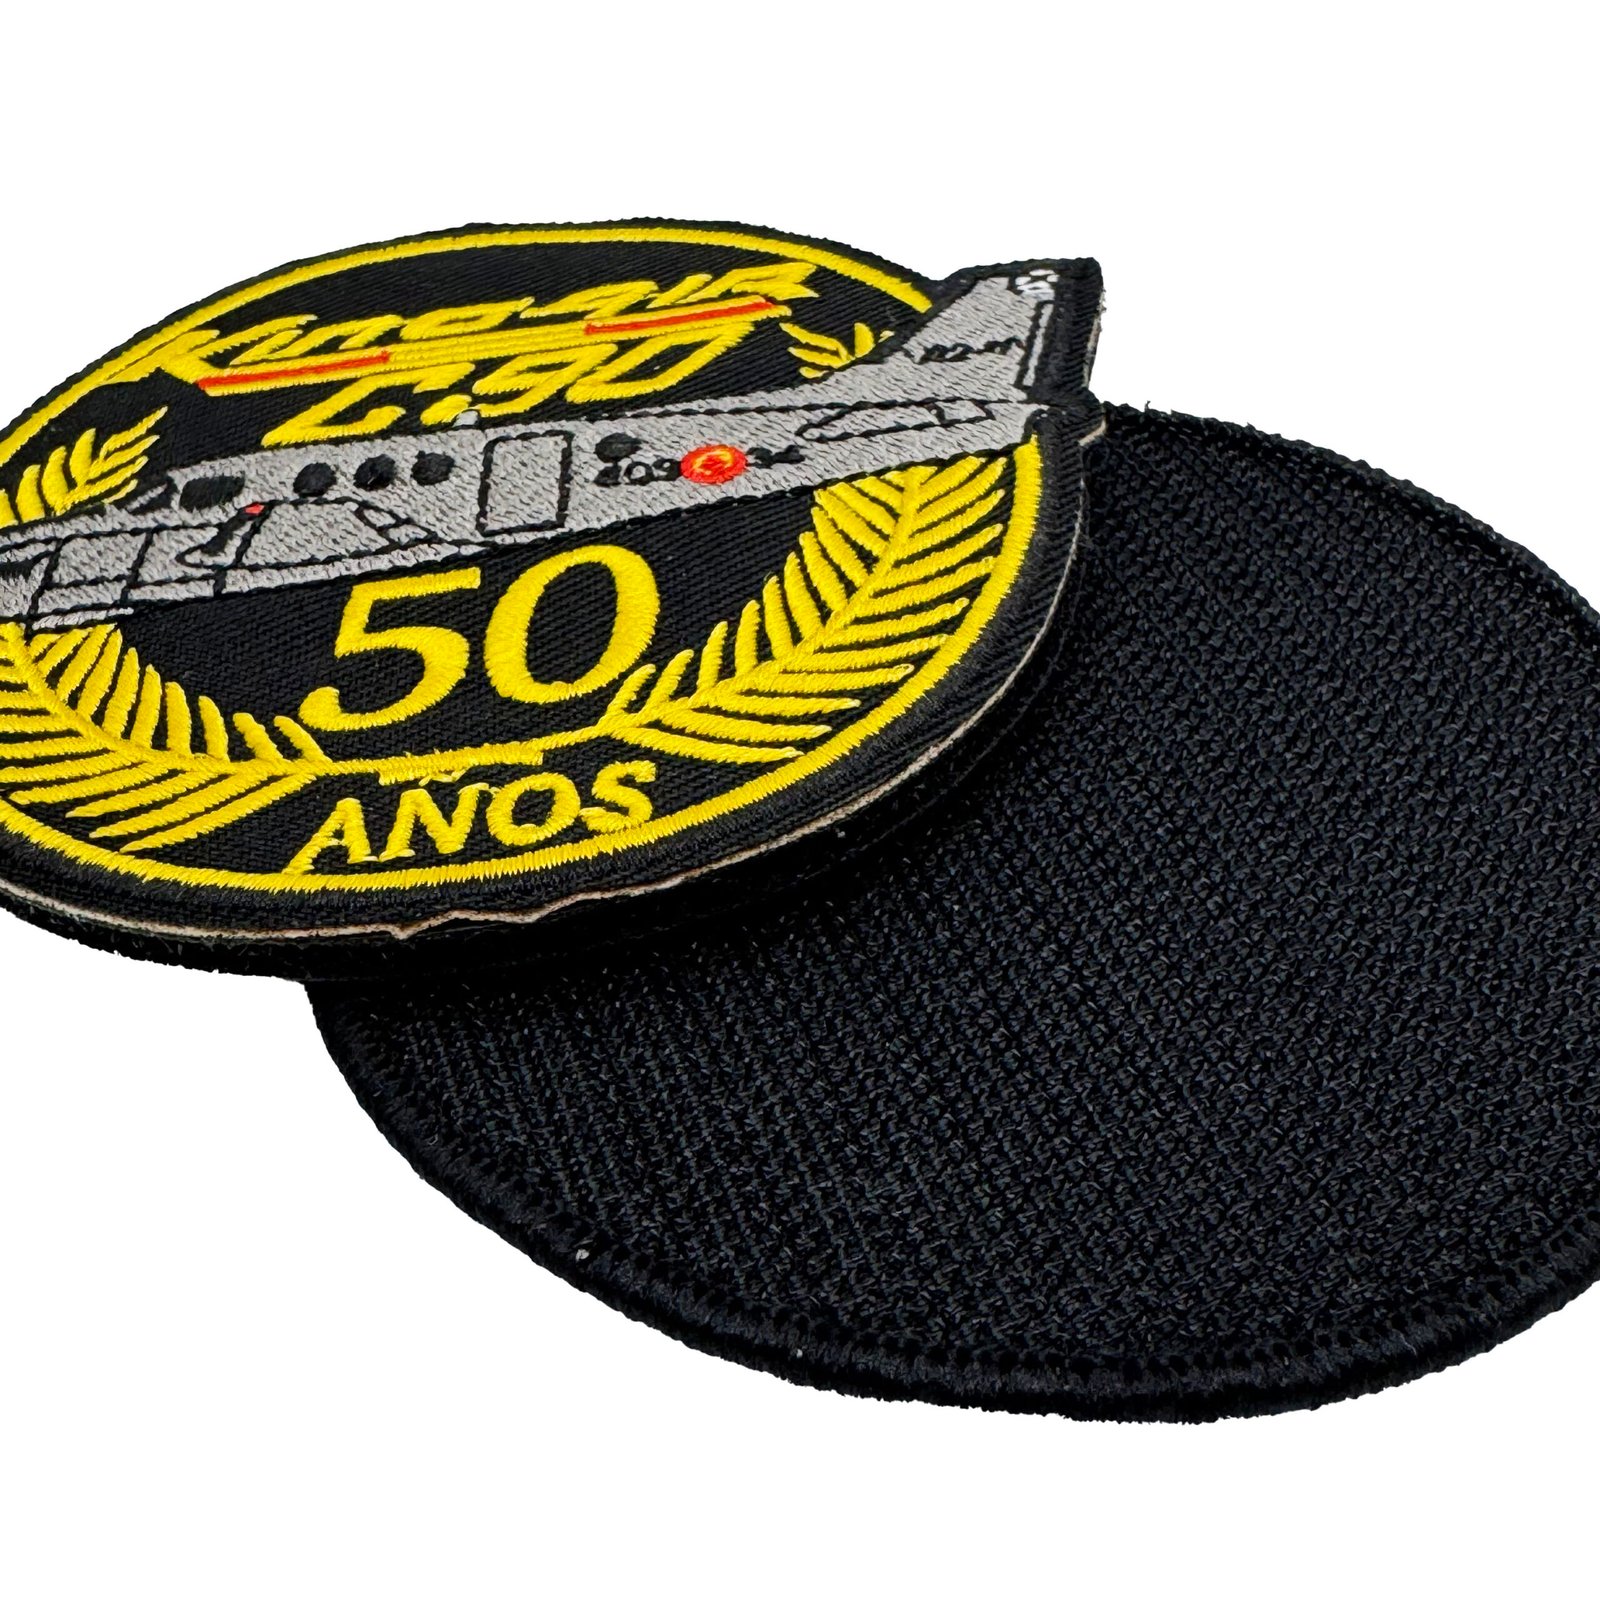
Sew-on: Plan sewing access, thread color and stitch position. Check that attachment does not distort the garment or interfere with pockets.Iron-on: Request temperature, time and pressure instructions for the specific adhesive. Heat-sensitive fabrics and water-repellent finishes need compatibility testing.Hook-and-loop: Confirm the supplied side, matching receiving panel, dimensions and total thickness. Assess comfort where the panel sits against the wearer.
Test the complete assembly under intended care conditions. Inspect edge lifting, puckering, color change and attachment security after washing. Agree on test conditions and acceptance criteria. For removable designs, read our hook-and-loop backing guide .
6. Evaluate Pricing, Lead Times, and Consistency Before Bulk Ordering
Compare quotations against one written specification: dimensions, artwork version, quantity per design, thread references, coverage, border, backing, packaging and delivery destination. Ask whether sampling, digitizing, revisions and freight are included. Our embroidered patch cost guide explains quotation factors.
Separate approval time from manufacturing and shipping. Include garment attachment in your production schedule and confirm when the supplier’s lead time starts.
Keep an approved physical sample and its specifications. For reorders, reference the same artwork and thread codes, and agree on acceptable dimensional and visual variation. Resolve how nonconforming pieces will be handled before placing the order.
Frequently Asked Questions
What size should a clothing brand choose for embroidered patches?
Choose the size on the intended garment using a full-size mockup. Include the border in the dimensions and check the proportions across your clothing size range. There is no single size suitable for every placement.
Can iron-on patches be used on every fabric?
No. Fabric heat tolerance, surface finishes and adhesive compatibility affect the result. Follow the adhesive-specific pressing instructions and test attachment on the actual garment before production.
How should a brand check wash durability?
Test an attached sample using the planned garment care conditions. Record the wash and drying process, number of cycles and acceptance criteria. Inspect both the patch and surrounding fabric. This guide does not claim a tested wash-cycle rating.
What should I send when requesting a quote?
Send artwork, finished dimensions, quantity per design, garment fabric, placement, preferred backing, packaging, delivery destination and required arrival date. Identify specifications you have not yet decided.
Discuss Custom Embroidered Patches for Your Clothing Line
Share your artwork and garment requirements with Heyang Craft to discuss design feasibility and a quotation based on your specifications. Include a placement photo and tell us how the garment will be worn and washed.
Request a Custom Patch Quote
For a broader ordering checklist, see our embroidered patch buyer’s guide .