A patch that stays flat on a denim jacket may lift at the corners on a coated shell. A neatly sewn badge can still create a problem if its attachment closes a pocket or restricts a stretch panel. The backing decision belongs in garment development, before the purchase order is finalized.
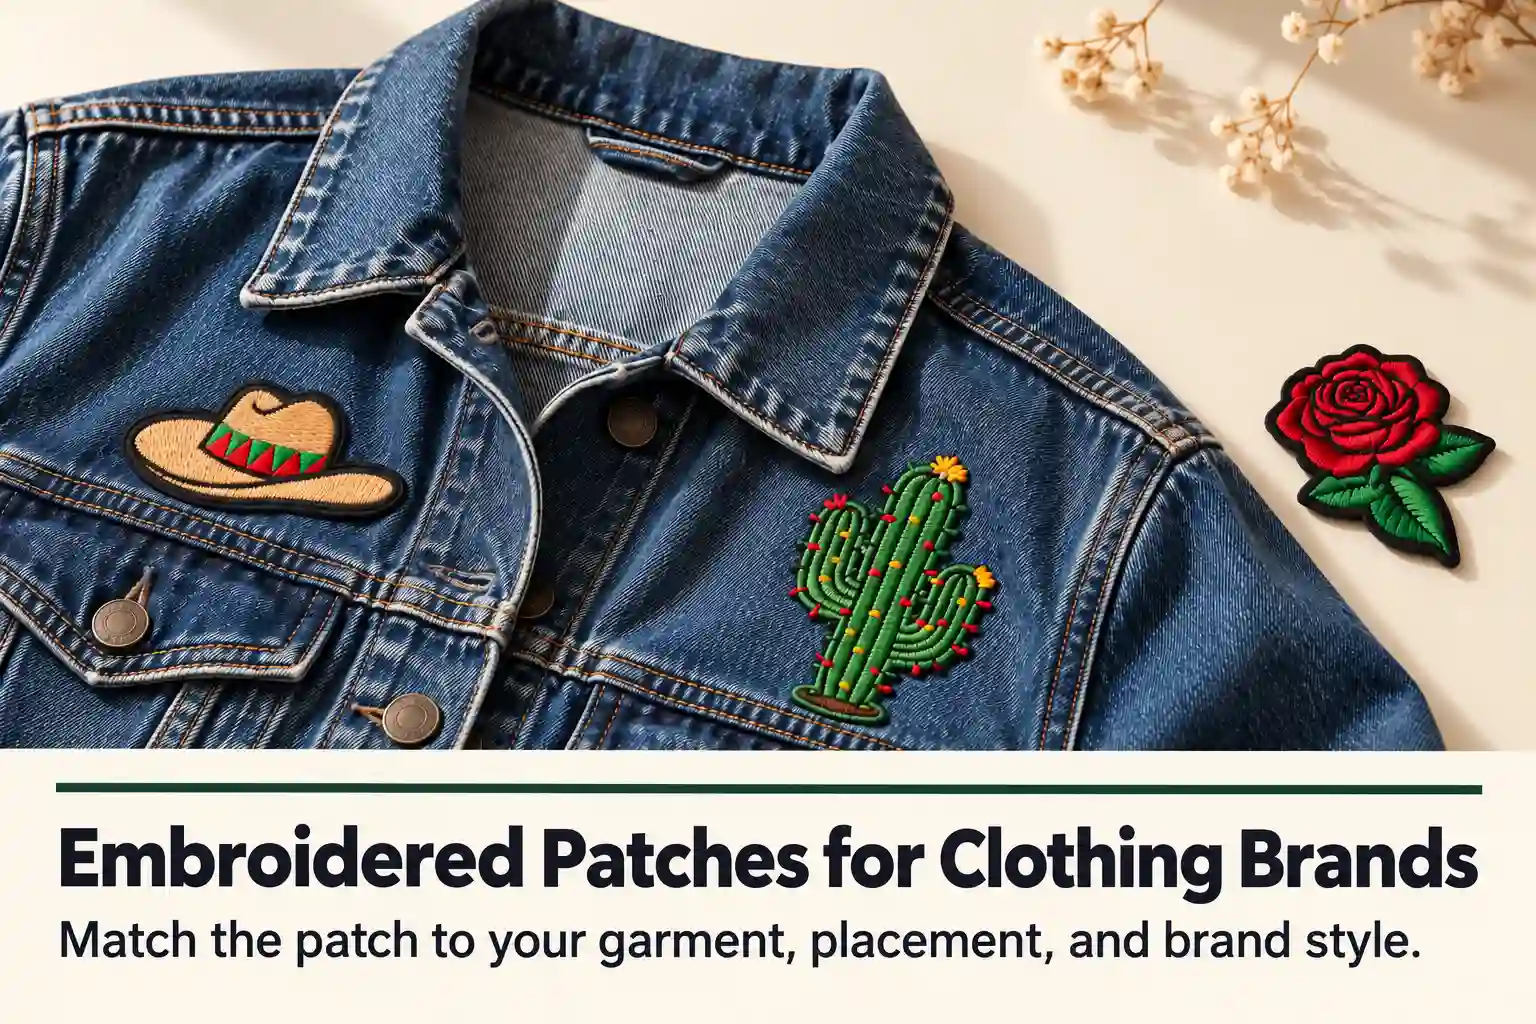
For clothing brands, choosing between iron-on and sew-on embroidered patches means checking the fabric, placement, care instructions and assembly sequence together. Here is how to make that decision before bulk production.
1. Understand How Each Attachment Works
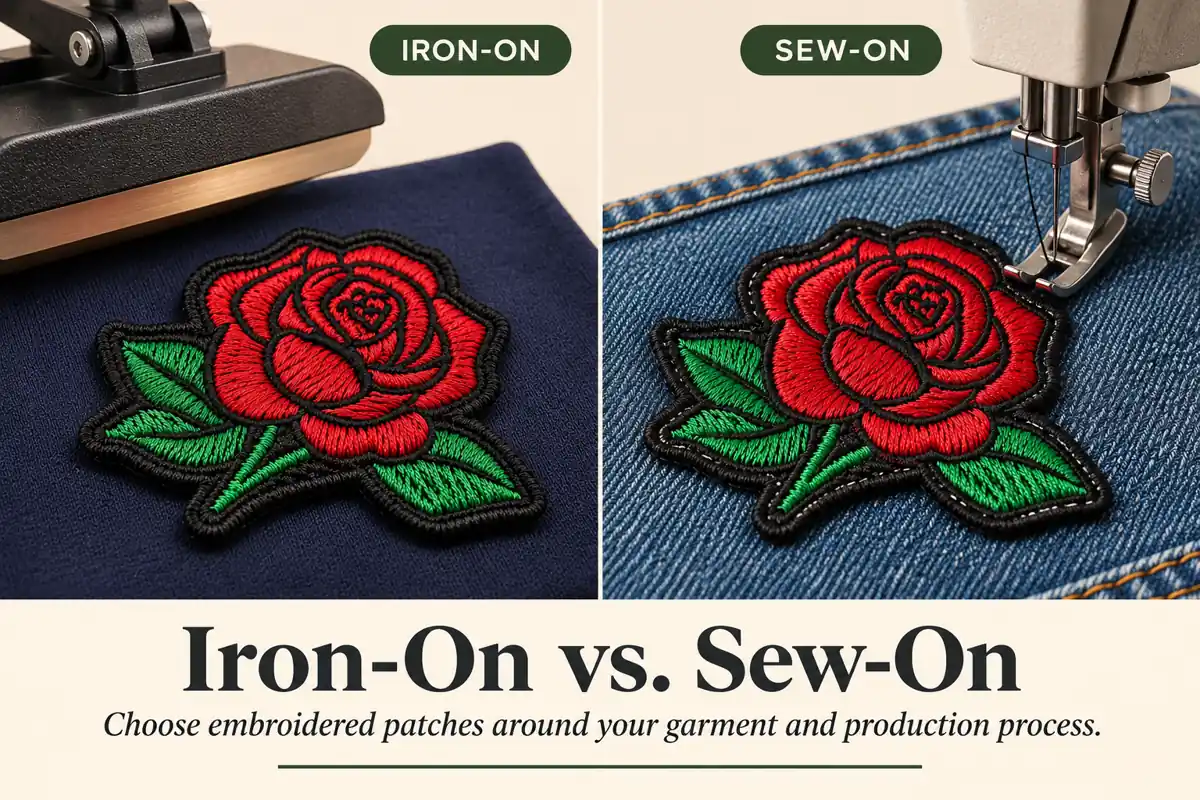
Iron-on patches have a heat-activated adhesive intended to bond the patch to a suitable surface. Heat, time and pressure must match the adhesive and garment. A shiny or sealed reverse alone does not establish how a patch should be attached: some films primarily stabilize the embroidery.
Sew-on patches are attached with stitches through the patch and garment. Specify a suitable sewing area and stitch position. A supplier needs to know whether you are ordering loose patches or patches already attached to finished apparel; these are different production scopes.
2. Check Fabric Composition, Finish and Stretch
Begin with the actual fabric specification, including composition, weight, stretch and surface treatment. “Polyester jacket” leaves too many questions unanswered. A woven polyester shell with a water-repellent finish is a different application from an uncoated polyester sweatshirt.
For example, a label stating 95% cotton and 5% elastane identifies a stretch blend, but does not establish a safe pressing temperature. Check the fabric and adhesive instructions together. Madeira's patch-making guidance specifically tells users to consider the garment or substrate's recommended heat setting.
Sewing avoids adhesive activation, but needle holes, seam appearance and restricted stretch still need review.
Review the actual fabric and garment specification. AI-generated illustration. 3. Consider Placement and Garment Assembly
A flat chest panel gives a press different working conditions from a curved cap crown, thick seam or zipped pocket. Uneven contact can make heat application inconsistent. Confirm whether the available equipment can support the intended position.
For sewing, check access behind the panel. Attaching a patch after a jacket is lined may stitch the outer fabric and lining together. Sewing through a pocket can reduce its usable opening.
Tell the supplier whether attachment happens before garment assembly, during sewing, or after the garment is finished. Review placement on the smallest relevant clothing size as well as the main sample size.
4. Compare Care Requirements and Failure Risks
Neither backing name establishes a wash-life rating. Performance belongs to the complete combination: patch, adhesive or sewing construction, garment and care process.
For iron-on samples, examine edge lifting and partial bonding. For sewn samples, check loose attachment stitches, puckering and fabric damage around needle holes. Check color change and patch stiffness with either method.
Agree on wash temperature, detergent, drying method and number of cycles before testing. Record observations against the agreed acceptance criteria. A single successful wash is useful feedback, but does not establish long-term durability. Ask for evidence supporting any stated wash-cycle claim.
5. Compare the Total Applied Cost
Compare the cost of patches delivered and attached to specification. Iron-on work includes pressing labor, equipment, positioning, cooling or handling requirements, inspection and possible rework. Sew-on work includes sewing labor, thread, machine access, positioning and inspection.
A hypothetical order for 500 garments with one patch each requires 500 applied patches before any agreed allowance for testing or replacements. If two designs are split evenly, specify 250 of each. These are planning examples, not minimum-order recommendations.
Request separate pricing for loose patches and attachment where relevant. Keep dimensions, design quantities, packaging and delivery destination consistent across quotations.
6. Approve an Attached Sample Using a Short Checklist
Approve the patch on the actual garment or an agreed representative panel. Keep a loose reference sample as well.
Dimensions: Does the finished size, including the border, match the approved specification?
Small text: Are the smallest letters readable at the finished size?
Thread colors: Do the manufacturer and color references match the approval?
Placement: Is the position correct, without closing pockets or restricting movement?
Attachment: Are bonded edges secure, or are sewing stitches neat without puckering?
Care: After the agreed washing and drying process, are appearance and attachment acceptable?
Record the artwork version, fabric reference, backing and application method. Photograph the result and retain the approved physical sample for production checks.
Sample review checklist. AI-generated illustration; measuring marks are illustrative. 7. Send the Right Information for a Useful Quote
Send artwork, finished dimensions and quantity per design. For apparel, add fabric composition, stretch, finishes, placement and care instructions. State whether the patch will be attached before or after garment completion, and identify who will perform that work.
For an iron-on proposal, request the adhesive identification and applicable pressing instructions. For sewing, agree on the sewing area, thread color and access requirements. Include packaging, shipping destination and required arrival date.
If a detail is undecided, identify it rather than leaving the supplier to assume. The quotation should record what is included and what still needs sample approval.
8. Choose the Method Your Garment Can Support
Choose iron-on when the adhesive, fabric, placement and pressing equipment have been checked together and the attached sample meets your care requirements. Choose sew-on when the garment permits a suitable stitching construction and the finished result meets appearance and wear requirements.
Some projects combine adhesive positioning with sewing, subject to compatibility and sampling. Others need a different attachment altogether.
Bring the garment specification into the discussion early. An approved installation on your intended fabric is a stronger purchasing reference than a backing label alone.
Discuss Your Embroidered Patch Project
Share your artwork, garment fabric, patch placement and quantities with Heyang Craft. Include your care requirements and whether attachment happens before or after garment assembly.
Explore custom embroidered patches or request a project quotation .
Technical Reference
Madeira: How to Make Patches . This reference distinguishes heat-seal and stabilizing films and emphasizes the substrate's heat limitations. It does not establish pressing settings for Heyang Craft products.
Frequently Asked Questions
Are sew-on embroidered patches always more durable than iron-on patches?
There is no universal ranking without testing the complete patch and garment assembly. Review the adhesive or sewing construction, fabric, placement and care conditions, then approve results against agreed criteria.
Can iron-on patches be applied to stretch fabric?
Suitability depends on the fabric, finish, adhesive and amount of stretch at the placement. Check pressing compatibility and whether the attached patch restricts movement. Approve a sample on the actual material.
What temperature should I use for iron-on embroidered patches?
Use the pressing instructions for the specific adhesive and check the garment’s heat limitations. Temperature, time, pressure and equipment requirements vary. Do not use an unrelated product’s settings.
Can an iron-on patch also be sewn onto clothing?
Some constructions allow sewing as an additional attachment, but confirm that the backing, border and garment suit the intended stitching method. Review an attached sample before bulk production.
Should patches be attached before or after garment assembly?
Choose the sequence around pressing contact, sewing access, lining and pocket construction. Attaching to a panel before assembly may provide easier access; confirm the process with the garment manufacturer.
What should I provide for a patch quotation?
Send artwork, finished dimensions, quantity per design, fabric composition, stretch, finishes, placement, care instructions and whether attachment happens before or after garment completion. Include packing, destination and required arrival date.
Related Reading