Custom Event Lanyards: A Buyer’s Guide to Width, Print, Attachments and Safety Breakaways
Custom Event Lanyards: A Buyer’s Guide to Width, Print, Attachments and Safety Breakaways
Introduction
An event lanyard is a small component with a visible job: it must display a badge clearly, feel appropriate for the audience and keep an access credential, phone holder or keyring attached during use. Yet purchase orders often arrive with only a logo and a quantity. The missing details—strap width, print repeat, attachment, safety breakaway, badge size and packing—are exactly what determine whether a lanyard works smoothly on registration day.
This buyer’s guide helps conference organisers, exhibition teams, schools, venues, employers and distributors prepare a quote-ready lanyard brief. It focuses on practical decisions that can be reviewed before bulk production: how wide the strap should be, where a logo repeats, which attachment suits the credential, when a breakaway is useful and how to inspect a finished shipment. It does not assume one construction is right for every event. The best choice depends on the badge, wearer, venue rules and expected use.
Custom printed webbing lanyards for event badge programmes Quick answer: what should a custom event lanyard specification include?
A complete brief should include the finished strap width and length, artwork/repeat layout, print method, base colour, attachment, safety breakaway requirement, badge or holder type, quantity, individual packing and delivery deadline. If the lanyard will carry a heavy credential, a phone, keys or access hardware, state that use case early so the attachment and assembly can be reviewed.
1. Start with the credential, not the strap
The lanyard should be selected around the item it will carry. A lightweight conference badge in a clear holder needs a different hook from a staff key, a visitor pass with a slot or a phone accessory. Before comparing prices, answer these questions:
What does the lanyard carry, and how much does it weigh in normal use?
Does the badge need to face forward at all times, or will a simple swivel hook be sufficient?
Is the event indoors, outdoors or a mixture of both?
Will attendees wear it for a few hours, multiple days or as part of a staff uniform?
Are there venue, school or workplace requirements for a safety-release feature?
These points prevent a common mismatch: a visually attractive lanyard fitted with hardware that does not suit the badge holder or attachment point. For a first event order, it is worth checking the actual badge and holder together with the proposed hook before final approval.
2. Choose a width that balances visibility and comfort
Common event lanyard widths are often described in millimetres, but the correct choice is visual and functional. A narrower strap can feel light and unobtrusive for a simple visitor credential. A wider strap gives more room for a repeating logo, sponsor message or colour system, but may feel more substantial around the neck.
Do not select width only from a product photo. Place the proposed logo at actual scale and check how much clear space remains around it. Long words, narrow typefaces and detailed sponsor marks can become hard to read on a narrow repeat. For multi-sponsor events, decide whether every logo needs equal visibility or whether a primary event mark should occupy the largest repeat position.
In a sample review, look at the lanyard from a normal standing distance and while it is worn. The objective is not to make every word readable from across a hall; it is to make the event identity and credential function clear in the real context.
Close-up of custom event lanyard attachment and printed strap 3. Plan the print layout as a repeat, not a single logo
Most lanyards use a repeating layout. The buyer should supply artwork showing the logo orientation, repeat spacing, any background colour and whether the design needs to be readable from both sides. If a strap may twist during wear, a two-sided print or a layout that remains acceptable when reversed may be useful.
Print choice should be discussed with the artwork and colour expectations. A simple one- or two-colour identity may suit one approach; a full-colour illustration, gradient or detailed photograph may call for another. Rather than asking for an unqualified “best print,” provide the artwork and ask how the selected method affects edge definition, colour appearance and repeat alignment.
Factory artwork review should identify the finished width, exact repeat length, print side(s), attachment area and any area that will be covered by a breakaway or buckle. This makes the proof a production document rather than a decorative mock-up.
4. Select the attachment and safety feature for real use
Attachment options
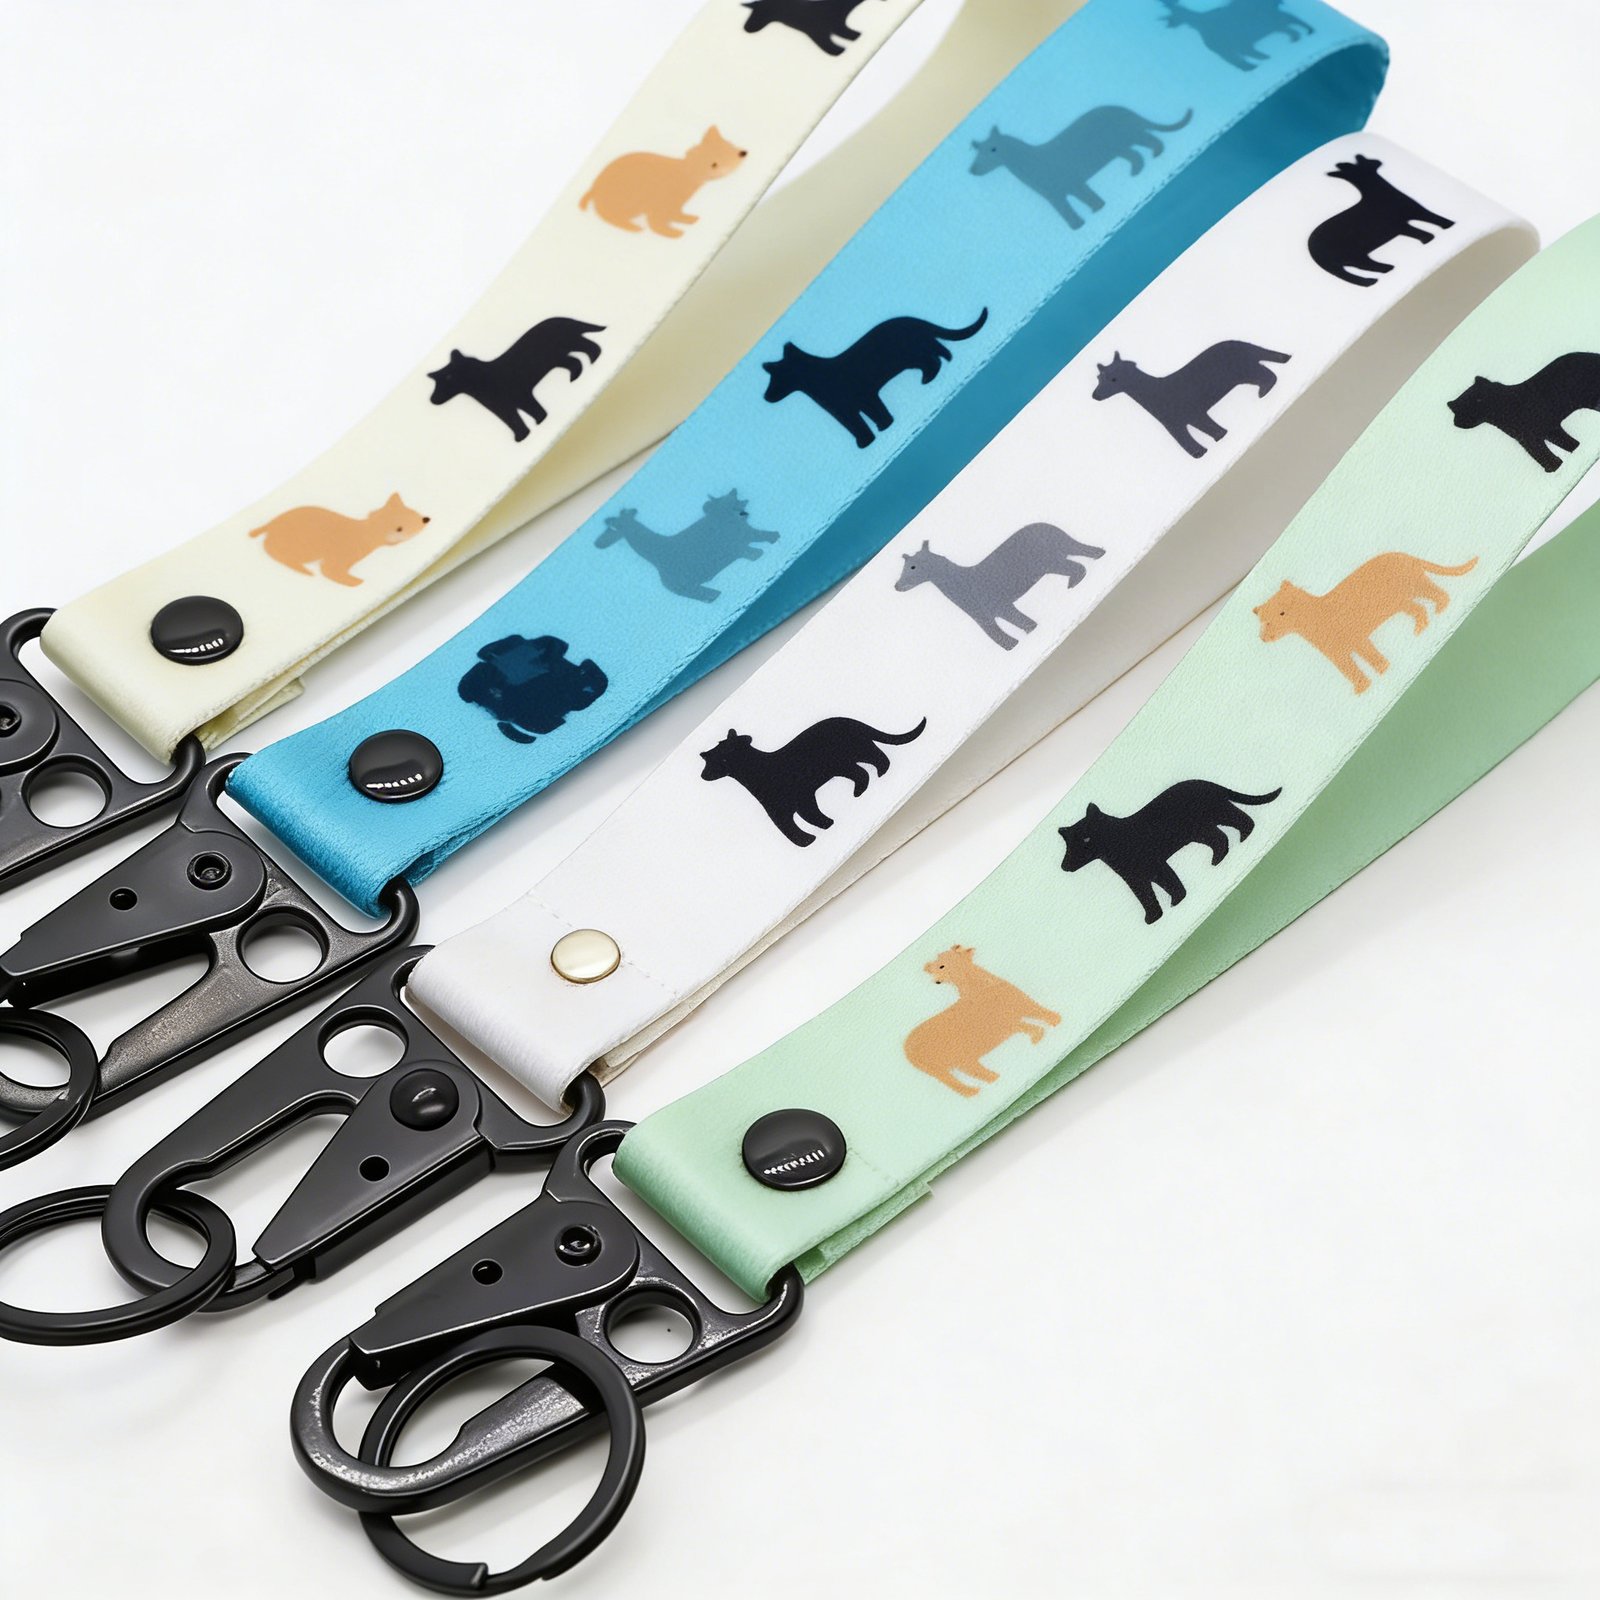
A swivel hook is commonly used for badge holders and slotted credentials because it allows natural movement. A split ring or keyring can suit key-carrying programmes. A carabiner-style fitting may be considered where the item needs a different connection point. The buyer should state the receiving hole, slot or loop—not just request a generic “clip.”
Check the attachment finish, opening size, rotation and position during first-piece review. If a badge holder is supplied by another vendor, test the two components together before mass production.
Safety breakaways
A breakaway is designed to release under force. Whether it is needed depends on the environment and organisation’s safety policy. It is not a blanket upgrade for every lanyard, nor should it be described as a substitute for an organisation’s own risk assessment. If it is required, specify its placement, visual appearance and compatibility with the chosen strap construction.
Buckles and quick-release components
Some programmes use a buckle to remove the lower portion of the lanyard without taking the entire strap off. This can be helpful for a badge that needs to be presented close to a reader or for an accessory that is used separately. Confirm the component’s location and whether the logo repeat should avoid the buckle zone.
Mid-article CTA — Prepare Your Event Lanyard Brief
Send your logo, badge or holder type, quantity, event date and delivery country. Get a quote with the attachment, safety and packing scope clearly listed.
Custom printed event lanyards prepared for badge distribution 5. Prepare for installation, packing and distribution
Lanyards are often packed in bulk, individually bagged, attached to badge holders or sorted by attendee type. The packing decision should match the registration workflow. A registration team that needs to hand out colour-coded passes may benefit from separated SKU bags or clear carton labels. An event supplier assembling badge kits needs to know whether the lanyards arrive loose, individually packed or attached to holders.
State the required carton count, SKU assortment and any label text before production is complete. For a conference with exhibitors, staff and visitors, a simple packing list that distinguishes each lanyard colour or attachment can save time at check-in. If the product will be mailed as part of a welcome kit, confirm whether individual packing needs to protect the printed strap from transit scuffing.
6. What to approve before bulk production
Before production, approve a proof or sample reference that covers:
Strap colour, width and length;
logo artwork, repeat spacing and print side(s);
hook, ring, buckle and breakaway type, finish and orientation;
badge-holder compatibility where relevant;
individual packing, quantity per bag and master-carton marking;
production schedule and the agreed shipment deadline.
For events with a fixed opening date, work backwards from the in-hand date rather than the shipping date. Include time for artwork confirmation, sample approval if needed, production, export transit and receiving/registration preparation. A clear deadline helps the supplier identify whether a proposed specification and quantity are practical.
Factory quality control in progress 7. A practical pre-shipment inspection checklist
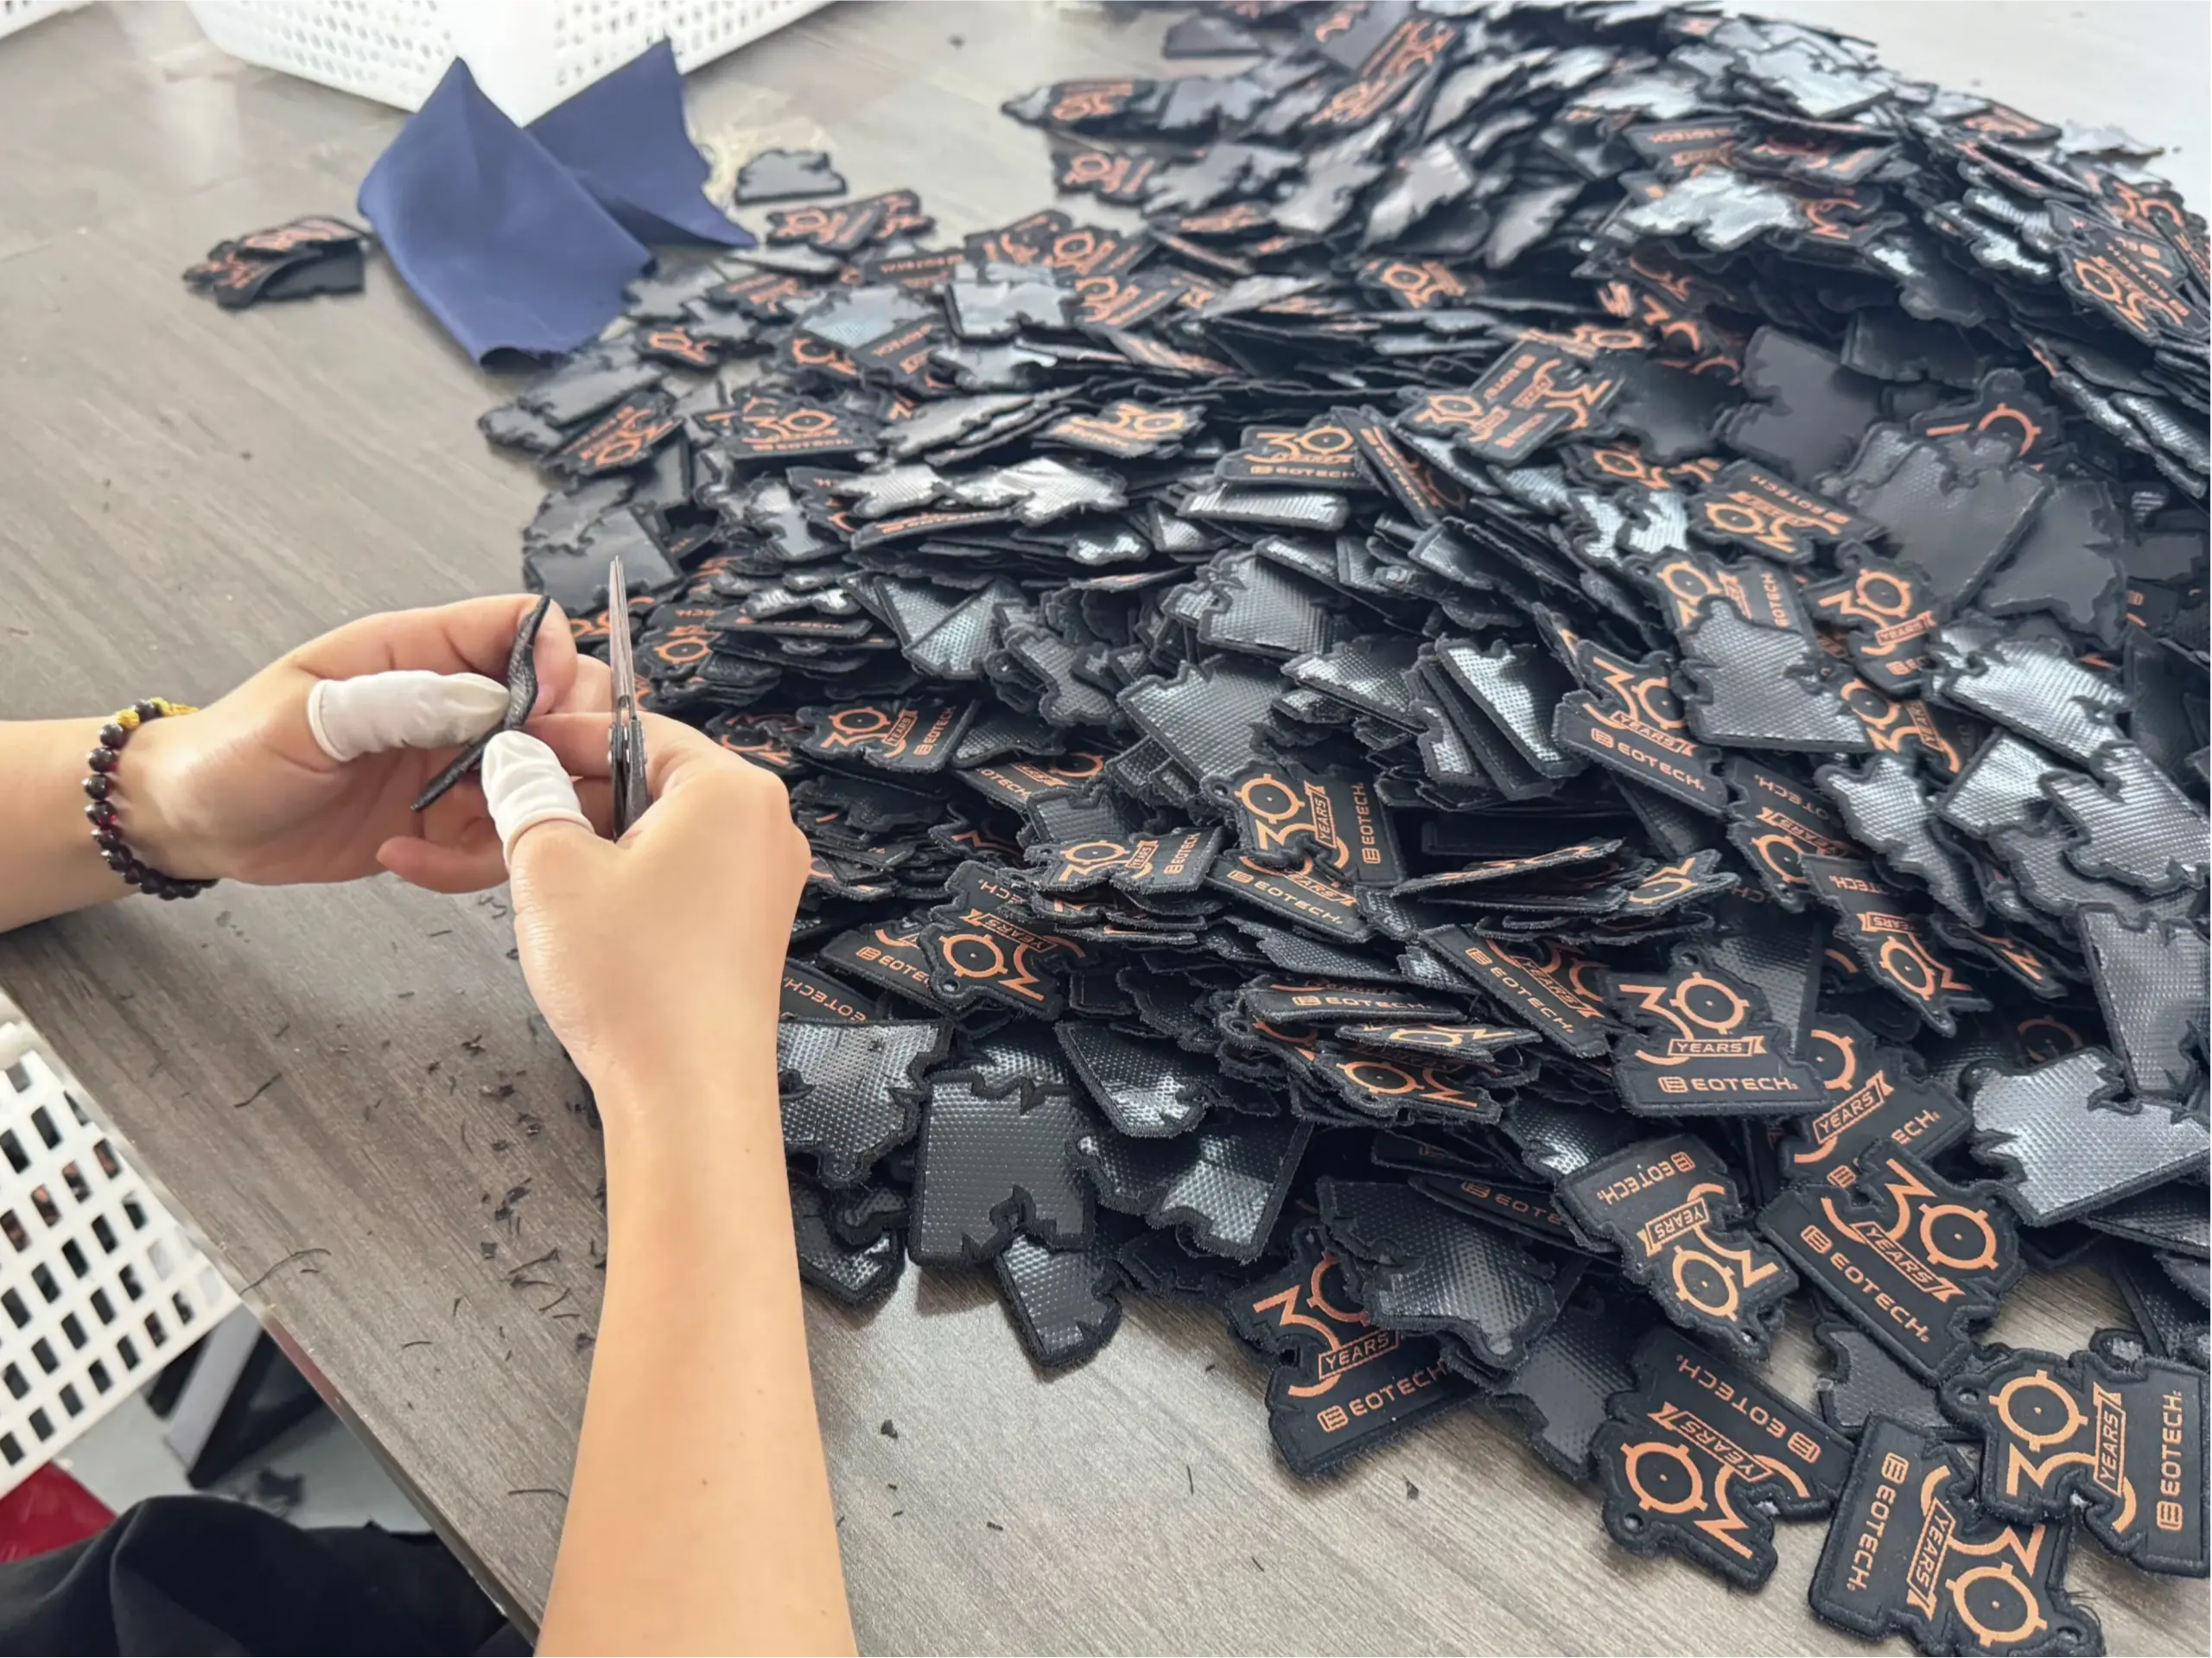
Inspect lanyards in the same form in which they will be distributed. Compare selected units against the approved proof for strap colour, print clarity, logo direction, hardware attachment and breakaway/buckle position. Test a representative badge holder or credential on the selected hook. Then review the packing count and SKU separation.
For large events, take photos of the approved sample, packed units and carton marks. These references are useful for the receiving team and for future annual events. If an issue is found, document the specific SKU, component and packing condition rather than describing the whole shipment as “wrong.” Clear findings are easier to correct quickly.
FAQ
What width is best for a custom event lanyard?
The right width depends on logo detail, wearer comfort and the amount of information that must be visible. Start with the event artwork at final scale and compare a narrower and wider option before approving the design.
Do I need a safety breakaway?
That depends on the use environment and your organisation’s requirements. Discuss the venue, wearer profile and safety policy, then specify the breakaway as part of the approved construction if it is required.
Can lanyards be packed with badge holders?
Yes, but describe the holder, attachment point, packing sequence and required SKU separation in the order brief. A first-piece check with the actual holder is the safest way to verify compatibility.
What should I send for a lanyard quotation?
Send artwork, finished width, quantity, print requirement, attachment, breakaway/buckle requirement, badge or holder type, packing preference, destination and required delivery date.
Follow our product and factory updates
See recent product ideas and workshop updates on Facebook , YouTube , Instagram and TikTok .
Conclusion and CTA
A good event lanyard begins with the credential and the wearer, then brings together a readable strap, compatible hardware, appropriate safety feature and distribution-ready packing. For a quote that matches your event workflow, send your artwork, badge type, quantity, event date and destination