A front logo and a reverse message can look correct in separate files but still create an approval problem: which end carries the ring, and how should the back read when the tag is turned over? Double-sided embroidered keychains need one coordinated specification for both faces.
Quick answer: what should you approve on a double-sided keychain?
Submit two clearly labeled views with the same finished outline and ring-end reference. State whether the back repeats the logo, uses different artwork or stays plain. Agree on the reading direction, then check both sides of the same finished sample with its hardware attached. Keep the front and back revisions together as one approved product record.
1. Define What Belongs on Each Side
For branded merchandise, repeating a logo can keep the identity visible from either face. A different reverse can carry a short message, event name or team identifier. Choose the content around what the recipient needs to read, rather than filling every available space.
“Same on both sides” still leaves details open. Confirm the background, thread colors, logo size and placement on each face. If you want a plain reverse, say so explicitly and review what that reverse will look and feel like. Do not treat an unfinished embroidery reverse as an approved plain finish.
Ask Heyang Craft to confirm the proposed construction with your quotation. Two visible designs do not, by themselves, specify the number of textile layers, how they are assembled or the finished thickness. The custom embroidered keychain product page explains what to submit for front and reverse artwork review.
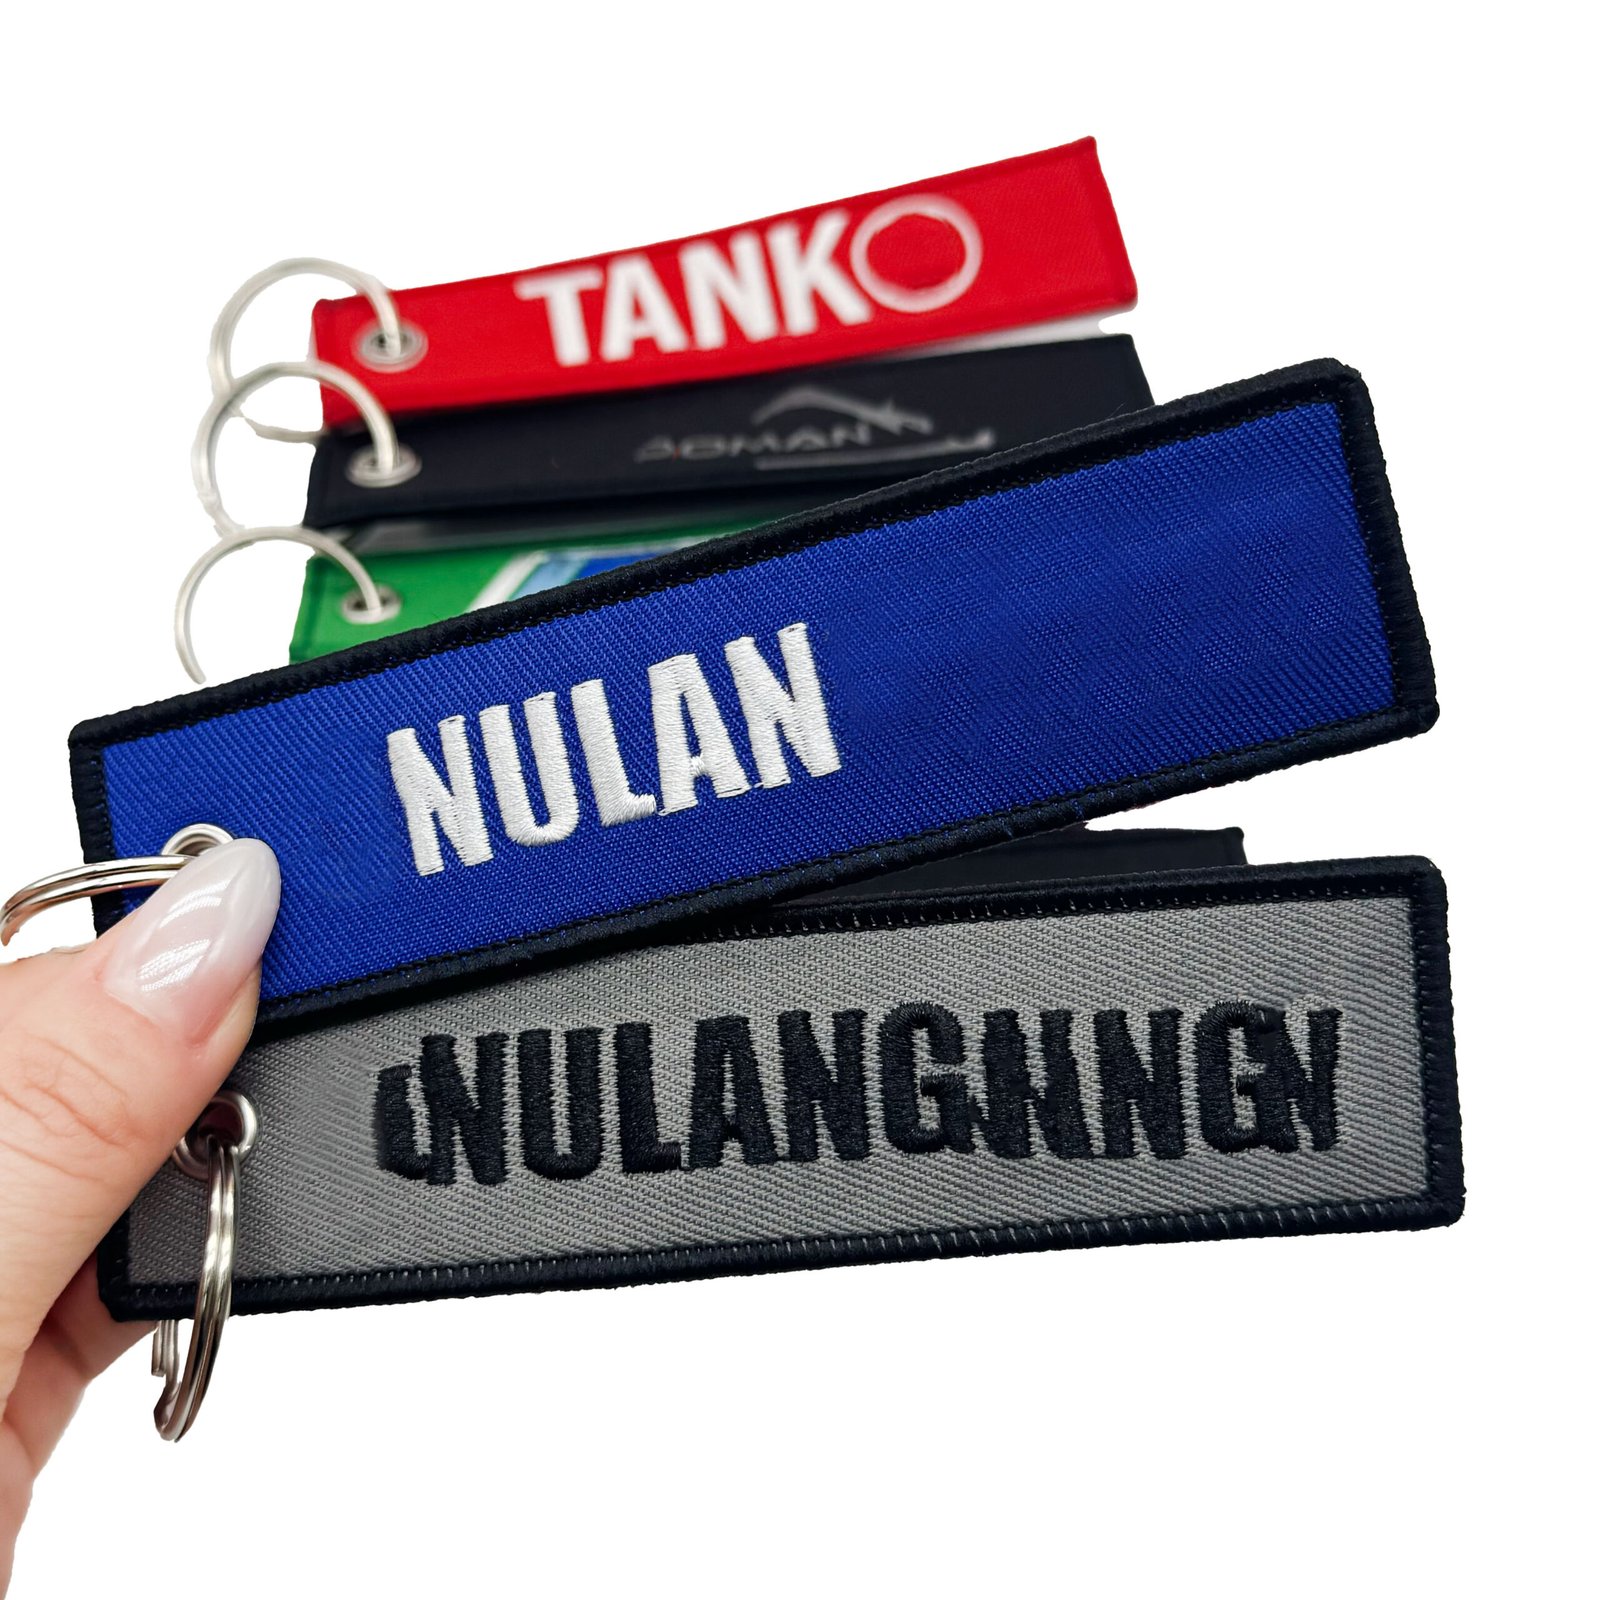
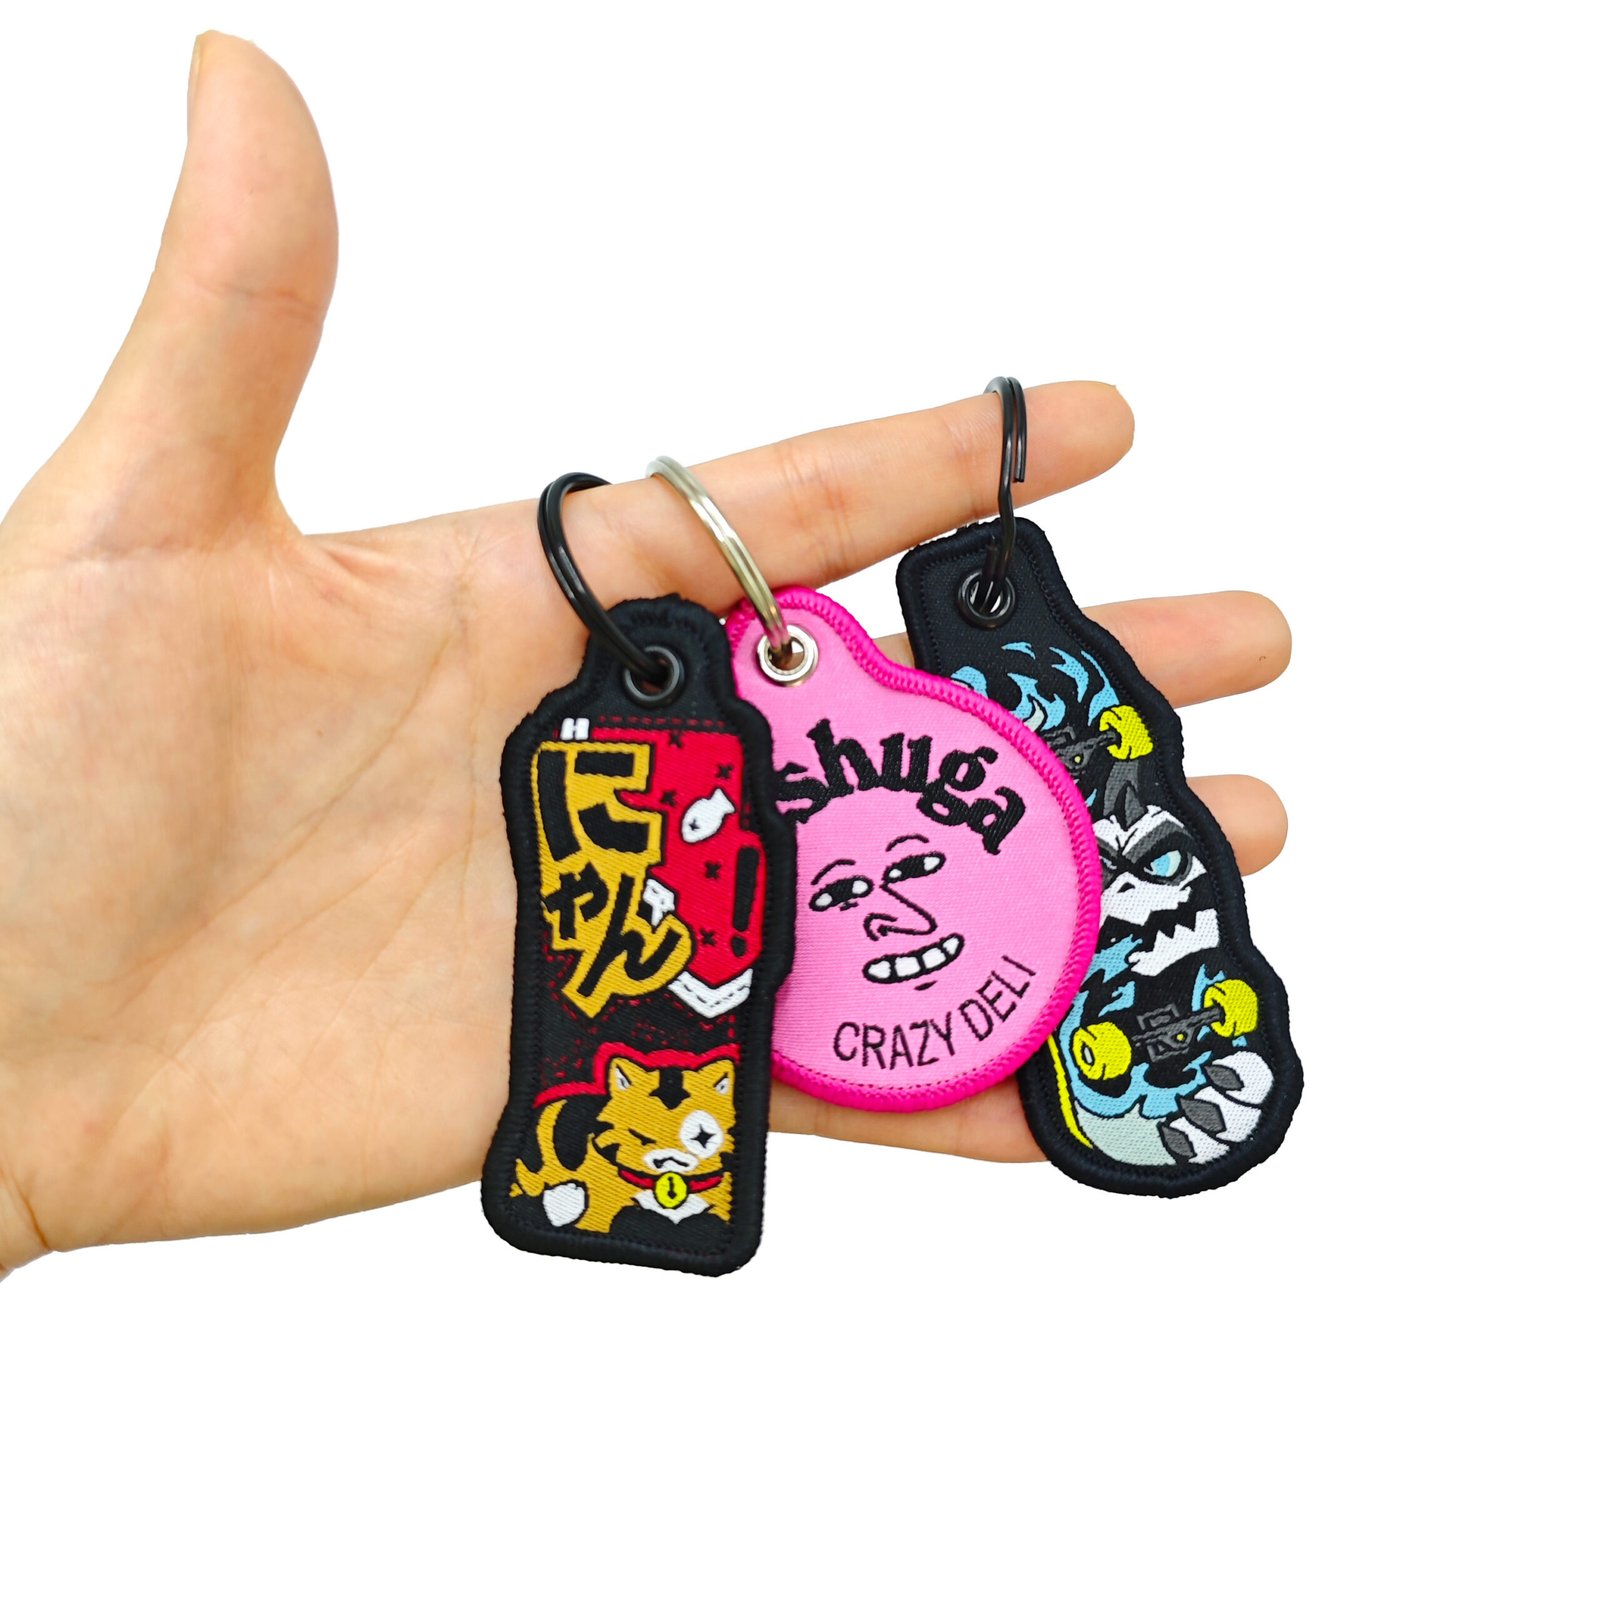
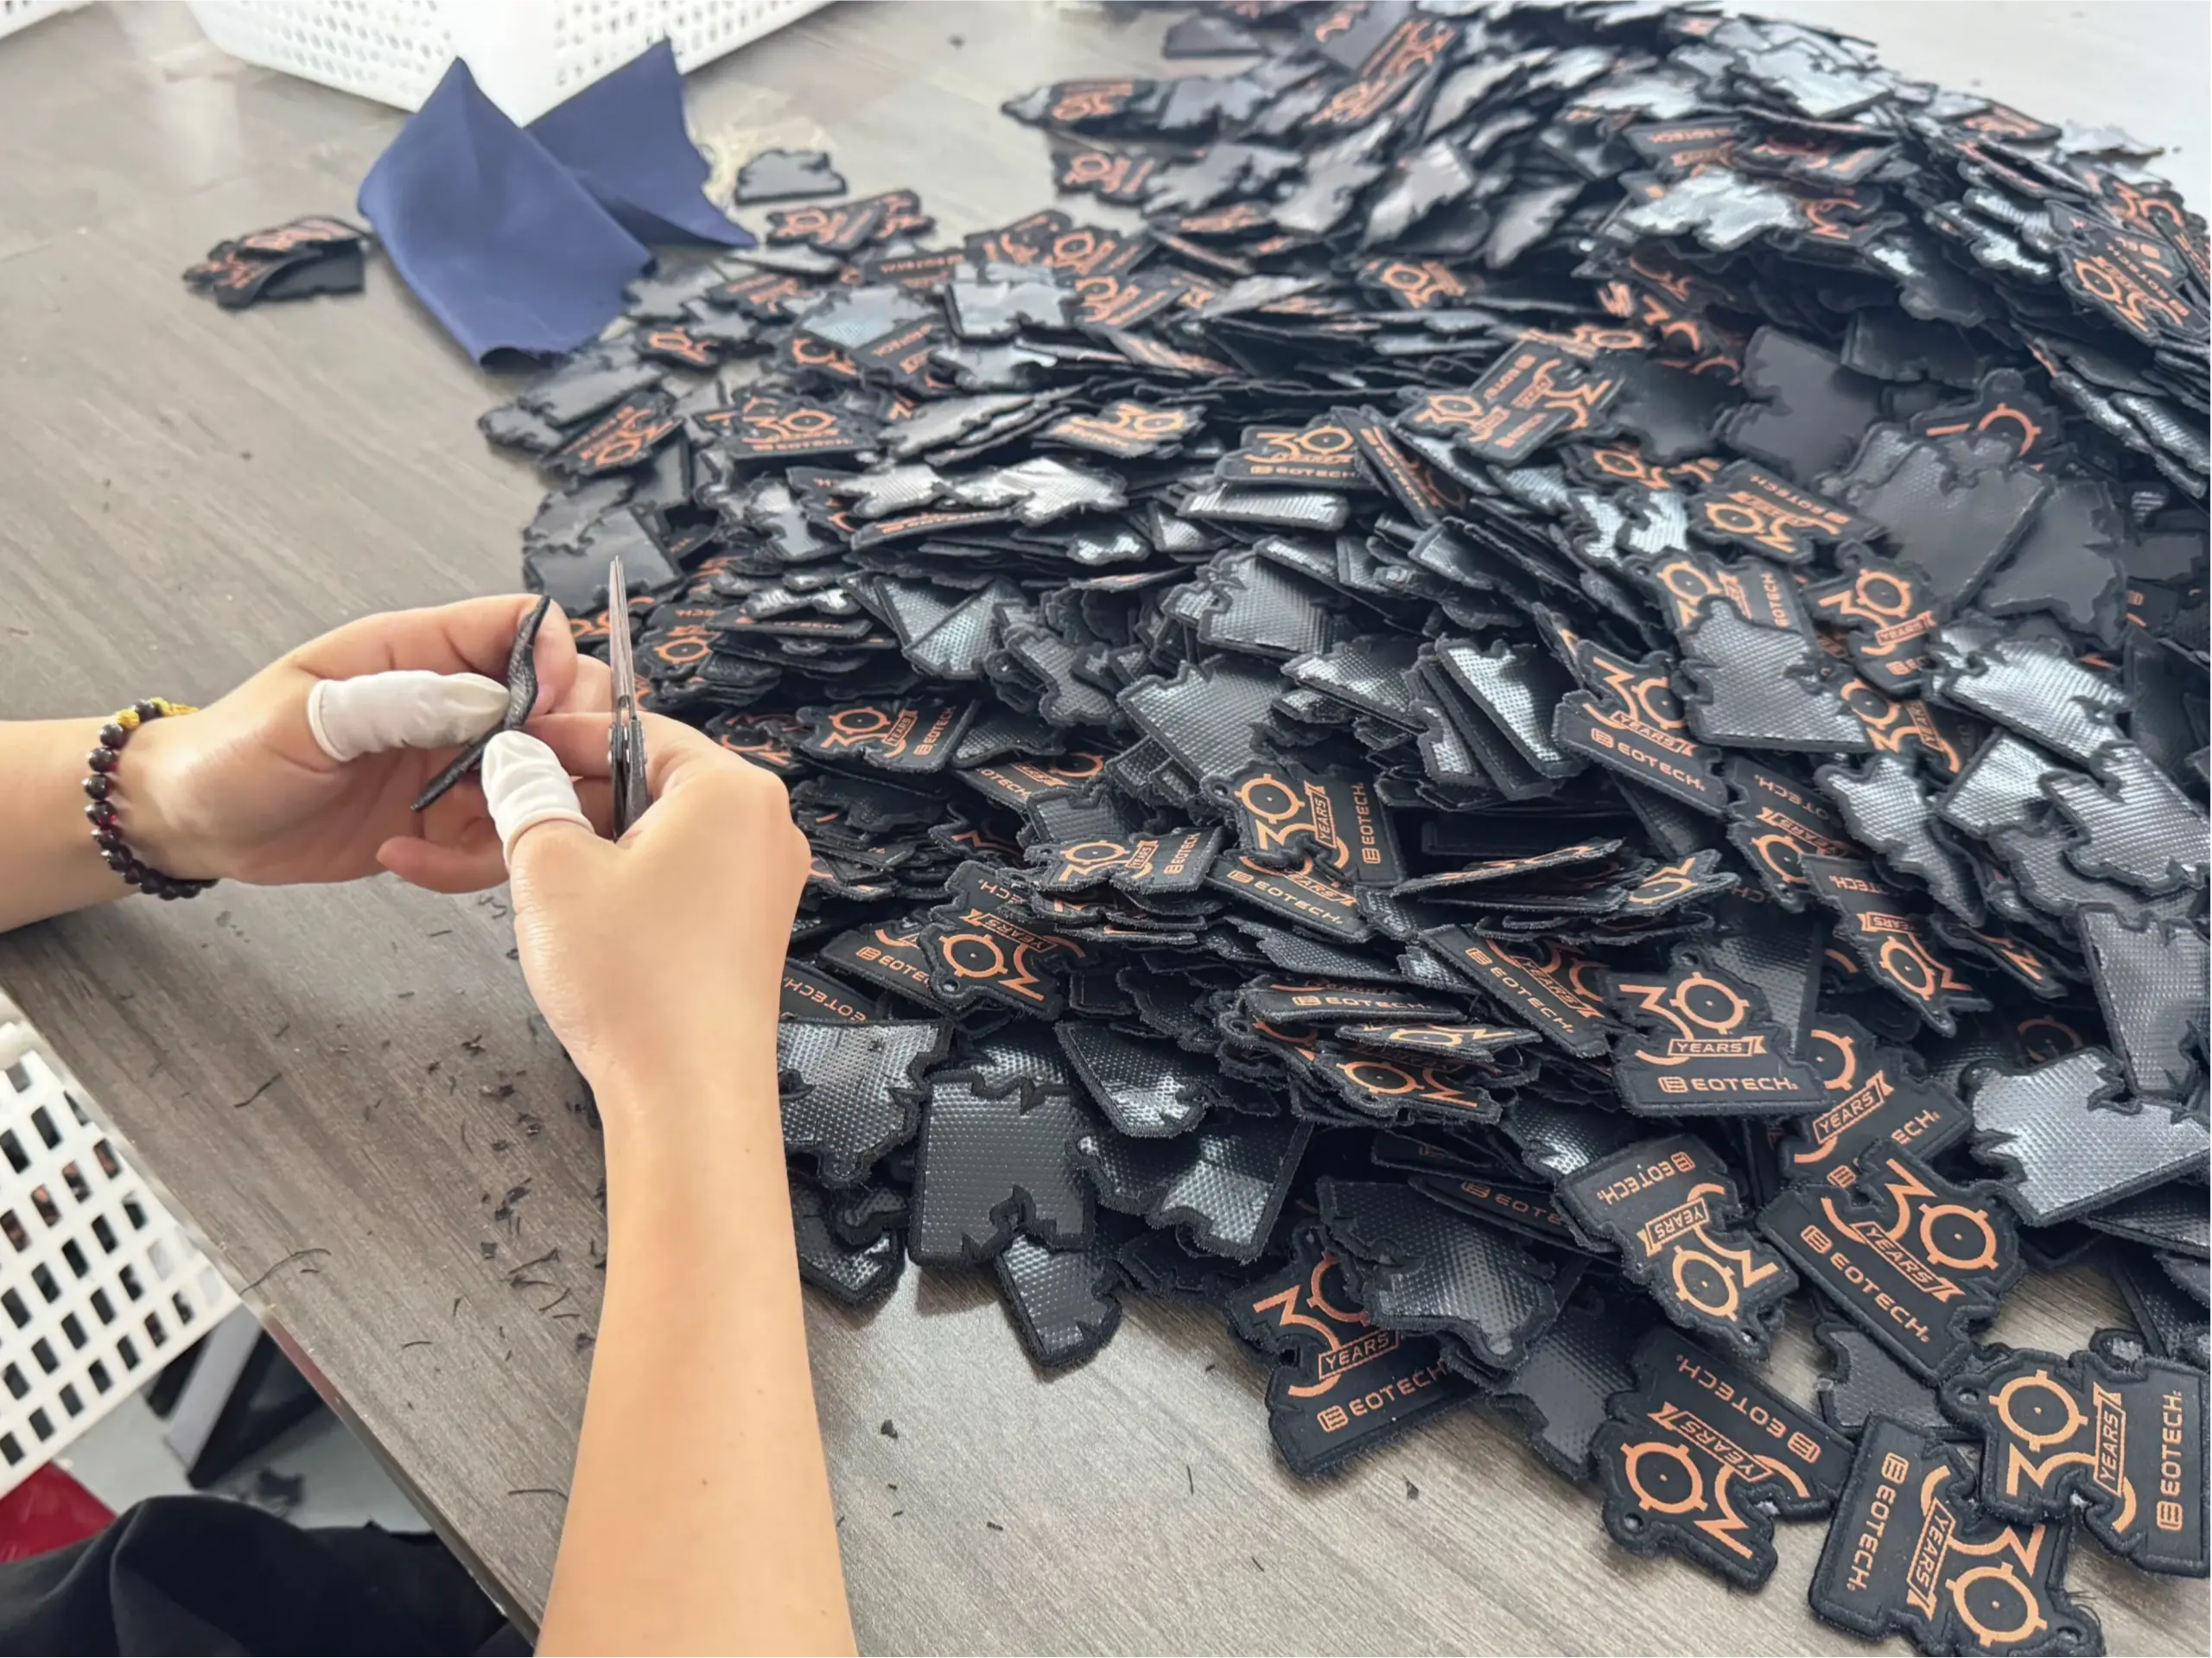
Existing key-tag examples from the Heyang Gift website. Separate tags are shown; this photo is not a front-and-back pair of one sample. 2. Label Two Artwork Views as One Product
Provide a front view and a back view at the intended finished size. Give both the same product code and revision, and mark the ring end on each. Use file labels such as “Style A — Front — Revision 2” and “Style A — Back — Revision 2” so the two faces cannot be confused with separate designs.
Include the finished width and length, the outer shape and the proposed attachment position. Ask the supplier to show the usable artwork area after allowing for the edge finish and attachment. A logo reaching the edge of the digital outline may need adjustment when the border and eyelet are added.
If one view changes, identify the change and issue an updated pair for approval. This avoids a new front being combined with a previously approved but outdated back.
3. Agree on Reading Direction Before Stitching
Define how you expect the tag to be handled: laid flat, hanging from a ring or turned in the user’s hand. Ask for a marked proof showing the agreed orientation, rather than relying on “flip it over” without explaining the movement.
The reverse artwork should normally be supplied as readable text, not automatically mirrored. If a special orientation is intentional, mark it on the proof. Check lettering, arrows and asymmetric logos on both views against the ring end. A ring can turn freely in use, so orientation approval does not guarantee that one face will always point forward.
A short sample video can resolve uncertainty: ask the supplier to show the front, turn the same tag over using the agreed movement and show the reverse. Keep that visual record with the approved drawings.
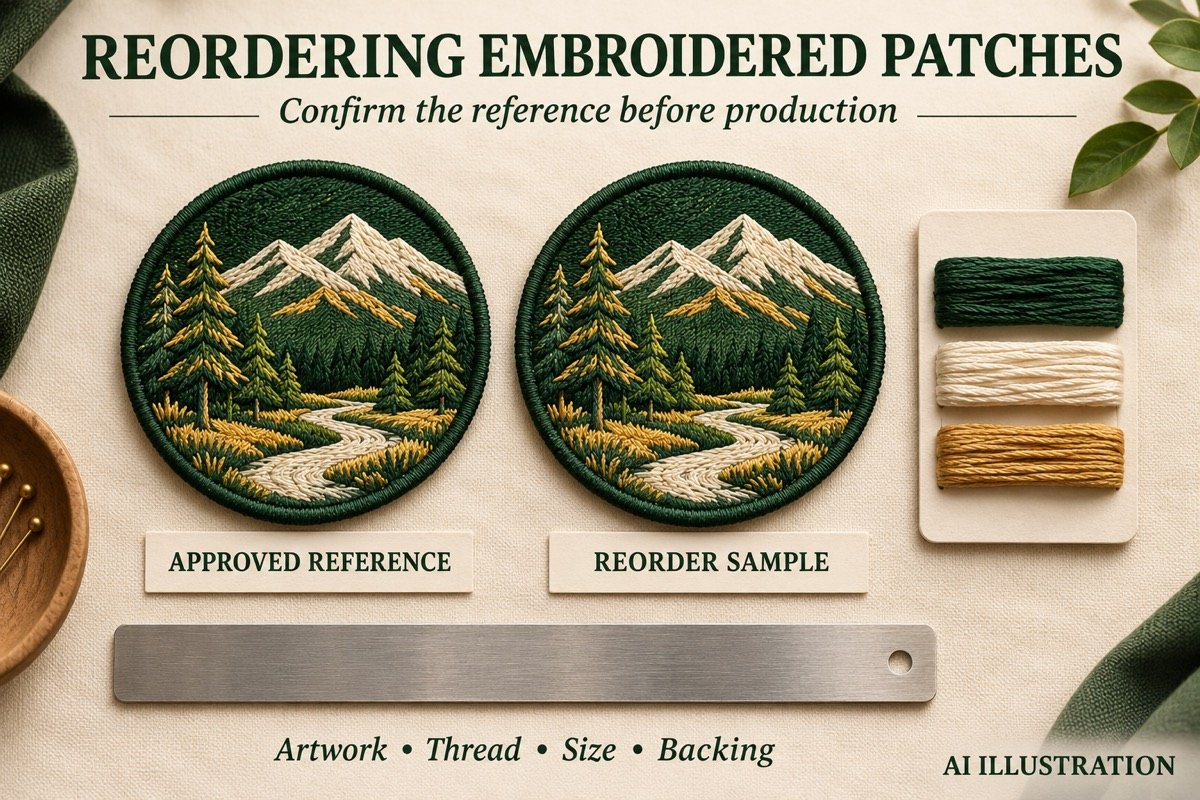
AI-generated layout illustration, not a production sample. Confirm the intended orientation and construction using your approved artwork and paired sample views. 4. Review Each Face at Its Actual Finished Size
A bold front logo may embroider clearly while a longer reverse message becomes difficult to read. Check the smallest lettering and the spaces between characters on both faces. If the reverse is crowded, shorten the message or review the layout before increasing the tag size.
For example, a project may use one logo on the front and a two-word message on the back. This illustrates content planning, not a limit on text length. The appropriate layout depends on the font, dimensions, thread and construction.
Do not assume that a screen preview proves stitch readability. Our small-lettering sample guide covers that review. If fine detail is essential, use the woven versus embroidered comparison to discuss alternatives without assuming the two constructions are interchangeable.
5. Check Both Sides of the Same Finished Sample
Request paired photographs of one sample, identified with the style code and artwork revision. Two attractive photos of different tags do not establish that the correct front and back have been combined.
Double-Sided Keychain Approval Checklist
Check
What to confirm
Artwork pair
The approved front and back belong to the same style and revision.
Orientation
Text and logos read as agreed relative to the ring end and turning method.
Stitched detail
Small lettering, thread colors and background match the approved reference on each face.
Finished construction
Dimensions, thickness, edge finish and reverse appearance meet the agreed specification.
Attachment
Eyelet or attachment position, ring fit and nearby artwork are checked with hardware installed.
Packing
Style labels, quantities and any display-facing requirement are recorded.
Check the attachment on the actual sample, including movement and any contact with nearby stitching. Confirm any required test method and acceptance criteria with the supplier; a photograph does not prove pull strength or long-term wear performance. See the keychain hardware guide for attachment choices.
6. Keep Variants and Reorders Easy to Identify
Assign one style code to each front-and-back combination. If the same front is paired with two different reverse messages, list them separately with quantities and packing instructions.
For example, 100 pieces with reverse message A plus 100 with message B total 200 pieces, but the supplier still needs the split. This is an order-record example, not a minimum-order rule. Ask for the applicable minimum and pricing for each combination.
For repeat orders, retain the paired artwork, approved sample, dimensions, thread references, edge finish, hardware and packaging record. A new reverse message is a specification change even when the front logo stays the same.
Request a Quote for Your Two-Sided Design
Send Heyang Craft both artwork views, finished dimensions, quantity per combination, preferred hardware and packaging. Add the destination postcode and required arrival date. Identify any orientation or lettering issue that needs sample review.
Heyang Gift’s keychain product page lists a 50-piece minimum. Confirm how it applies to your design combinations and request product, preparation or sampling, and shipping charges separately. Production readiness and shipping transit are different parts of the schedule. Use the bulk quotation guide to compare the full scope.
Explore custom embroidered keychains or request a quotation for your front and back artwork .
Frequently Asked Questions
Can the front and back use different artwork?
Submit separate views for review. Heyang Craft’s product page invites front and reverse requirements; the proposed construction, lettering and price are confirmed with the quotation before sampling.
Should I mirror the back artwork?
Do not mirror it automatically. Supply readable artwork and mark the ring end and intended orientation. Ask the supplier to confirm both views and show how the finished sample reads when turned over.
Can I approve a double-sided keychain from two unrelated photos?
No. Use paired views of the same identified sample, or a video showing both faces, to confirm that the intended artwork combination has been produced. Keep the approved specification with the sample record.