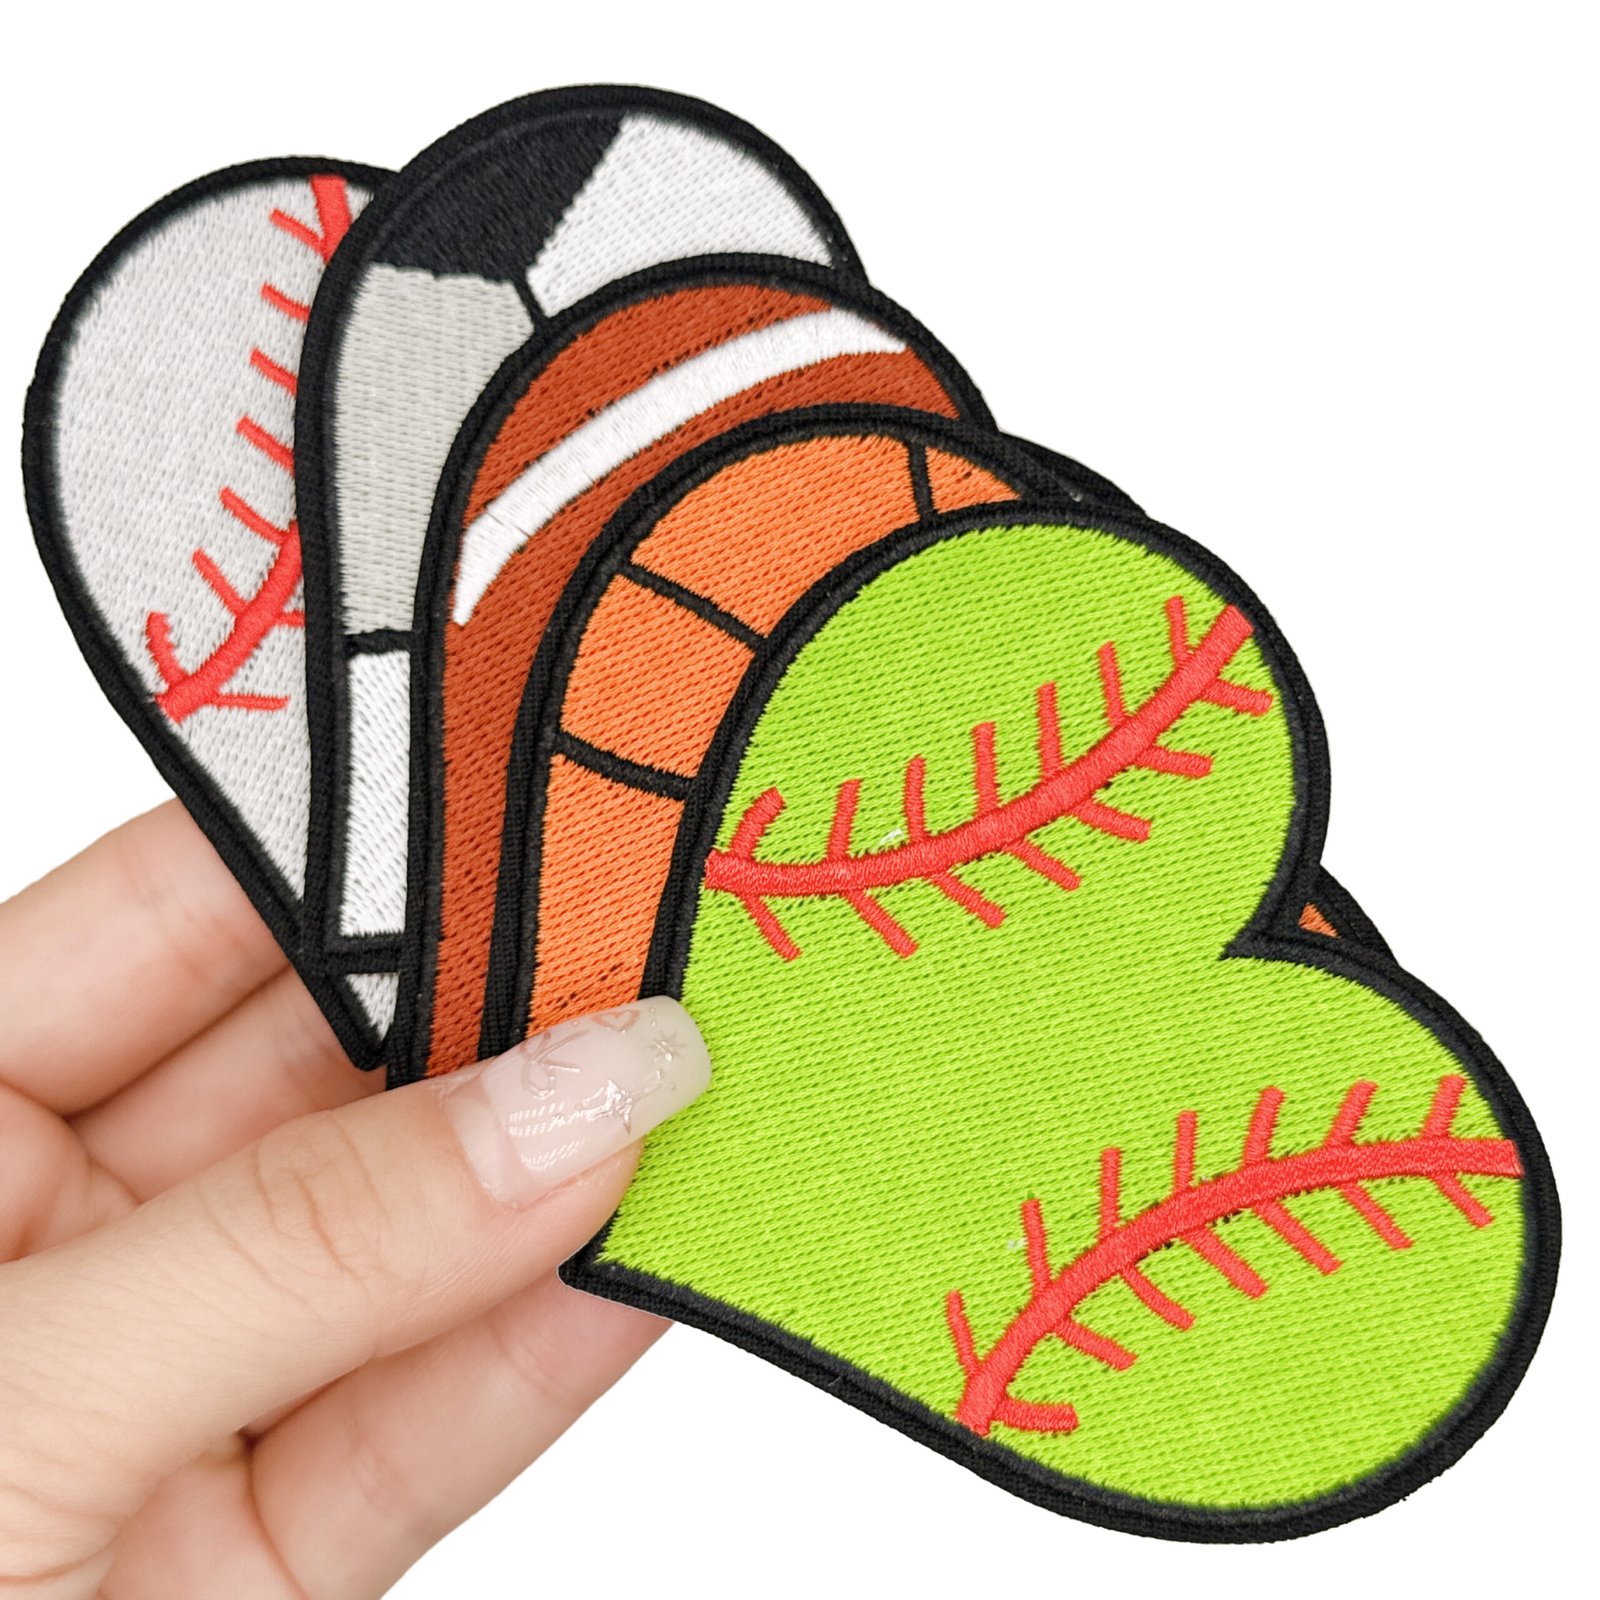
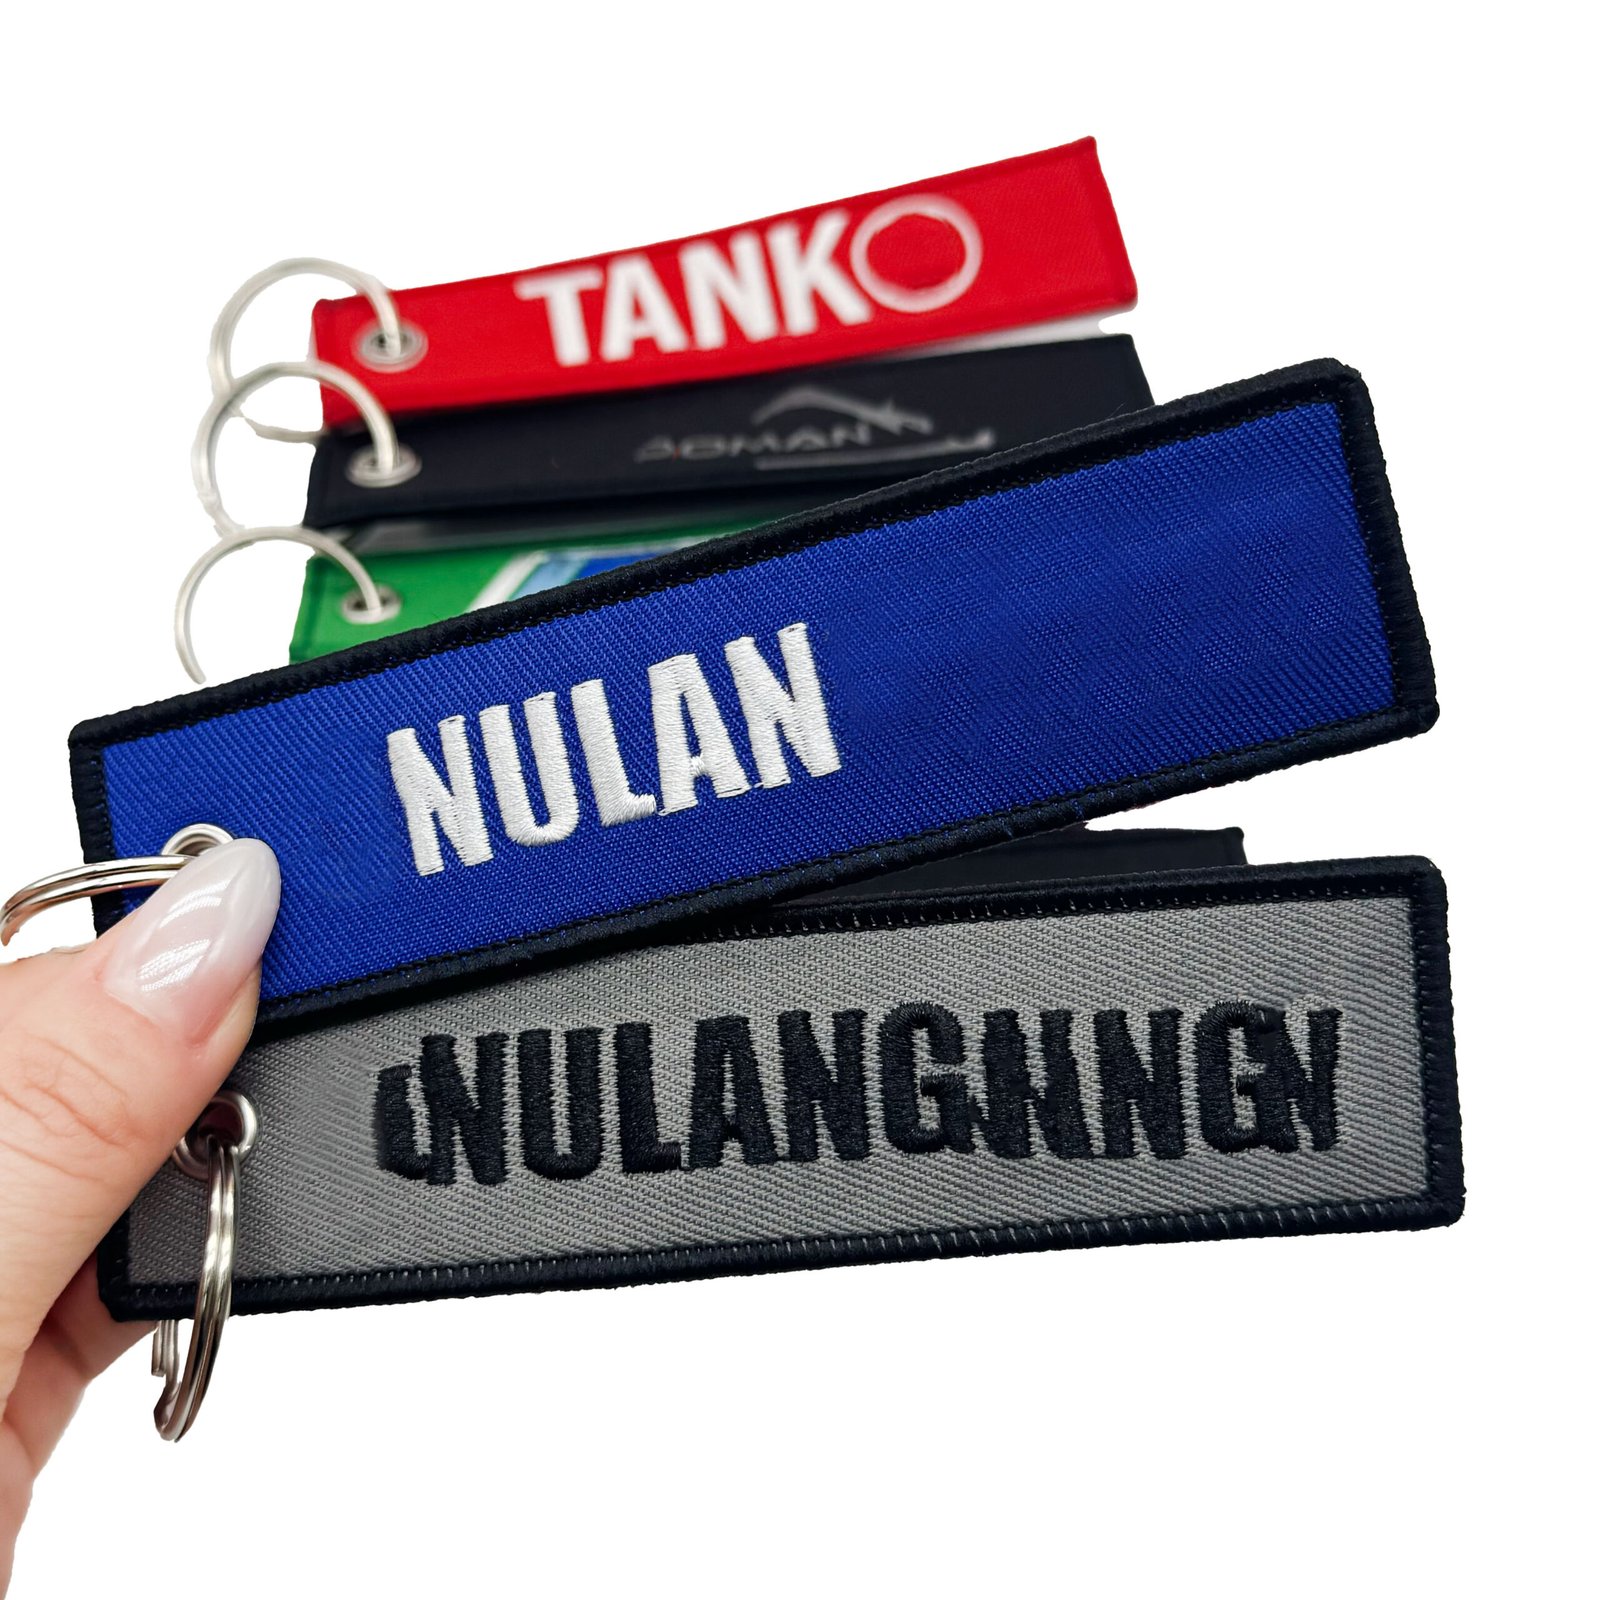
A patch can have the right logo and thread colors yet still feel too bulky on a cap or look wrong where the background remains exposed. The base fabric is part of that result. It supports the embroidery and, in a partially stitched design, becomes a visible part of the artwork.
Quick answer: which base fabric should you choose?
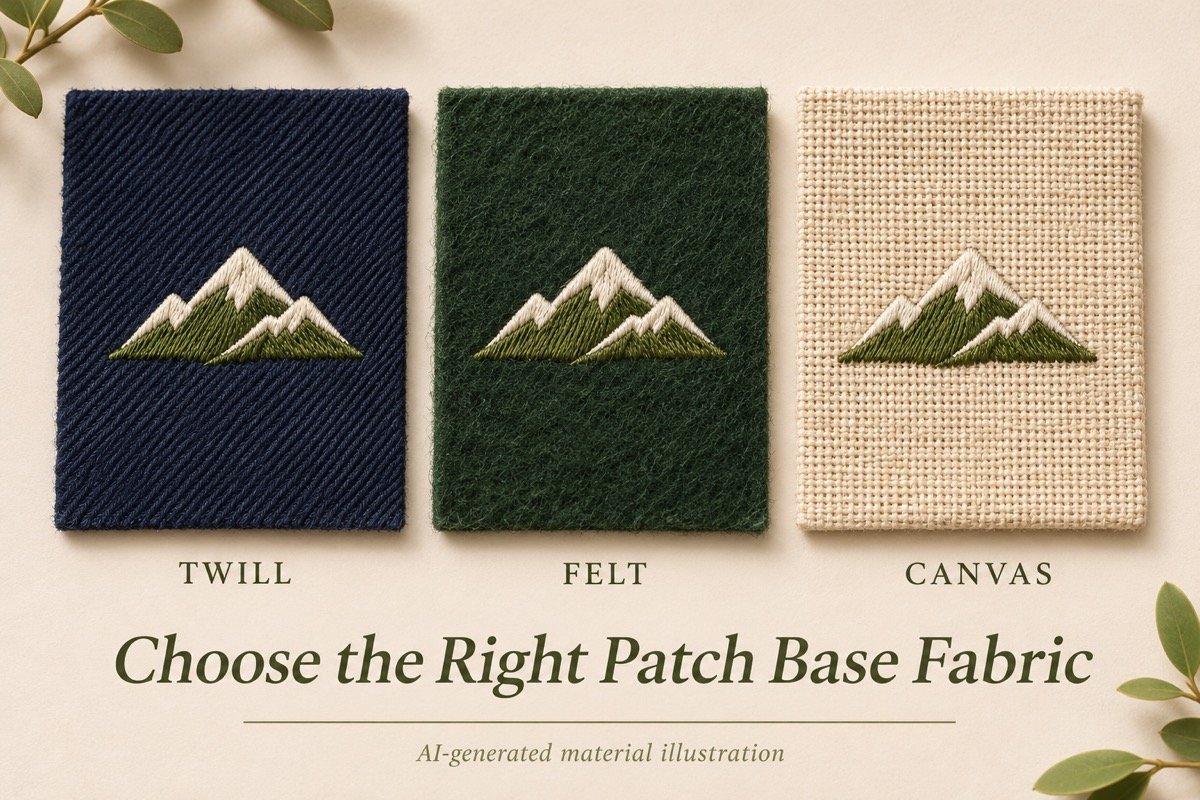
Start by sampling a suitable twill when you want a woven background with visible diagonal texture. Consider badge felt for a soft, fibrous surface, or canvas and other textured woven fabrics when the exposed ground is part of the design. Confirm the actual composition, weight, thickness and finish, then approve the finished patch on its intended garment. A material name alone does not establish wash performance, flexibility or heat-press compatibility.
1. Separate Base Fabric from Stabilizer and Attachment Backing
The base fabric is the textile into which the design is embroidered. A stabilizer supports the work during stitching. An attachment backing, such as a heat-activated adhesive or hook layer, helps connect the finished patch to another surface. These layers have different jobs.
Madeira USA’s patch-making guidance lists the top fabric, supporting backing material and heat seal separately. Ask your supplier to identify the proposed construction in the same way. “Polyester backing” is too ambiguous: does it mean the face fabric, a supporting layer or the adhesive film?
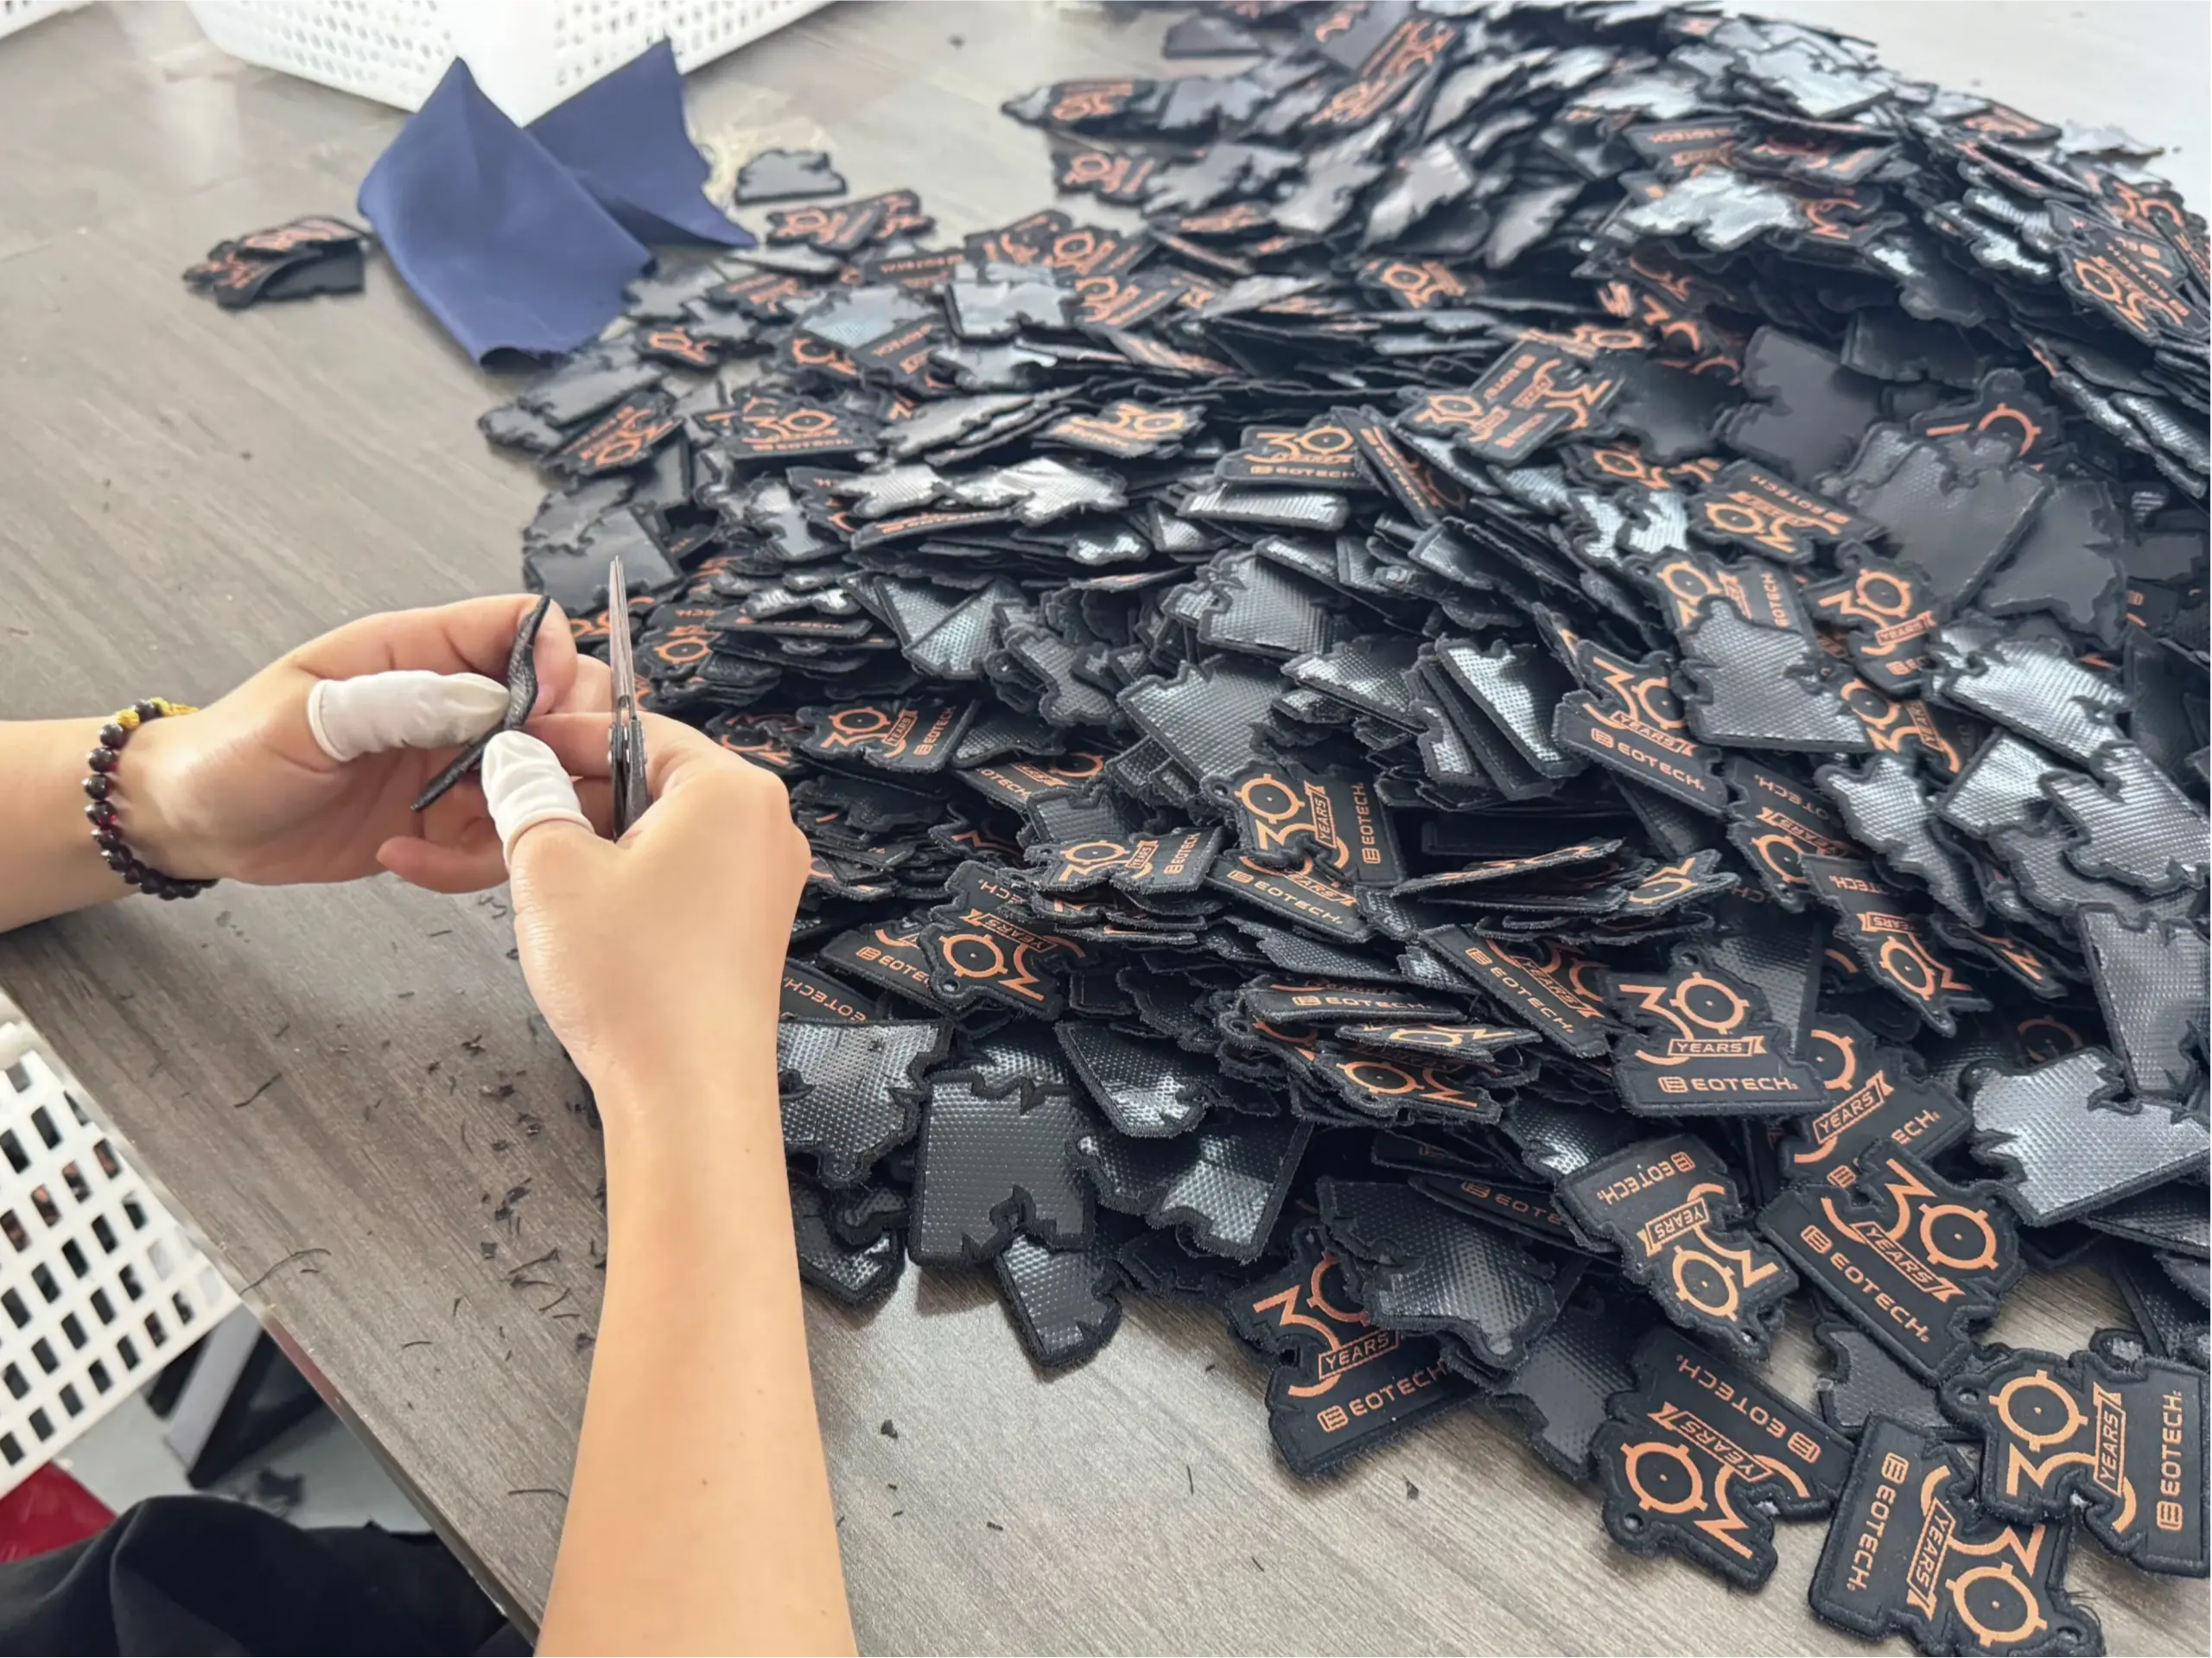
A stiffer finished patch may result from several layers working together. Review the complete construction instead of selecting the face textile from a photograph and assuming it determines the final hand.
2. Compare Twill, Felt and Textured Woven Fabrics
Twill describes a weave, not one fixed fiber composition. Madeira USA lists cotton, polyester and blends among suitable patch fabrics. Likewise, “felt” does not identify a universal fiber blend or grade. Request a material reference and a sample of the exact option being quoted.
Madeira UK includes cotton drill, felt and specialty appliqué textiles in its badge-making guidance. These are options to evaluate, not interchangeable specifications. The following comparison is a sampling guide; it does not establish which materials are available for your order.
Patch Base Fabrics: What to Compare Before Approval
Base option
Why sample it?
What to check
Twill or cotton drill
A woven ground when a diagonal surface texture suits the design.
Exact composition, weight, color, weave visibility, edge finish and dimensional change after care.
Badge felt
A soft, fibrous background for a different visual and tactile effect.
Fiber content, thickness, surface fuzz, fine-letter clarity and response to the proposed care process.
Canvas or another textured woven fabric
A visibly textured ground where exposed fabric contributes to the design.
Weave scale against small details, fraying, thickness, finish and fit at the intended placement.
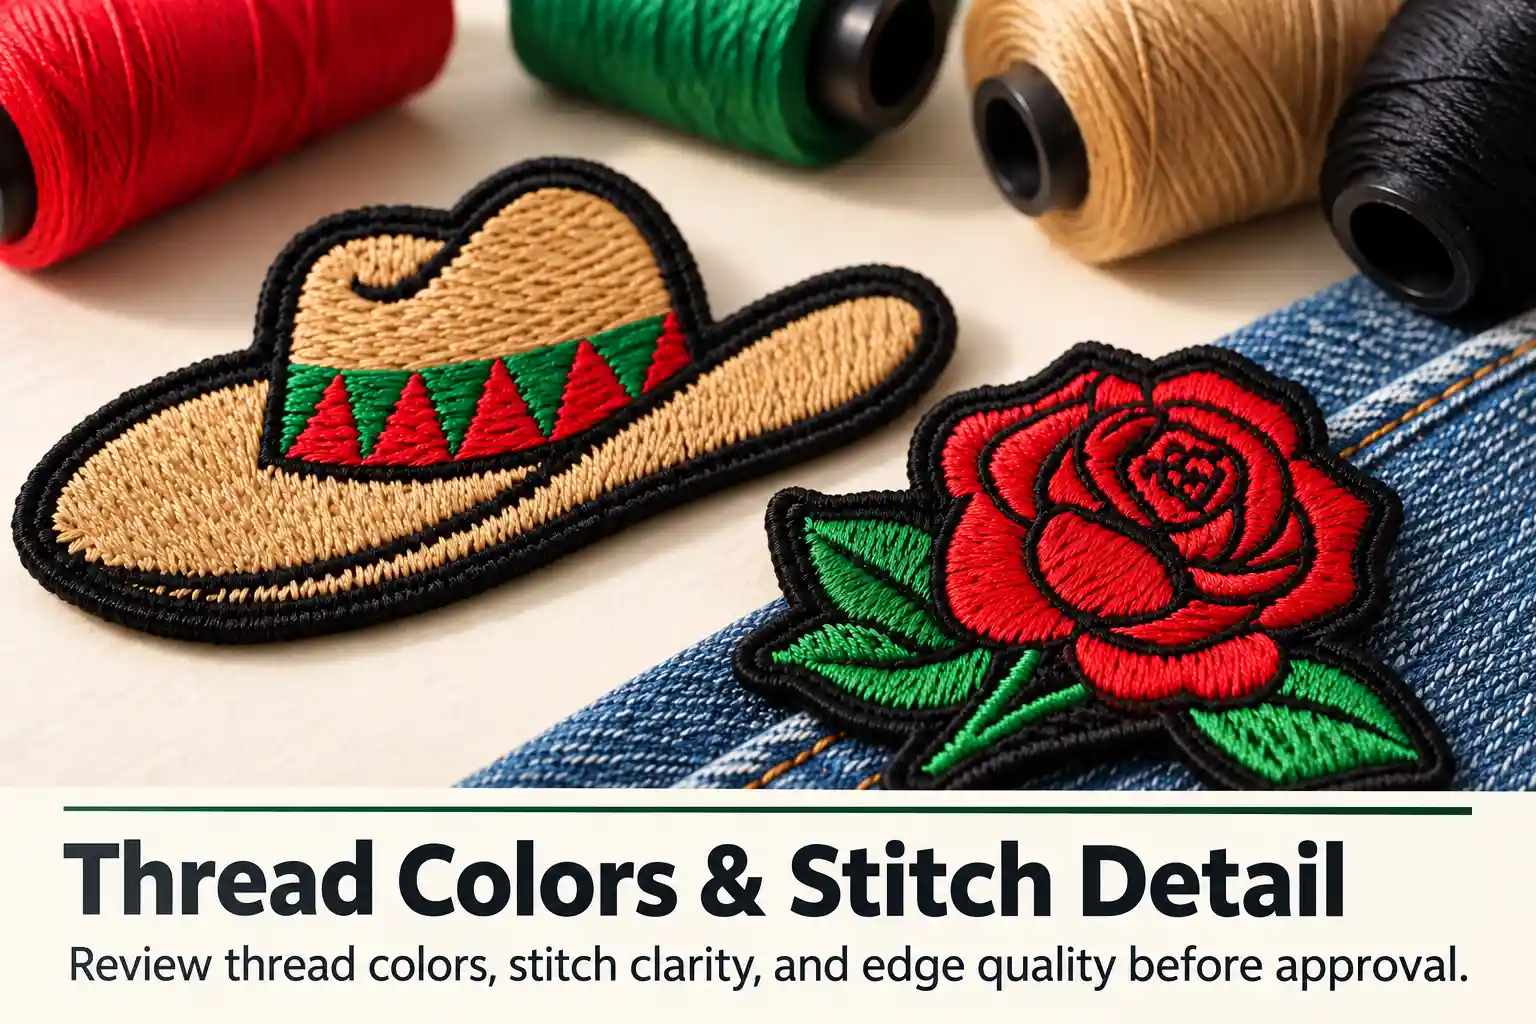
AI-generated illustration of base-fabric textures. Materials, colors and stitch results are illustrative; approve physical samples for your order. 3. Choose the Ground Color with the Embroidery Coverage
When fabric remains visible, approve its color alongside the thread. A navy ground can change the appearance of a light outline compared with the same outline on cream fabric. Tiny open spaces around lettering also need review at the finished size.
For example, an 80 × 50 mm patch with an exposed background and one of the same size with full embroidery coverage are not the same construction. This is a design example, not a standard size or a performance recommendation.
Full embroidery coverage does not automatically mean there is no base textile. Ask how the patch is built and inspect its reverse as well as its face. Use our embroidery coverage guide and thread color matching checklist to record the visible materials together.
4. Check the Complete Patch on the Intended Product
For hats: check the patch on the actual crown, including curvature, seams and available attachment area. A flat material swatch cannot show whether the finished patch sits cleanly on a curved panel. See our hat patch size and placement guide .
For jackets and uniforms: inspect the finished thickness, edge profile and flexibility at the chosen position. Check sewing access behind linings and pockets. Confirm the expected washing, drying or professional cleaning process rather than describing the fabric simply as “durable.”
For heat application: confirm the compatibility of the entire stack, including face fabric, supporting layers, adhesive and garment. Use the instructions for the actual materials. For sewing, check the stitch path and whether attachment causes puckering or restricts movement. Our iron-on versus sew-on guide covers that installation decision.
5. Approve a Sample with Measurable Specifications
Ask for the base fabric’s composition, weight in g/m² where available, thickness, color reference and any coating or finish. Weight and thickness are different measurements; neither alone predicts the stiffness of the completed patch.
Keep the artwork and finished size consistent when comparing options. Check the smallest lettering, thread color references, exposed background and edge finish. The border and cutting method must also suit the proposed material; do not assume every fabric can use the same edge treatment.
Appearance: compare weave or fiber texture, ground color, small text and border quality.Fit: check dimensions, thickness, flexibility and installation at the intended position.Care: agree on washing and drying conditions, then check color change, distortion, surface appearance and attachment.Records: retain the approved patch, fabric reference and construction details, with a date and artwork version.
Record the agreed acceptance criteria before bulk production. A successful first wash does not establish a long-term wash-life claim. Use our sample approval checklist to keep these checks with the rest of the order specifications.
6. Send Enough Detail for Comparable Quotations
Send the design file, finished dimensions, quantity per design and desired exposed-fabric effect. State whether you want alternatives for comparison or already have an approved material reference. Ask the supplier to identify any substitution in writing.
For clothing, provide garment fabric composition, stretch, placement and care requirements. Confirm whether installation happens before or after garment assembly and who performs it. Include attachment method, packaging, destination and required arrival date.
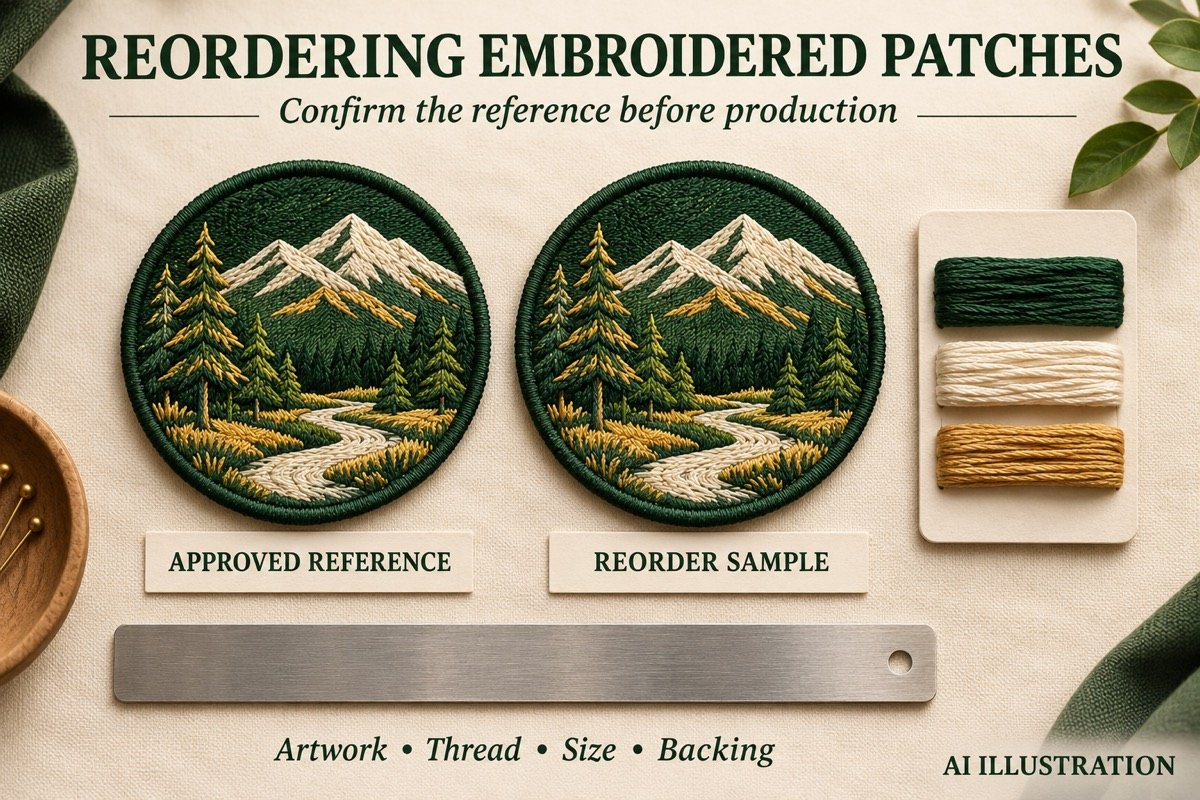
Request separate options using the same artwork and quantity, with sampling and any setup charges identified. This makes differences in base material and construction easier to evaluate. Keep the selected fabric reference for repeat orders; “same color as last time” is not enough if the textile or finish changes.
Discuss Your Patch Base Fabric with Heyang Craft
Share your artwork, intended garment and preferred background effect. Ask which base fabrics can be sampled for your project and confirm the material and finished patch before placing a bulk order.
Explore custom embroidered patches or request a patch quotation with your fabric requirements.
Frequently Asked Questions
Is twill always the best base fabric for embroidered patches?
No. Twill is an option when its woven texture and complete construction suit the design. Compare the actual material with felt or other suitable fabrics and approve a sample for the intended application.
Does 100% embroidery coverage mean no base fabric is used?
No. Coverage describes the stitched face area. Ask the supplier about the underlying construction rather than inferring it from the coverage percentage.
Can I use the same base fabric for an iron-on and a sew-on patch?
Possibly, but confirm each complete construction. Heat application needs compatible materials and pressing conditions; sewing needs suitable access and a stitch path. Approve the intended method on a sample.
Technical References
These references describe general construction options. They do not establish Heyang Craft’s available materials or performance specifications for a particular order.