Introduction
An event merchandise kit should help attendees navigate the event, remember it and use at least one item after they leave. That makes it different from a collection of unrelated giveaways. The most effective kits connect a practical item, such as an ID lanyard, with a keepsake or recognition item and a clear distribution plan. The result can support registration, sponsorship, retail, staff identification and post-event brand recall without forcing every attendee to carry unnecessary products.
Custom product detail prepared for review. This article explains how to plan a coordinated custom event merchandise kit for conferences, school events, sports programmes, visitor days and brand activations. It focuses on product roles, artwork consistency, packaging, factory testing and logistics. Individual products still need their own specifications, but the programme should be planned as one system.
Give every item a defined role
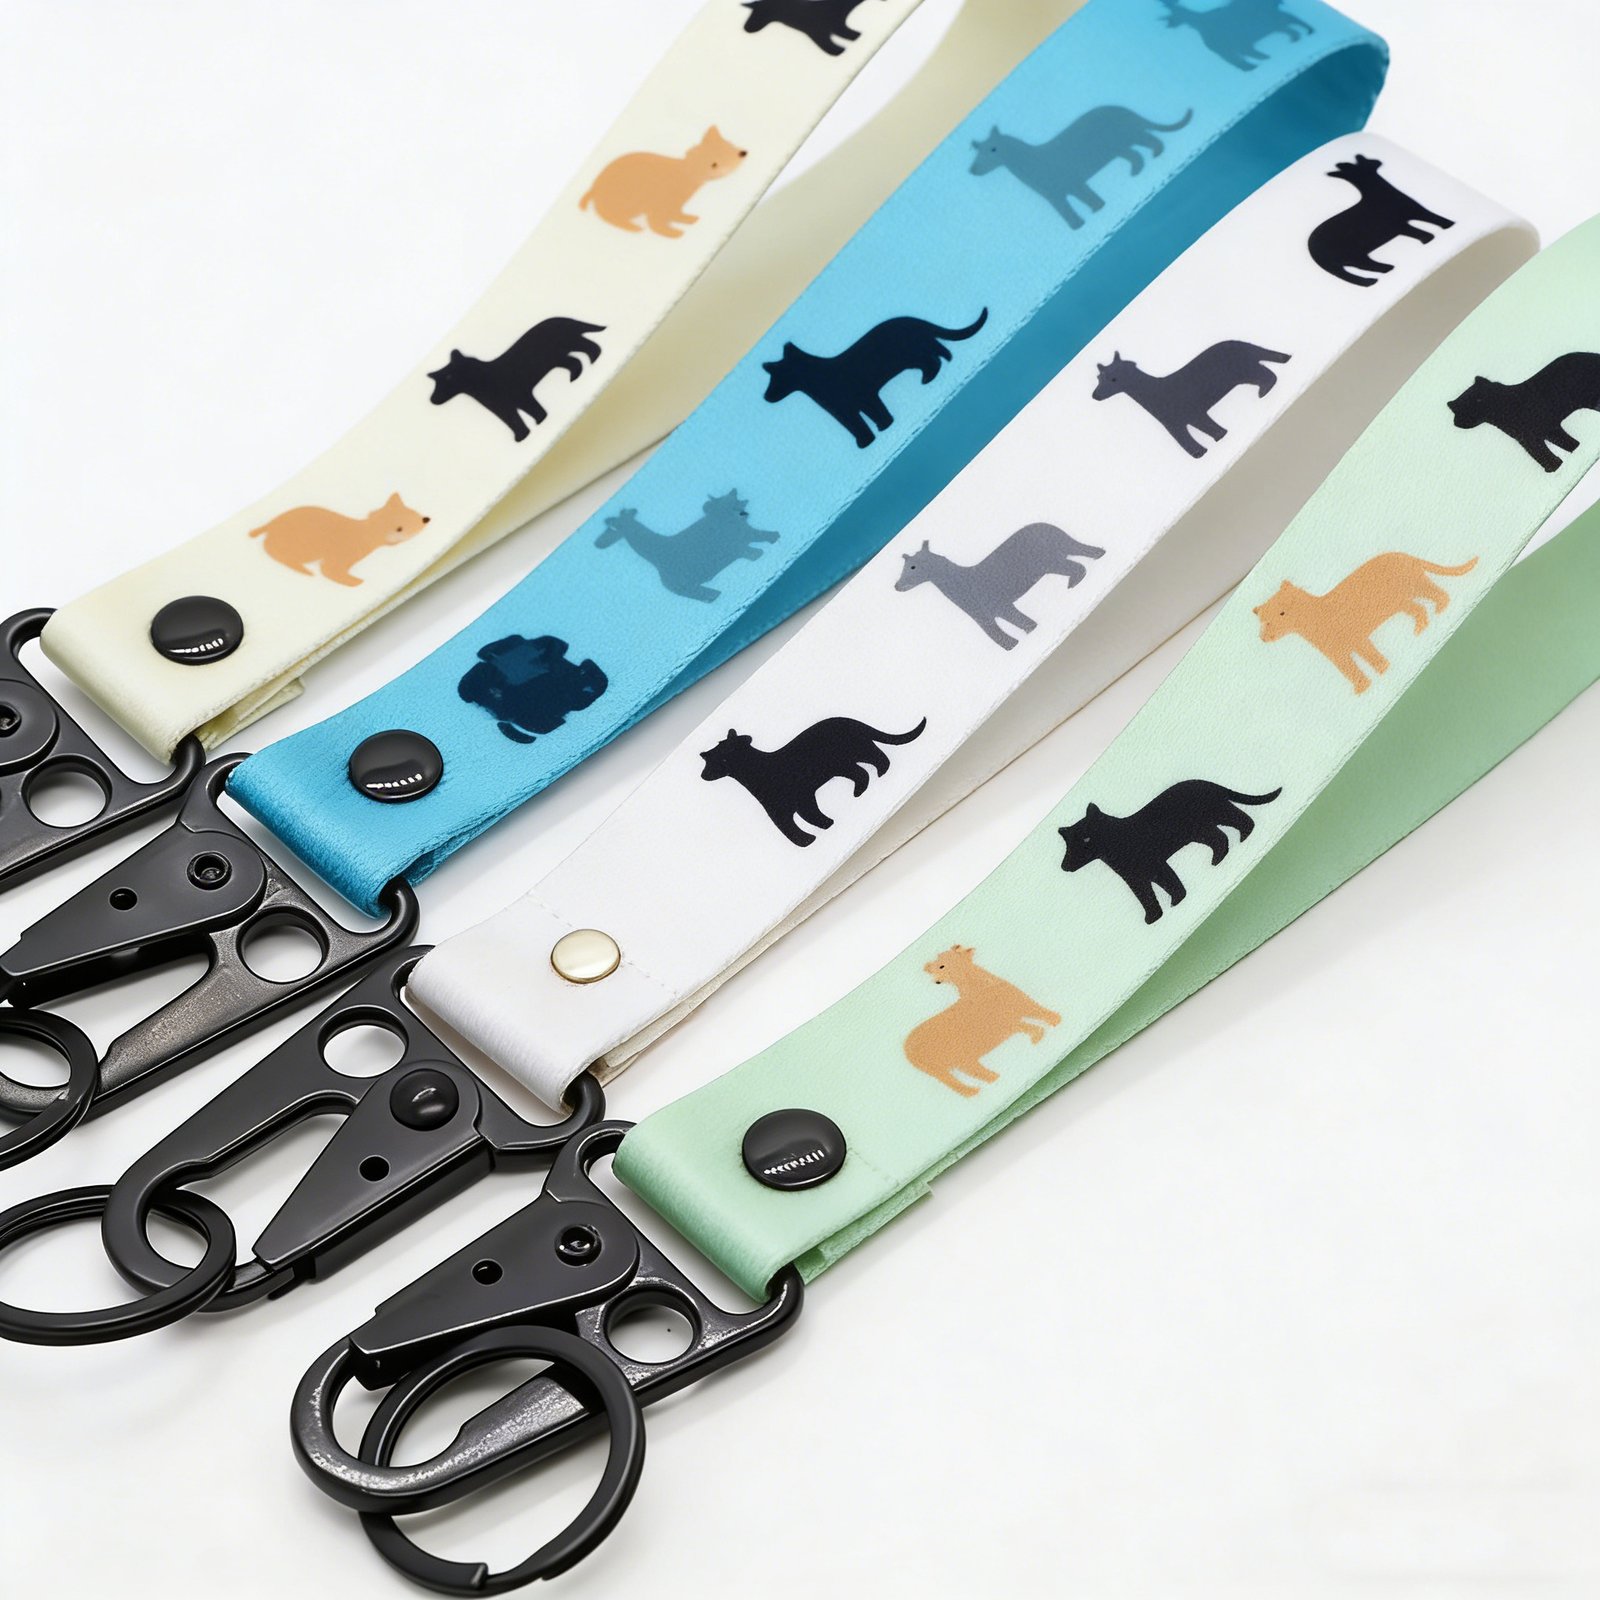
Begin with the attendee journey. At registration, a custom lanyard and badge fitting can simplify access and staff identification. During an activity, a wrist strap, patch or small keychain can help distinguish teams or reinforce a sponsor message. At the finish line or closing session, a medal or coin can recognise participation. A fridge magnet or bottle opener may work better as a retail add-on or sponsor giveaway than as an item placed in every registration bag.
Limit the kit to items that serve a purpose. A lean kit is easier to approve, pack and distribute, and its message is usually clearer. Consider what must be ready on day one, what can be sold at a merchandise point, and what is reserved for winners, VIPs or staff. This segmentation affects quantity, packing and labelling just as much as it affects the product choice.
Build a consistent artwork system across materials
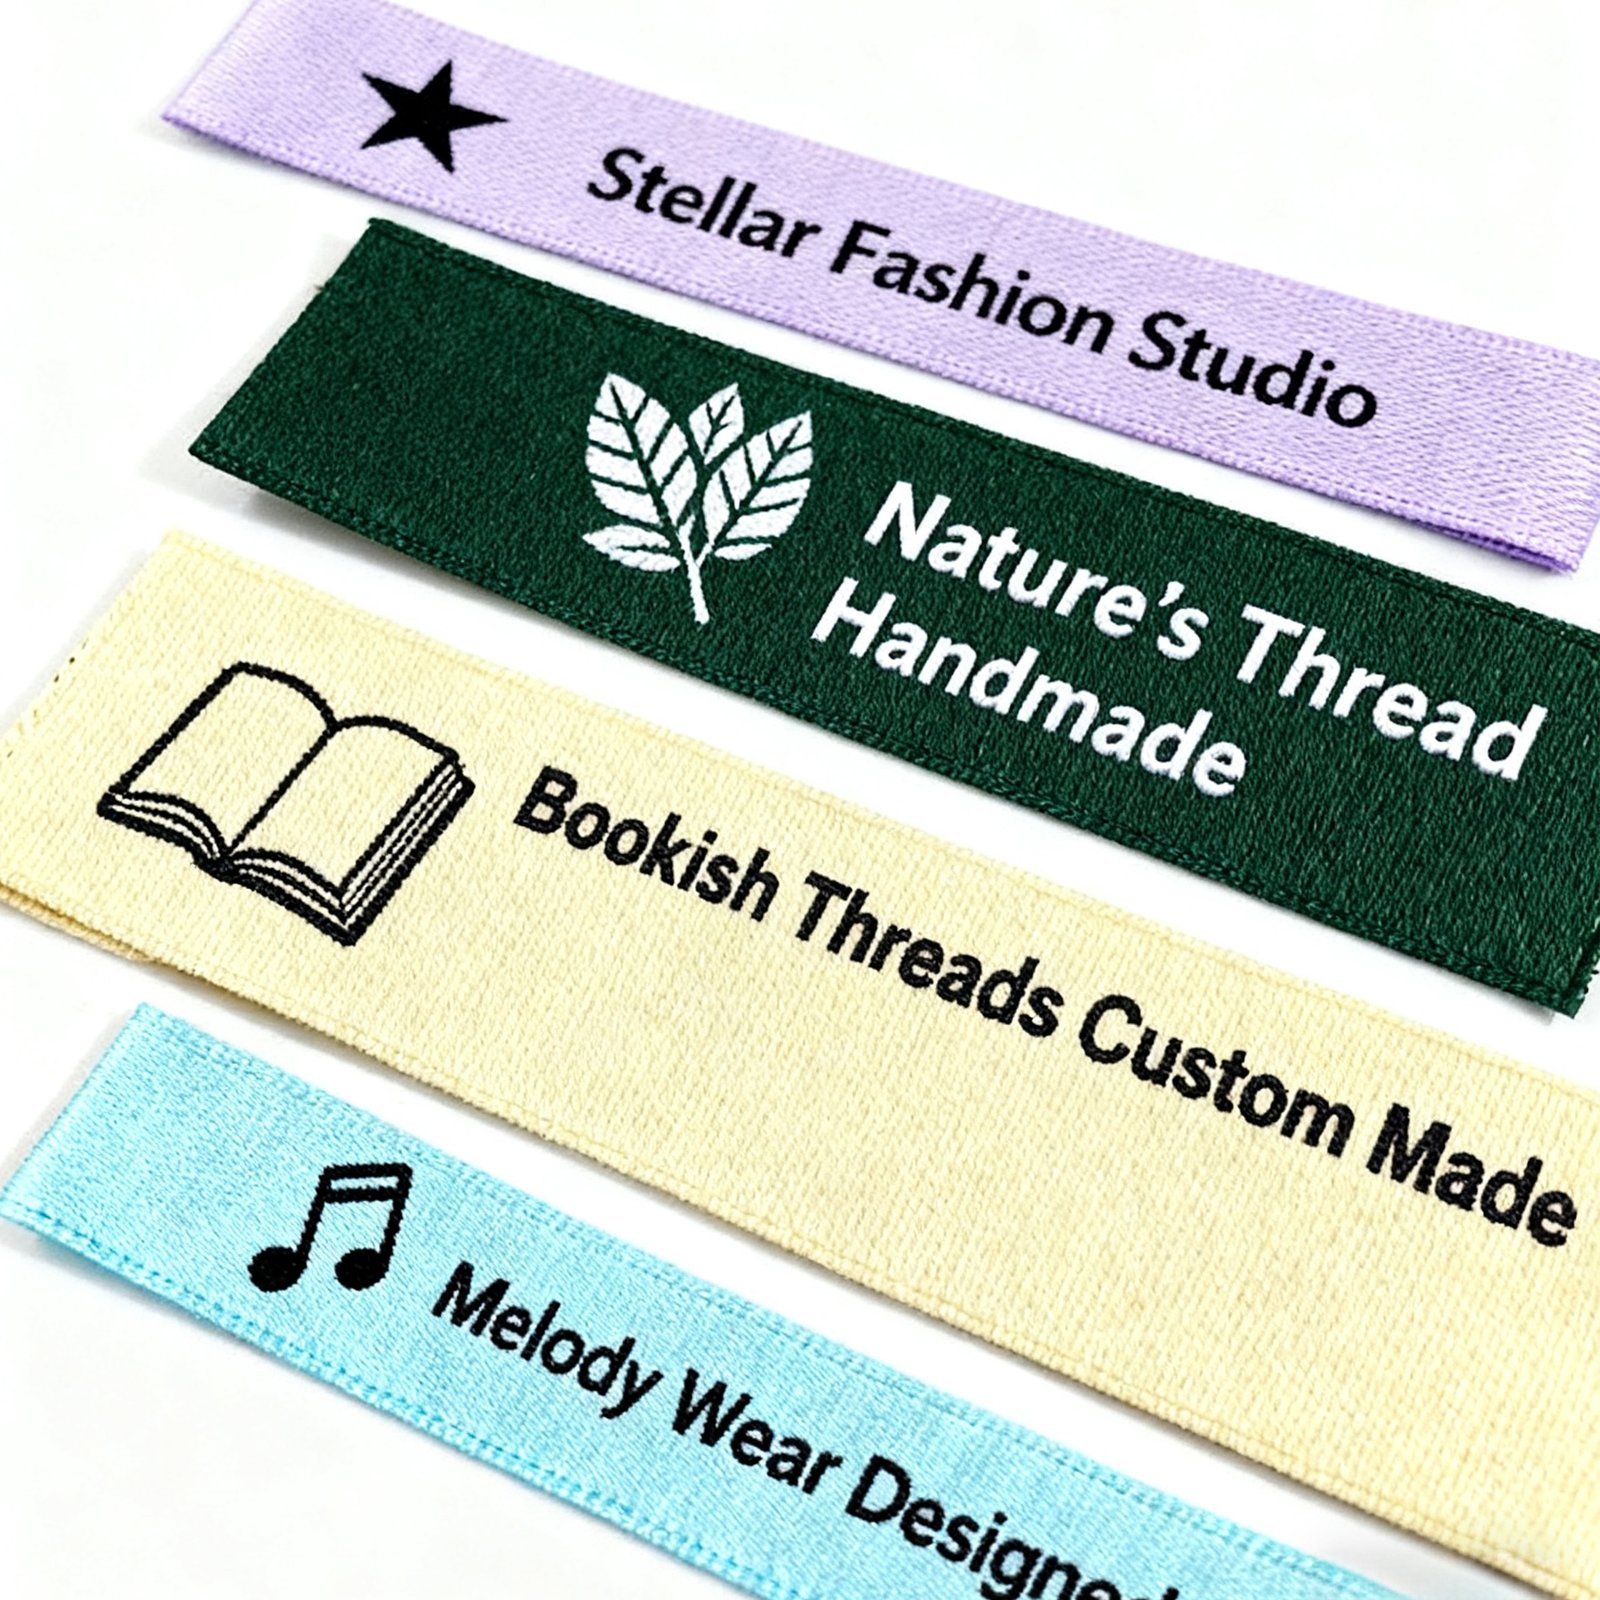
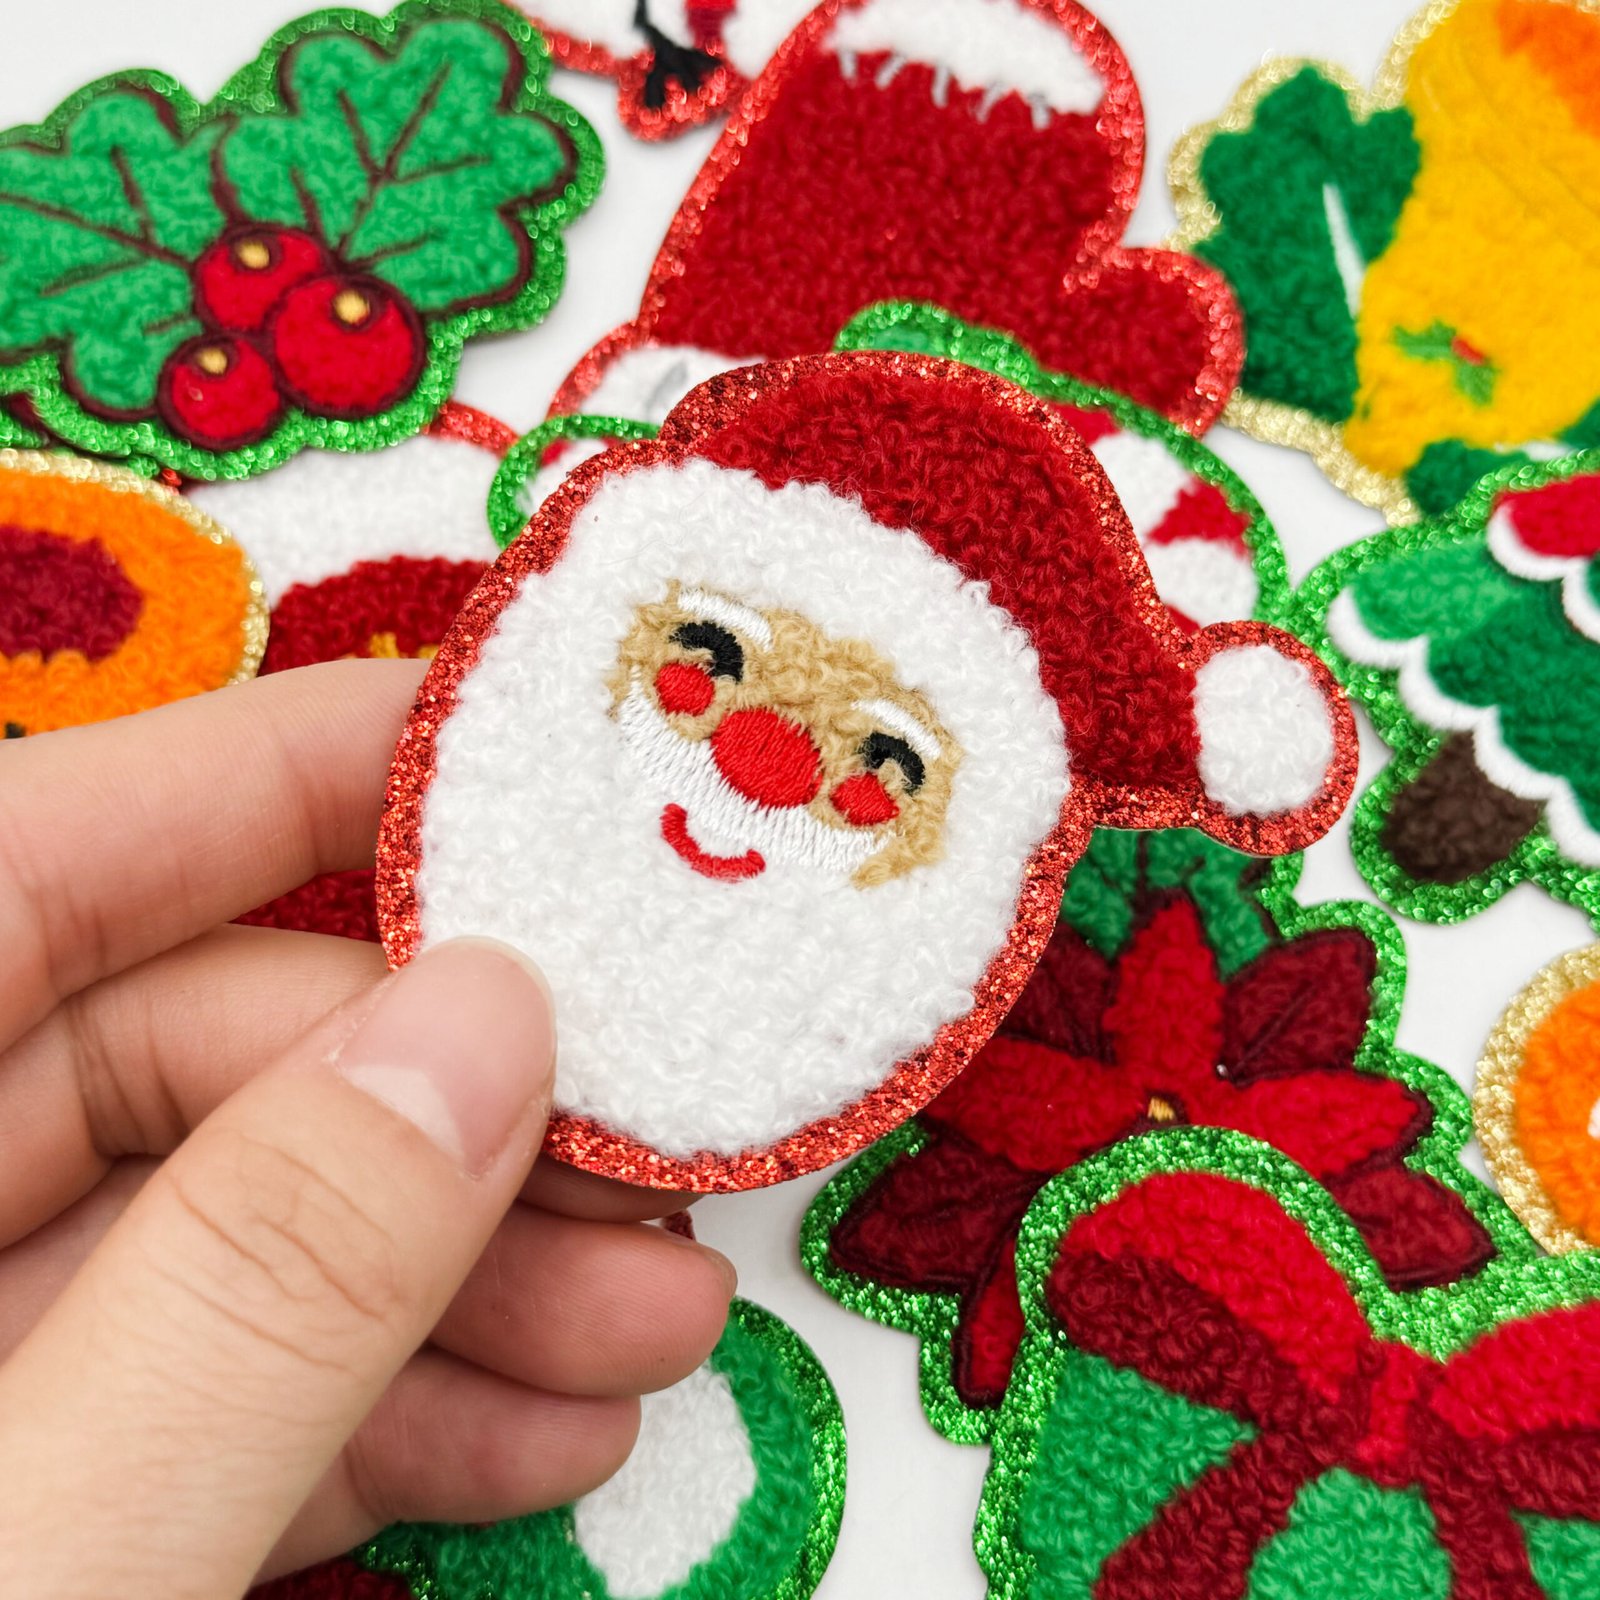
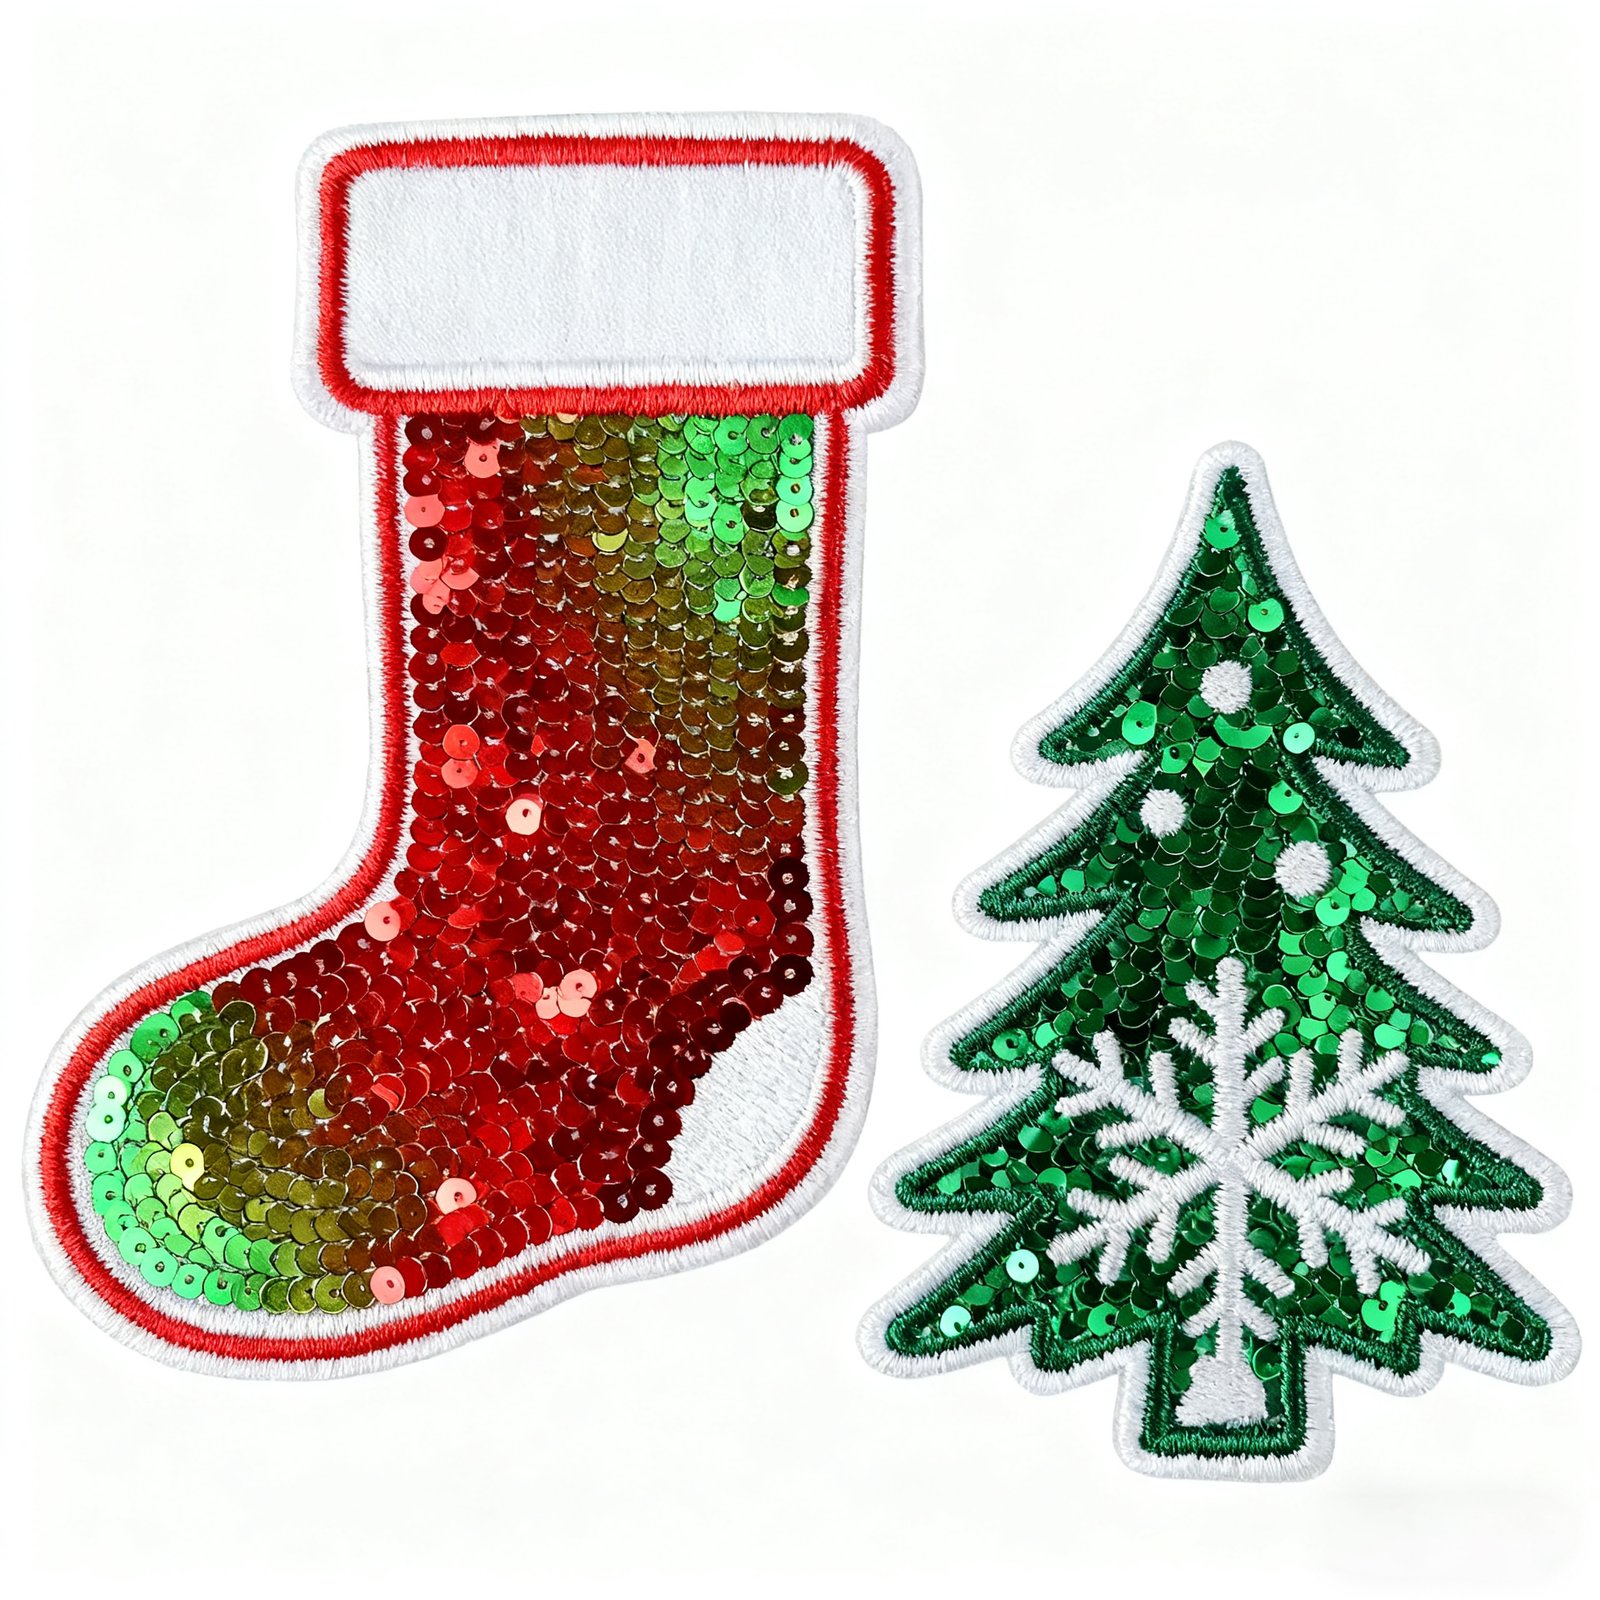
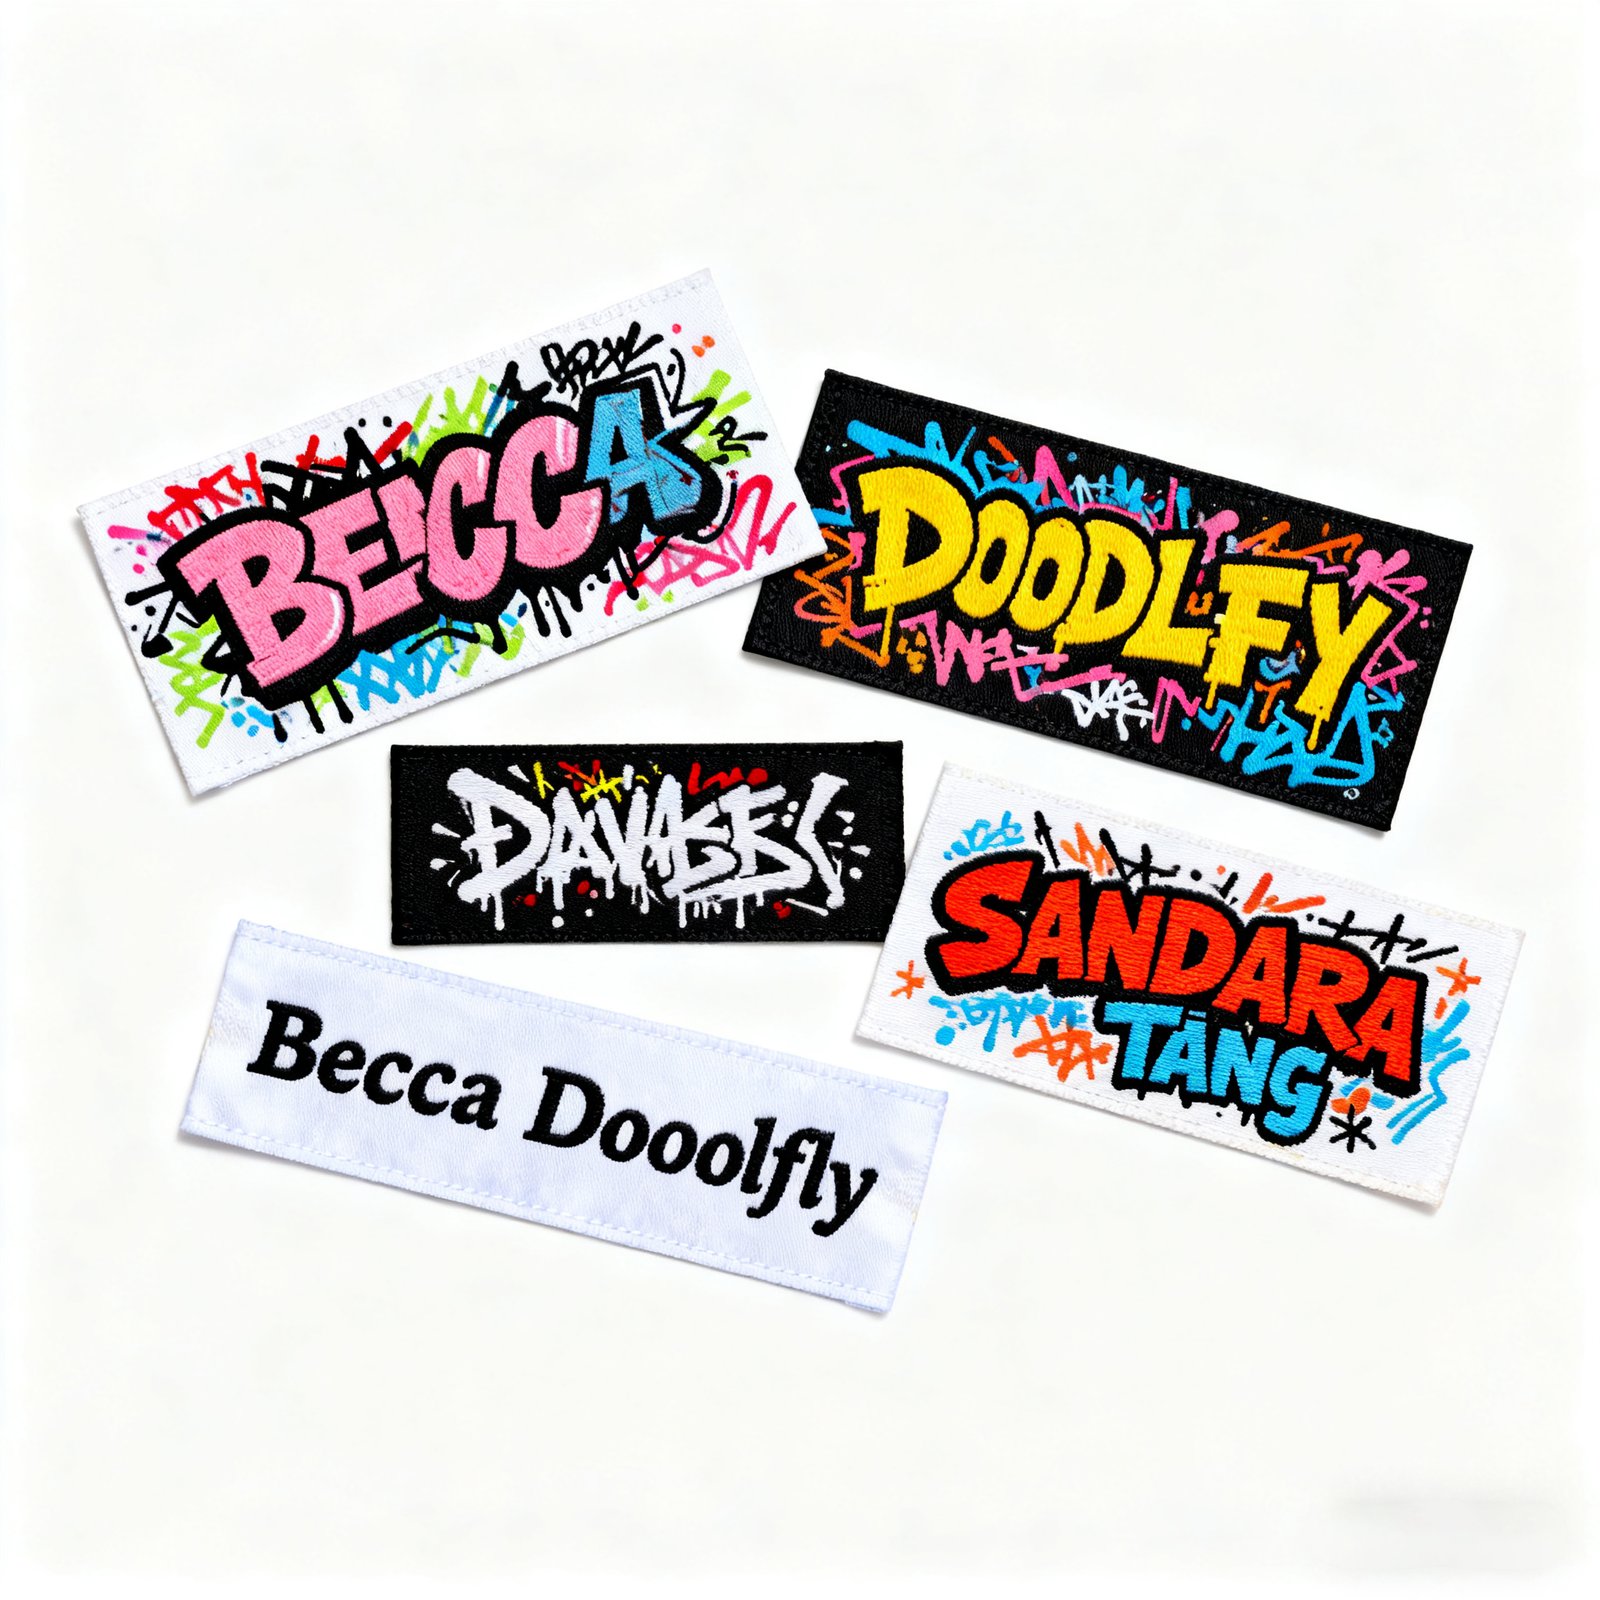
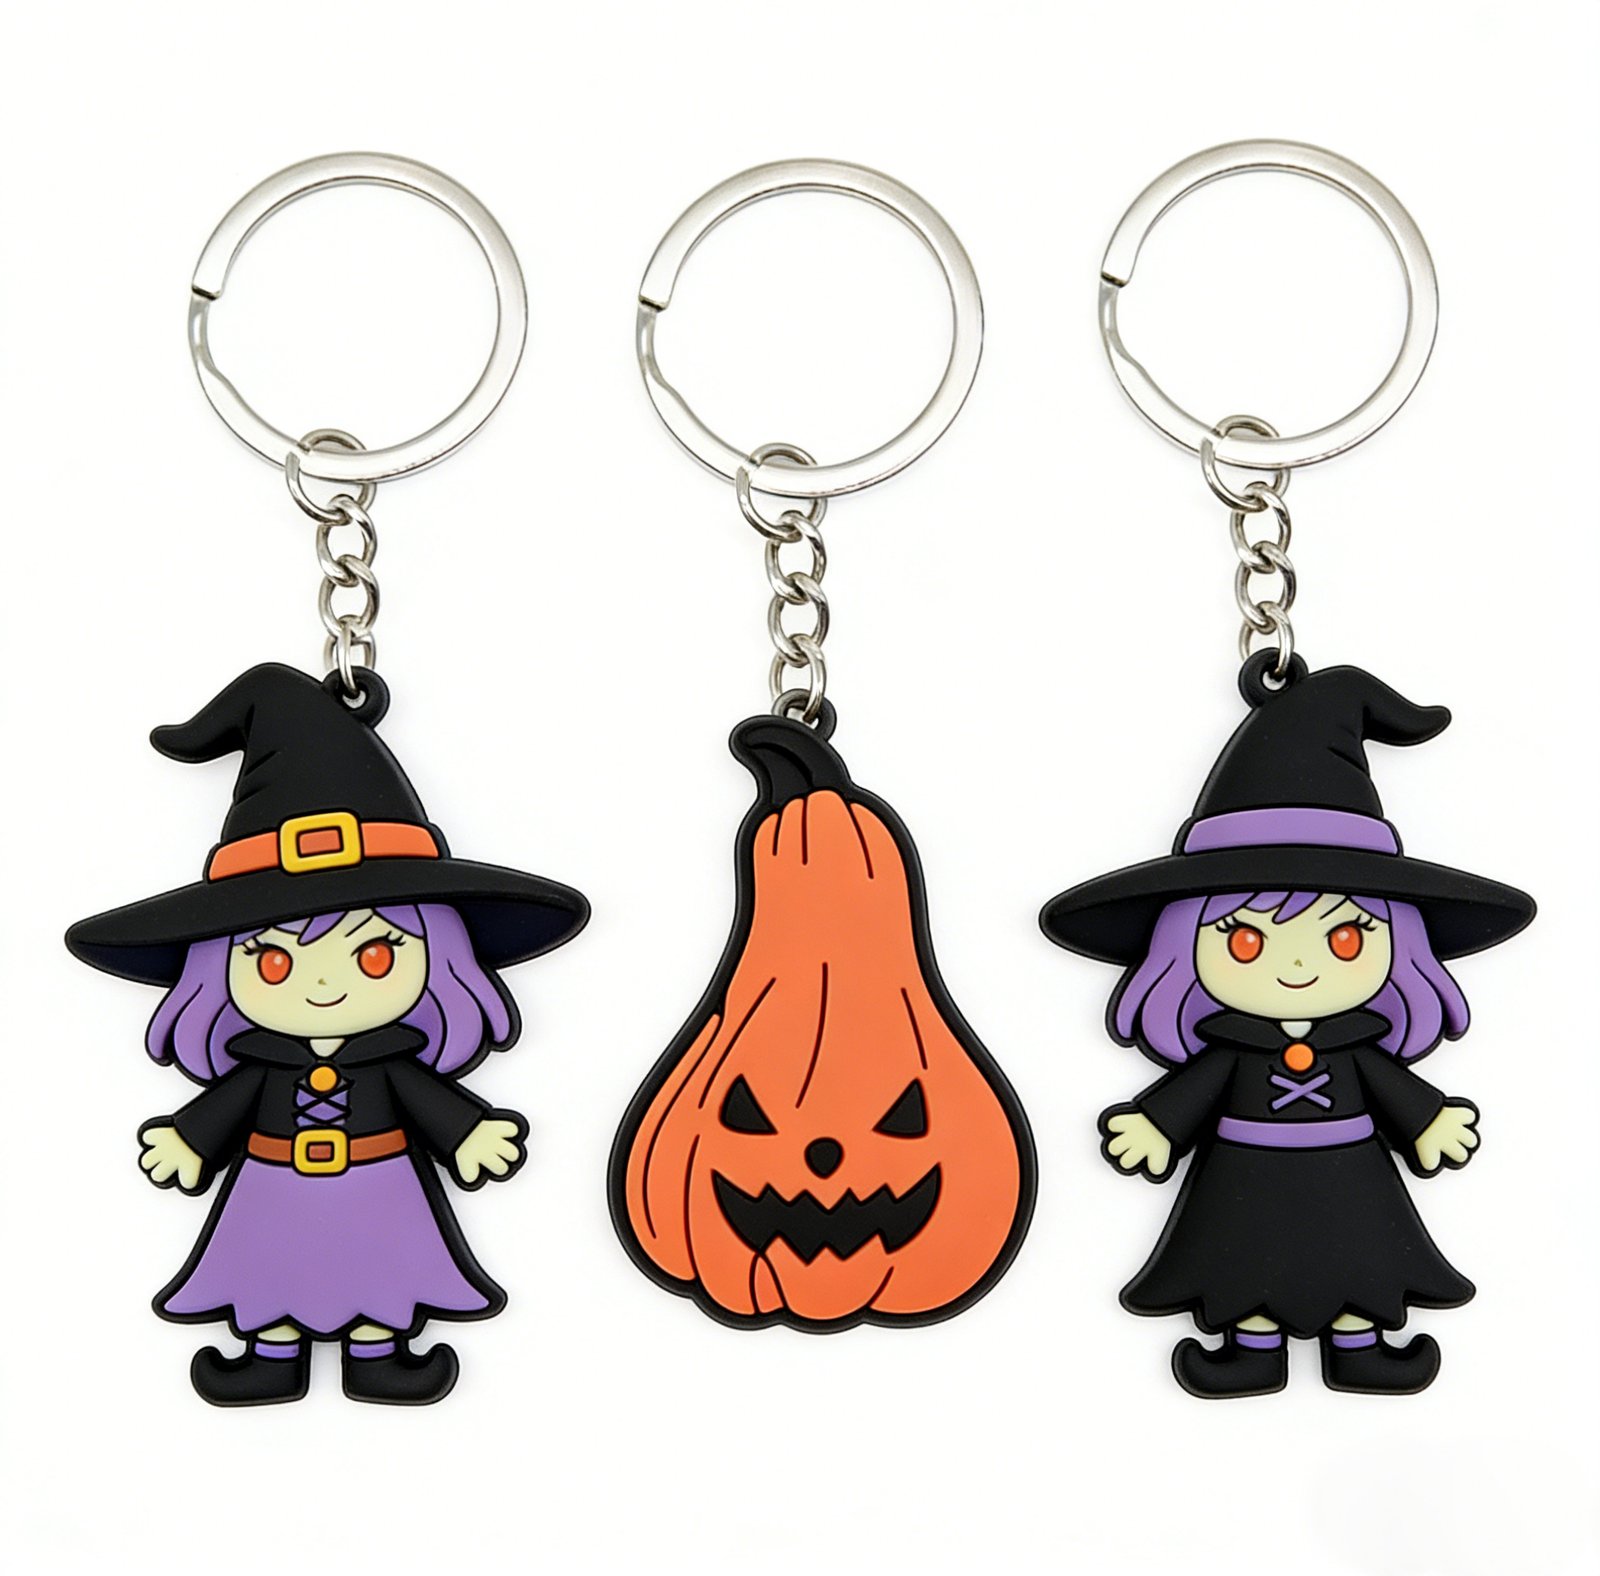
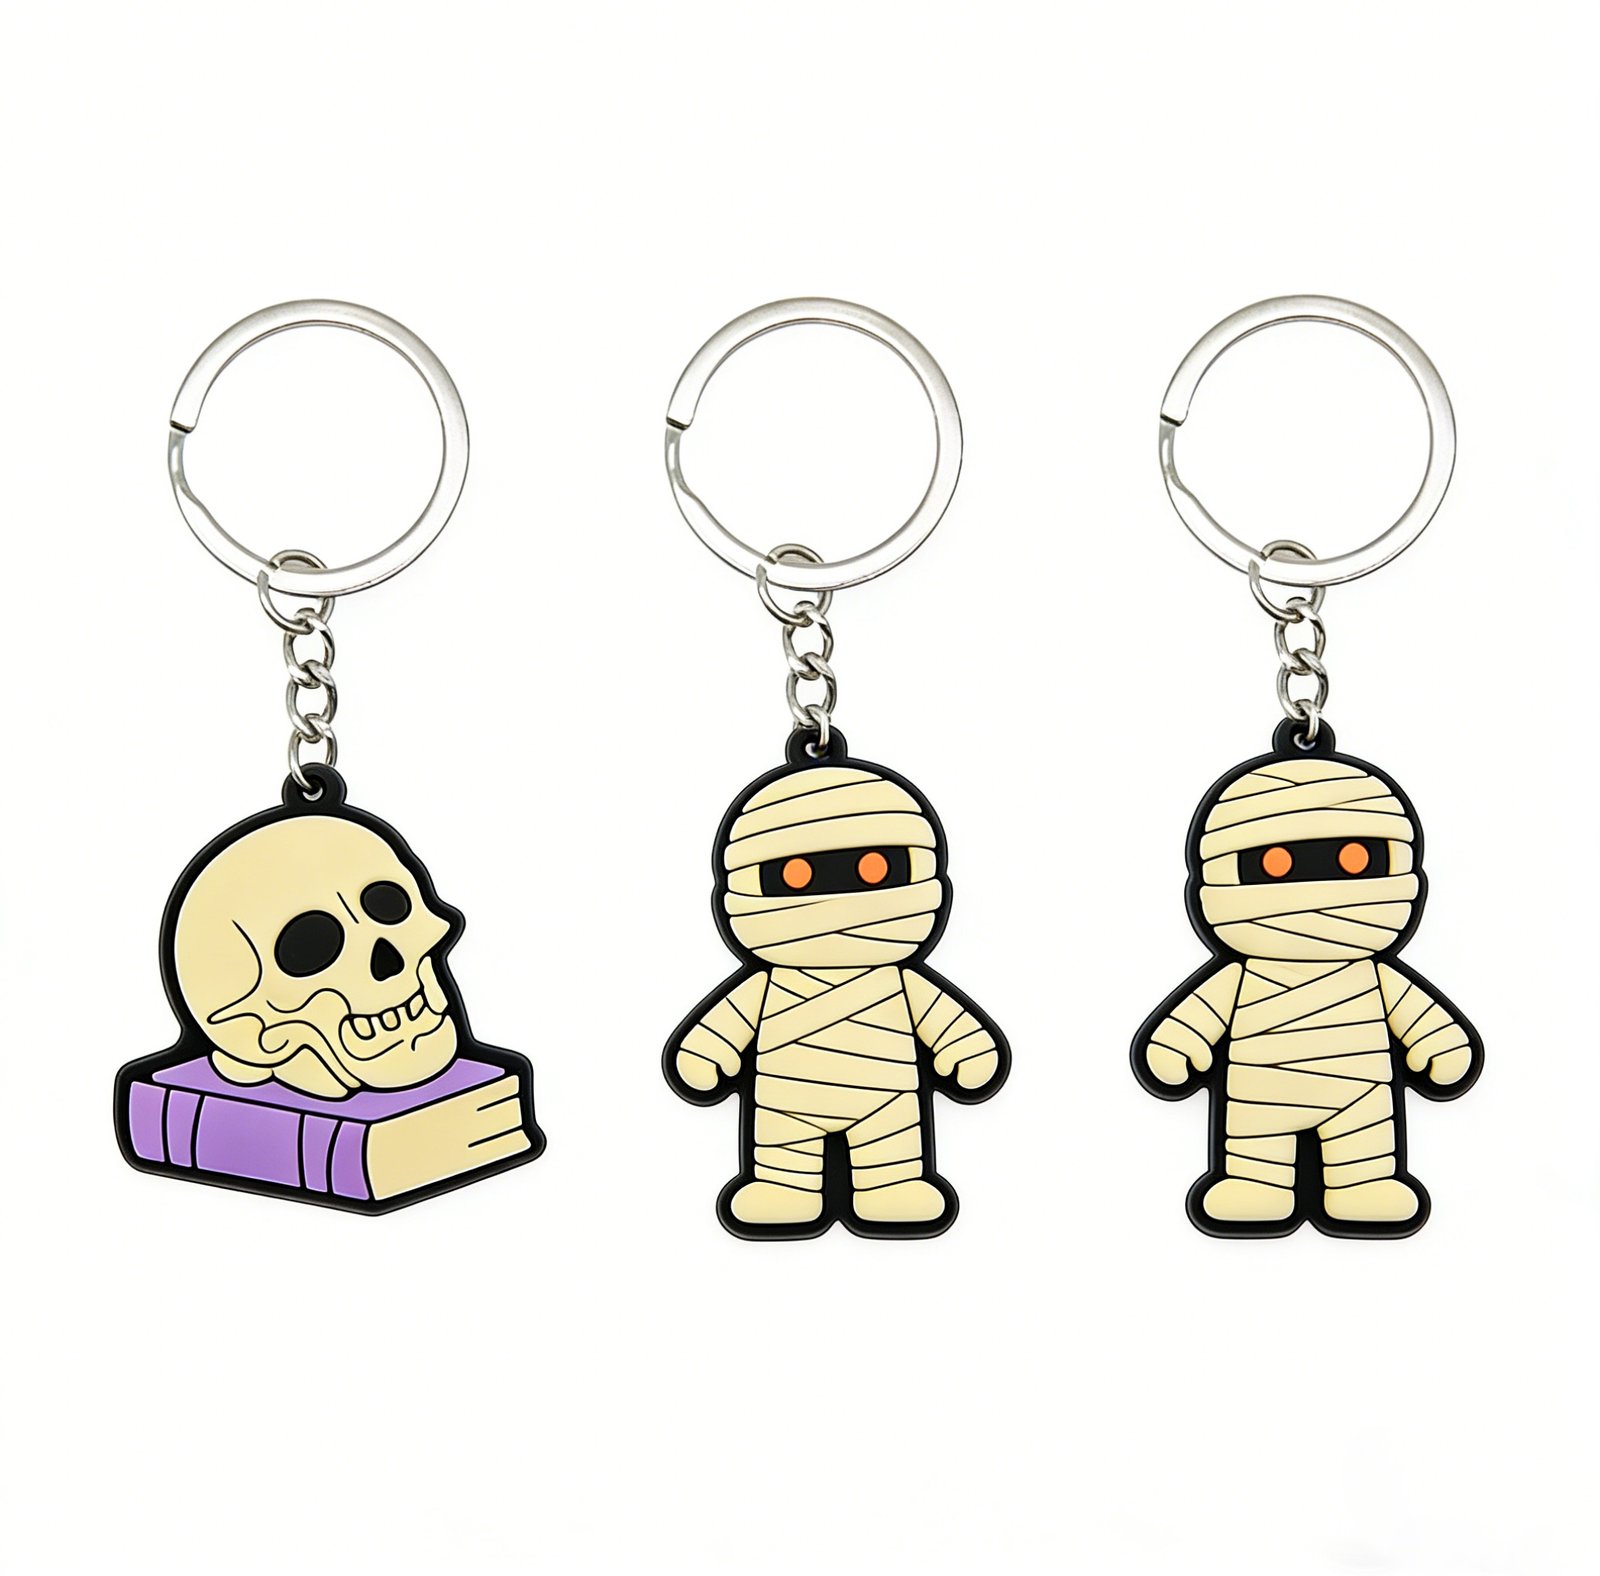
The event name, date, colour palette and sponsor hierarchy should be set before individual product proofs are prepared. Not every item needs to show every logo. A small PVC keychain may carry a simplified mark, while a metal medal can include a date and achievement message. A PVC patch or embroidered patch may use a distinctive icon that is recognisable on a jacket or bag.
Create an artwork matrix listing which marks and messages appear on each SKU. This prevents inconsistent event naming, repeated sponsor errors and a last-minute attempt to crowd the same artwork onto every format. For each piece, record the finished size, orientation, visible sides, colour references, attachment and packing. The supplier’s proof should reflect this matrix, not a collection of unrelated images.
Select products by moment, audience and distribution channel
Different event moments need different formats. Registration products should be functional and easy to count. Team or staff products should be durable enough for repeated handling. Recognition pieces should feel distinct from routine giveaways. Retail items should be selected for display, barcode placement and protective packing. A product can serve more than one role, but only if the construction and quantity make that realistic.
For example, a trade-show organiser may use printed lanyards for access, acrylic keychains for a lower-cost booth giveaway and limited metal coins for speakers or sponsors. A youth sports event may use PVC medals for participants, embroidered patches for team kits and wrist straps for coaches’ keys. A destination event may combine fridge magnets and bottle openers for retail with a small patch for the core registration package. The right mix is defined by audience and delivery plan rather than a generic “best-selling” list.
Quantity planning without over-ordering
Build quantities from the distribution plan. Start with confirmed registrations or forecast attendance, then add a practical contingency by product role. Staff, volunteers, speakers, sponsors, retail stock and replacement items should be listed separately rather than buried in one total. If a kit contains multiple designs or sizes, label the count by SKU and package type. This gives the factory a clean packing instruction and helps the receiving team identify shortages before event day.
Avoid using one product quantity as a shortcut for every item. A lanyard quantity may align closely with attendance, while medals are linked to finishers, patches to team uniforms, and retail magnets to projected sales. A well-structured forecast also helps decide whether individual kit assembly should be done at the factory or locally by the event team.
Send Your Requirements
Send your event date, attendance plan, artwork and distribution list. We can help turn them into a product, quantity and packing brief.
Packaging, registration and on-site handover
Packaging should make registration faster, not slower. If every attendee receives the same items, a pre-assembled kit may reduce on-site handling. If content differs by ticket type, team or sponsor level, separate packing and clear labels are more important than decorative packaging. Include any badge inserts, instruction cards, inserts, barcode labels or sponsor literature in the packing plan early because they affect dimensions and carton count.
Ask who will receive the cartons and where they will be opened. An event venue may have limited storage, while a fulfilment partner may require specific carton labels or pallet instructions. Mixed cartons can save freight space but make on-site sorting difficult. For multi-day events, consider releasing only the first-day products initially and keeping retail or recognition inventory separately counted.
Sampling and factory testing for an event kit
For a new programme, it is often worth sampling the items that carry the strongest brand message or have a functional requirement. Check lanyard width and attachment, logo repeat, patch backing, medal ribbon fit, hardware, and packing. Look at the collection together: do the event colours feel consistent across PVC, metal, acrylic and textile products? Does the hierarchy between event name, sponsor and date remain clear at real size?
During shipment inspection, verify SKU separation, pack counts, labels and cartons as well as individual product appearance. A kit order can appear correct when one item is inspected alone but fail at registration because designs are mixed or quantities are not sorted. Use the same quantity matrix that guided purchasing as the inspection and receiving checklist.
Turn the plan into a quote ready sourcing brief
Once the product direction is clear, assemble the information a factory needs to quote without guessing. Begin with a short project statement: who will receive the items, what action or memory the products should support, how they will be distributed and when they are required at destination. Then add a quantity table that separates designs, colourways, ticket or sponsor tiers, retail versus giveaway stock, and any replacement allowance. This is more useful than a single total because production, packing and shipment inspection follow SKU-level quantities.
For each item, list finished dimensions, artwork files, visible sides, target colours, material preference if known, attachment or backing, and individual packing. Where the decision is open, describe the intended result rather than inventing a technical answer. For example, “a durable badge for staff uniforms” gives the supplier a real application to assess; it is better than asking for a vague “best quality” material. Ask the supplier to identify any change that the finished size or construction requires, particularly around small text, narrow lines, logo placement or colour matching.
Make approvals easy to audit
Use a numbered proof for each SKU and keep feedback in one approval record. Confirm dimensions, spelling, dates, orientation, colours, hardware, backing, ribbon or webbing, and packing labels. When several internal teams review the programme, distinguish “approved,” “approved with changes” and “still under review.” A final proof should not leave room for a design team to assume one version while the factory produces another.
For multi-product orders, compare quotations using the same fields: material, finished size, decoration, components, packing, sample scope, production scope and freight or Incoterm scope. A lower quote may omit a feature or packing step that another quote includes. The goal is not simply to negotiate a lower number; it is to select the supplier and specification that accurately represent the project.
Quality control, approval and delivery preparation
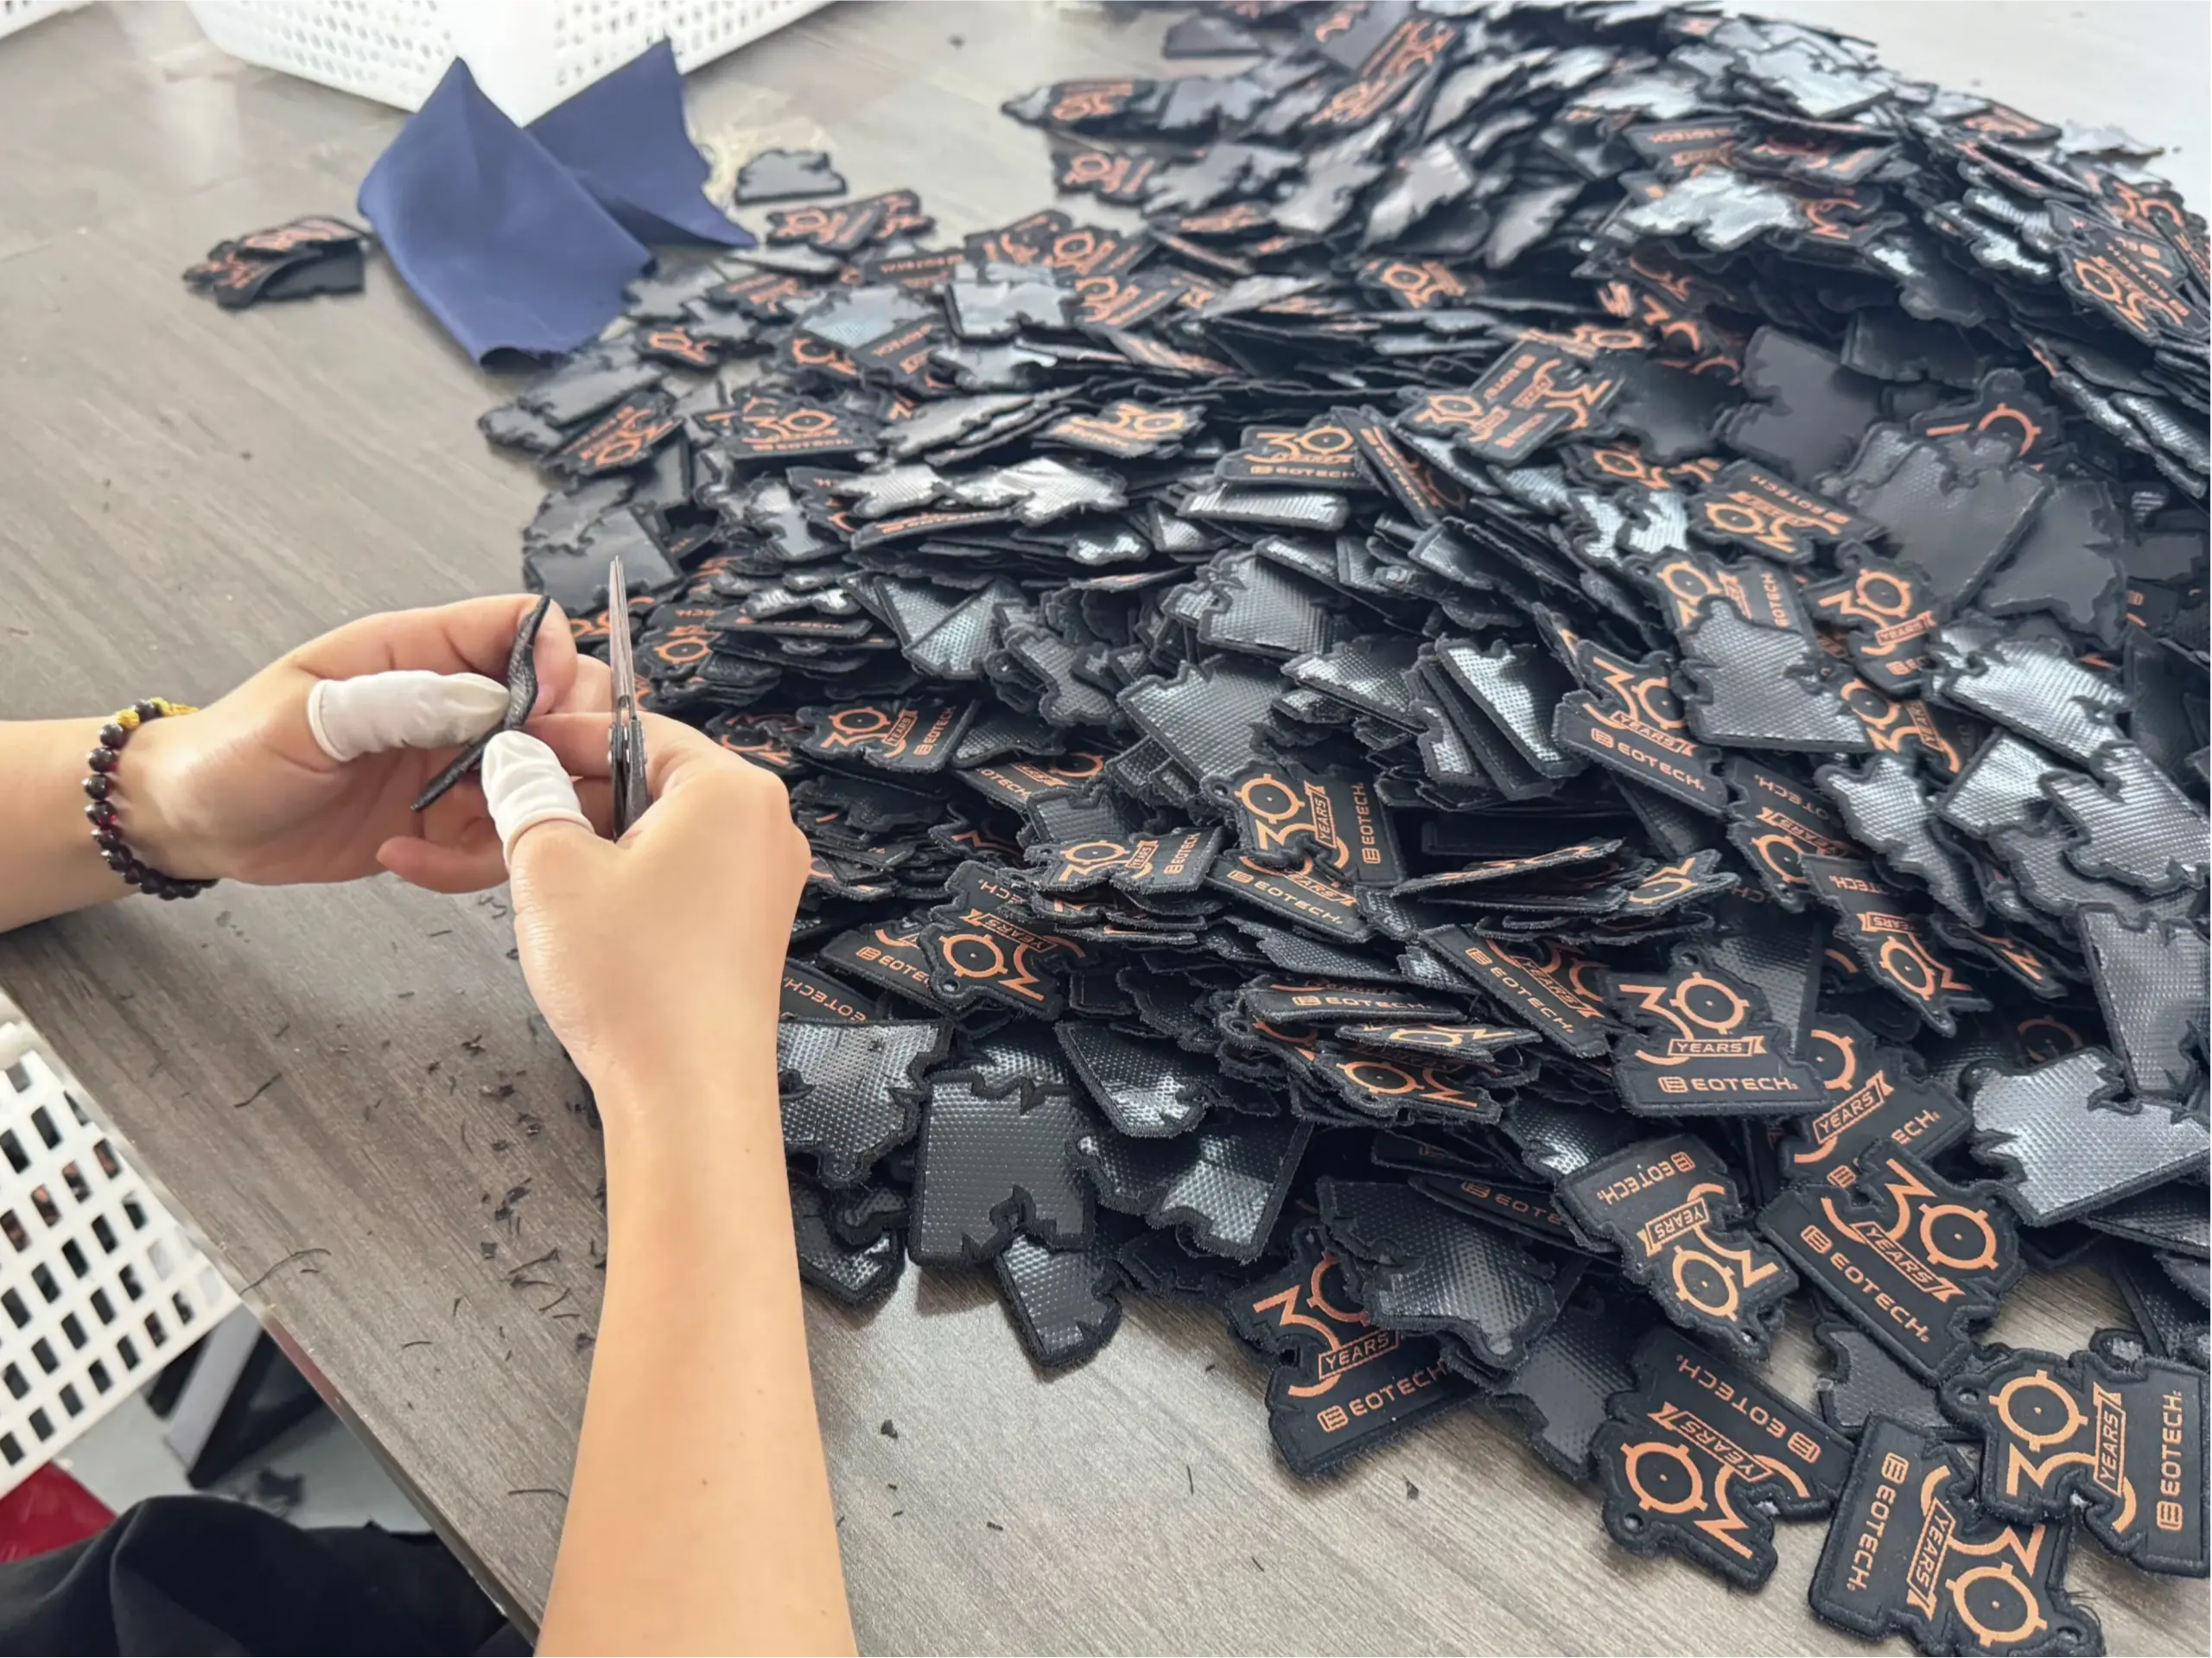
A complete brief gives the factory a repeatable target. Keep the approved artwork proof, any colour references, construction notes, packing layout and sample feedback together. During factory testing, check the features that matter to the recipient: visual consistency, dimensions, attachment security where relevant, surface condition and packing count. If an independent shipment inspection is planned, share these references before the visit rather than relying on a general instruction to “check quality.”
The same approach helps delivery planning. Agree whether goods are packed by design, destination, team, SKU or event session. State label language, carton markings and the receiving point. For a launch or event, work backwards from the required arrival date and allow time for proof approval, a sample where needed, production, inspection and transport. A realistic schedule is a better safeguard than a last-minute request for an unsupported delivery promise.
FAQ
Product detail from Heyang Craft. Should a buyer select the product before asking for a quotation?
Not necessarily. The most productive inquiry describes the audience, programme, quantity, budget context, deadline and intended use. A supplier can then recommend a focused set of options and explain the production differences.
How many designs should be included in one order?
Use the number that supports the programme without making sorting, approvals and packing unmanageable. Keep a clear quantity breakdown for each design, colourway and package. Mixed assortments should be specified before production begins.
When is a physical sample worthwhile?
It is particularly useful for a new construction, a new brand programme, premium retail packing, complex artwork or a project where multiple stakeholders must approve the result. Treat the approved sample as a reference for bulk inspection.
What should be checked before shipment?
Check finished goods against the approved proof and sample: visible detail, dimensions, assembly, packaging, counts and carton marks. Agree any market-specific or application-specific testing requirements in advance.
Conclusion
The right promotional product programme comes from matching a clear objective to a production-ready specification. Use the application to narrow materials and formats, preserve the design features that matter, and document approvals before bulk production. This approach makes quotations comparable, protects delivery planning and gives the recipient a product that feels considered rather than generic.
Send Your Requirements
Contact Heyang Craft with your artwork, quantity, destination and programme objective. We can help turn your idea into a clear product and packing brief.
Follow Heyang Craft: Facebook · YouTube · Instagram · TikTok