An embroidered chest patch can look sharp on the approval photo and still cause trouble on a jacket. The edge may sit too close to a pocket seam. The smallest line may disappear when the jacket is worn. A corner may lift after the first wash. Each problem calls for a different correction, and each is easier to catch while you still have one sample on the table.
Give the sample three checks before you approve the bulk run. Inspect the loose patch, attach it to the intended garment, then check it after the agreed care test. Keep the artwork revision and sample ID on the same record so the factory knows exactly which version to reproduce.
Measure the finished patch and read the smallest line
Lay the patch flat without stretching it. Measure the finished width and height at the widest and tallest points, including the border. For a round patch, record the outside diameter. Measure the usable garment area separately, especially if the patch sits near a zipper, seam or pocket opening.
For example, a buyer might specify a finished width of 70 mm with an agreed tolerance of ±2 mm. That would make 68–72 mm acceptable for width on that order. If the actual flat space is only 70 mm wide, agree on a smaller target or a stricter maximum before approval. Those numbers illustrate how to record an agreement. Set your own limits around the placement and what the supplier can reproduce.
Read the smallest required wording on the physical sample in normal light. Check closed spaces in letters such as A and R, punctuation, and the gaps between letters. Record the actual letter height in millimetres and mark any characters that merge. If the line is hard to read, ask the supplier to show the proposed change at the finished patch size before making another sample.
Confirm thread colours and inspect the border
Place the sample next to the approved thread swatch and the garment fabric under the same light. Check the logo, background and border separately. Note the thread brand or chart, code and placement for each colour so the reference is usable on reorders. If the colour looks different on the garment, show the supplier the patch and fabric together when you request a correction.
Run your eye around the entire border, including tight corners. Look for loose ends, gaps and exposed base fabric where the approved design calls for coverage. Check that the patch lies flat before you attach it. A clear photo of the affected corner, marked on a full front view, gives the production team a specific area to correct.
Attach the sample where it will actually go
Use a production garment or a swatch that matches the production fabric and construction. Share the fabric composition, stretch, placement and whether the patch will be attached to a flat panel before assembly or to the finished garment. The same patch may be easy to position on a flat panel and harder to apply beside a seam on a finished jacket.
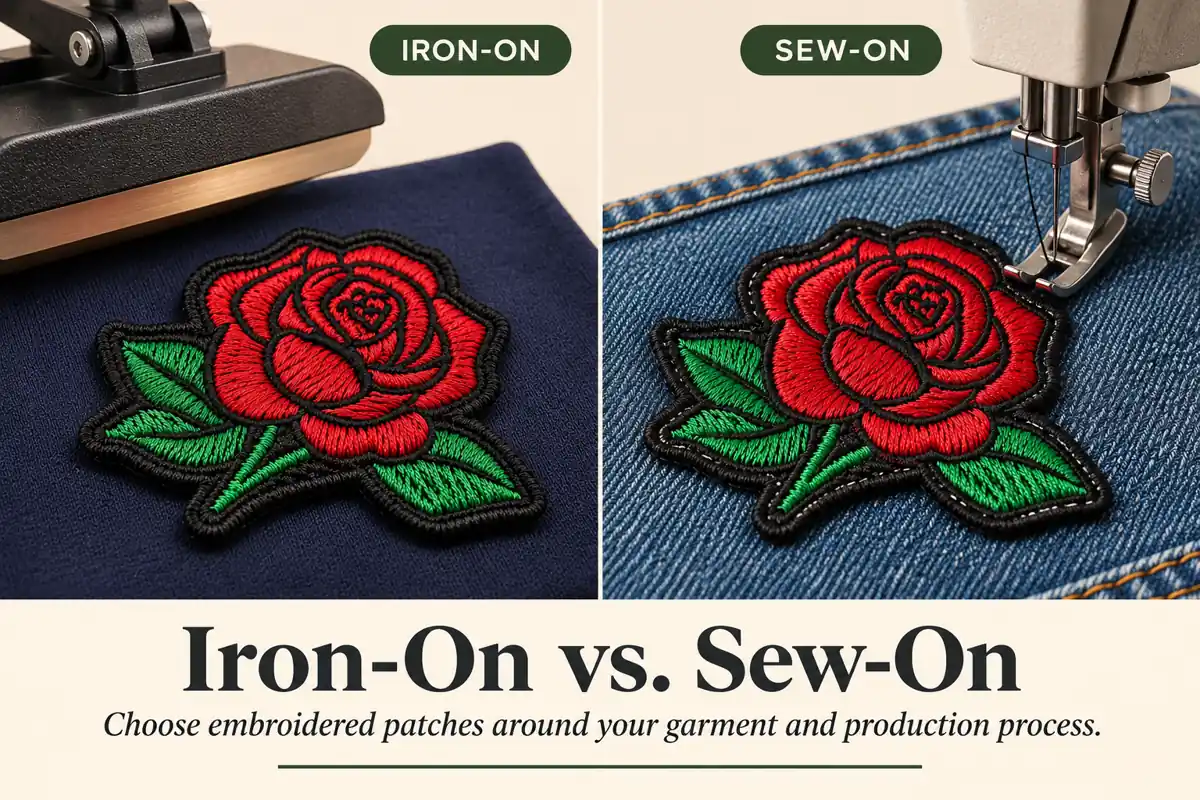
- Sew-on. Sew the sample in the intended position. Check whether the fabric puckers and whether the stitch line stays clear of the artwork.
- Iron-on. Ask the supplier for the application instructions for the proposed backing and fabric. Record the actual press settings and inspect the bond and garment surface after cooling as instructed.
- Hook-and-loop. Fit the patch to the intended loop panel. Check that it sits flat and lines up with the panel, then remove and reattach it to check handling.
For buyers still choosing an attachment method, see the iron-on vs. sew-on patch guide.
Inspect again after the agreed care test
Agree on the wash temperature, cycle count and drying method for the finished garment before testing. Photograph the sample before and after under similar lighting. Once dry, look for lifted edges, loose stitches, colour transfer to nearby fabric, and puckering around the patch. Record what changed and where. Application and care instructions vary by patch construction and backing. Manufacturer technical reference
If the installed sample needs a different backing or border, repeat the checks that could be affected by that change. Record the revised sample ID and have the supplier confirm which version will be used for production.
Copy this sample approval checklist
Order / style: ______ · Artwork revision: ______ · Sample ID: ______ · Reviewer / date: ______
| Check |
What to record |
Result |
| Finished size |
Target and measured dimensions including border, agreed tolerance, available garment space |
Pass / Revise |
| Smallest required text |
Exact wording, actual letter height, any letters or punctuation to correct |
Pass / Revise |
| Thread colours and edge |
Thread chart and codes, border type, any gaps or loose ends |
Pass / Revise |
| Installation |
Fabric composition and stretch, placement, backing, attachment stage and how the patch sits |
Pass / Revise |
| After washing and drying |
Agreed method and cycle count, before and after photos, any edge lift or colour transfer |
Pass / Revise / Pending |
Approval decision: Approved for bulk production / Revise and resubmit. Keep the signed-off sample or matching labelled reference with the order so purchasing, production and inspection can work from the same version.
Frequently asked questions
Can I approve the patch from photos alone?
Photos help check layout and visible stitching. If colour, fit, hand feel or wash performance affects the order, review a physical sample attached to the intended fabric before approving those points.
What should I send when requesting a sample?
Send the artwork, finished size, quantity per design, target fabric composition and stretch, placement photo, attachment stage and care requirements. To discuss your project, select Request a Quote on the custom embroidered patches product page.