A round team badge can look right with a thick thread rim. Put the same rim around a lightning-bolt logo and the sharp tip or narrow notch may change shape. Both patches could use the same thread colours and backing. The edge is the decision that changes how the outline reads.
Start with the finished shape. A merrowed border is a useful first sample for a round badge or a rounded rectangle with room for a visible rim. A heat-cut edge is worth sampling for an irregular logo with small turns, points or recesses you want to retain. Then check the actual edge profile and the space left for the artwork.
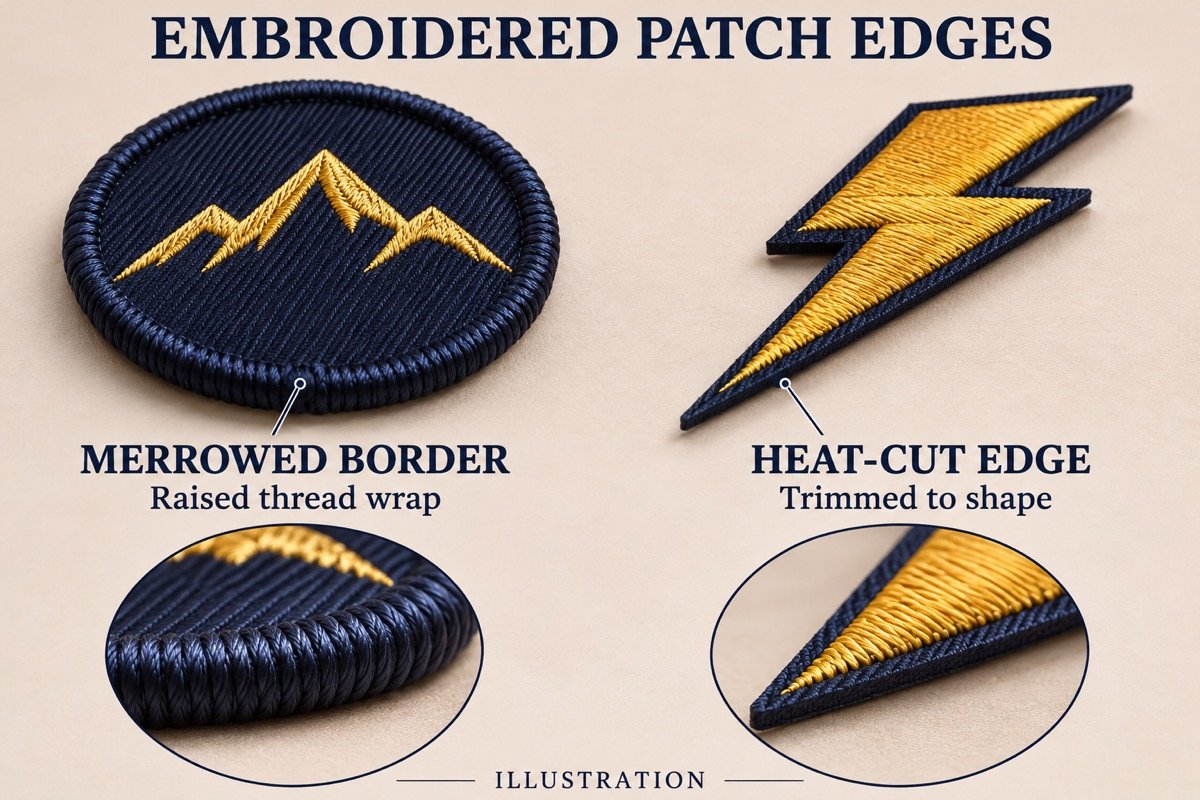
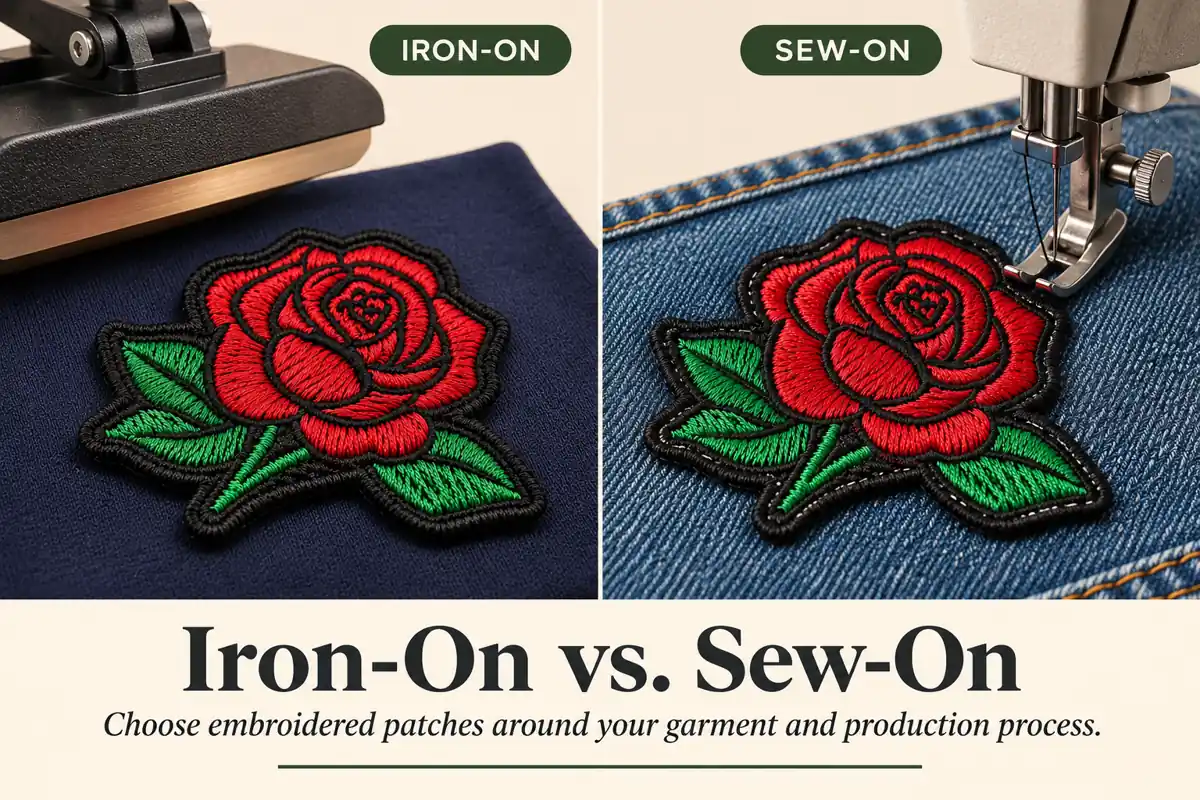
AI-generated illustration of a raised merrowed border and a heat-cut outline, with close-up views of both edges.
| What you are ordering |
Edge to sample first |
What to check |
| Round team badge or rounded uniform patch |
Merrowed border |
Rim width, evenness and room for text near the perimeter |
| Logo with a pointed tip or tight inside notch |
Heat-cut edge with a specified finish |
Which points and notches survive at finished size |
| A patch that fits between seams |
The option that meets your outside dimensions and desired profile |
Finished width including the edge and placement on the garment |
What a merrowed border adds
A merrowed border is a separate overlock stitch wrapped around the perimeter of the patch. It gives the edge a visible thread rim. On a circular club badge, that rim can work as part of the design, especially if the buyer wants an obvious frame. Ask for a sample in the intended border colour, and look at both faces to see how the thread wraps around the edge. Emblemtek’s merrowed border reference
Inspect where the border starts and ends. Check whether the join is noticeable, whether the width looks even and whether the shape matches the proof. If a slogan runs around the rim, measure the space between the stitched letters and the inner edge of the border. A clear preview at twice the intended size can hide a gap that feels cramped on the finished patch.
What to ask for on a heat-cut edge
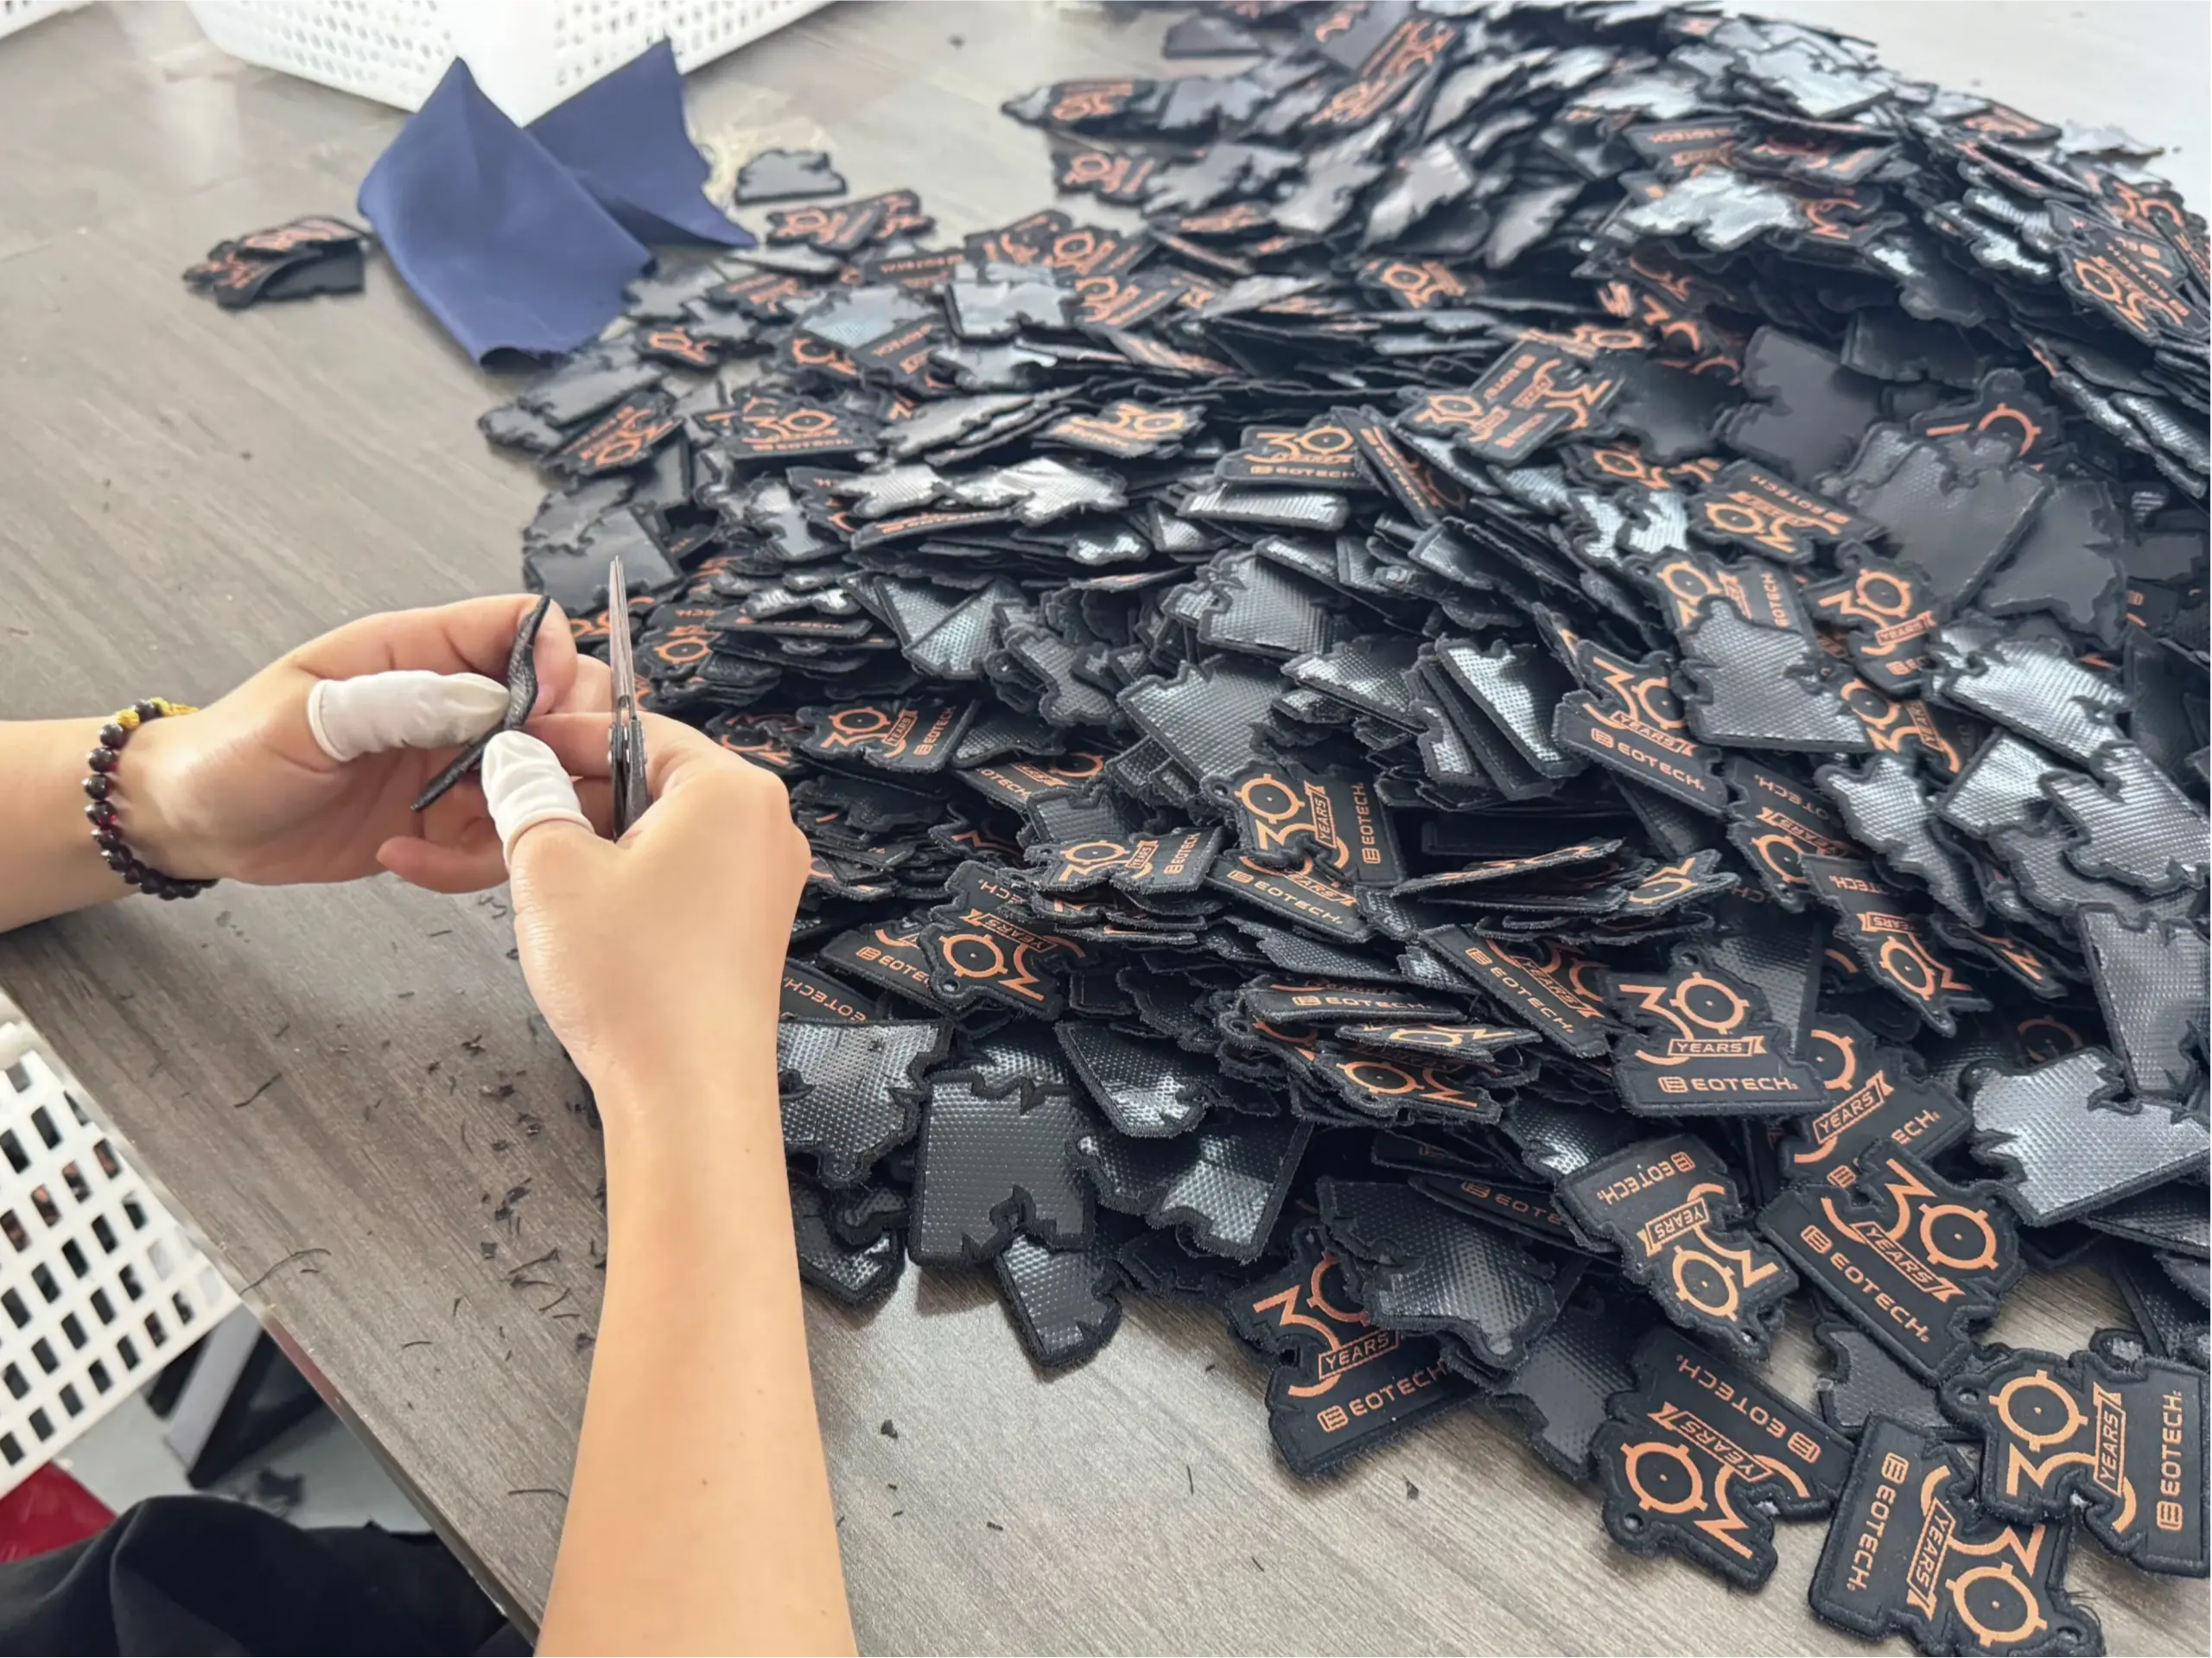
Heat-cut describes how the outline is cut. The visible finish is a separate choice. For example, a supplier may propose an embroidered line inside the cut, or an exposed cut fabric edge, depending on the material and design. Ask for a straight-on view and a side view of the finished sample so you can see both the outline and the edge profile. Emblemtek’s cutting and edge finish reference
For a lightning bolt, mark the tip and the inner notch on your artwork. Ask the supplier to show the proposed cut path at actual size and point out where it needs to round a corner or open a narrow gap. Check those same spots on the sample for shape, exposed fibres or visible marks along the cut. Agree on any outline changes before bulk approval.
Draw the outside edge and the artwork separately
Send an artwork file with the finished outer contour on a separate layer. Add the intended border colour and point out any lettering that sits near the edge. If the patch goes between two seams, give the supplier the available space and tell them which finished dimension is a hard maximum. Use the same backing, size and artwork when asking for two edge samples.
Suppose a round badge must finish at 70 mm across, and a 3 mm rim occupies that space on each side. The diameter inside the rim is about 64 mm before adding any extra clearance around the lettering. Those are example dimensions. Ask your supplier to mark the proposed rim width and the usable artwork area on the proof for your order.
Approve the edge on the physical sample
Lay the sample flat beside a ruler. Compare the outside measurements with your proof, then inspect the rim join, the tightest turn and any text closest to the edge. Attach the patch to the intended garment and check whether it sits flat and leaves enough clearance from seams. If the project calls for a wash check, record the agreed wash and drying conditions and inspect the edge again afterwards.
Save the sample ID, artwork revision, edge method, thread colour and backing with the order. For more checks before bulk approval, see the embroidered patch sample approval checklist.
Frequently asked questions
Can a heat-cut patch still have a stitched border?
Yes, depending on the construction. Ask for the cut line and the visible stitch line to be shown separately on the proof. That helps both sides agree on what the customer will see.
Is a merrowed border only for round patches?
It can also work on other outlines, such as rounded rectangles and some shields. Have the supplier review the actual artwork if the shape includes sharp turns or tight recesses.
What should I send for an edge recommendation?
Send your artwork, finished size, attachment method, placement photo and quantity per design. Mark the parts of the outline that need to stay sharp and tell us if you want a visible thread rim. Select Request a Quote on the custom embroidered patches product page.