A delivery of embroidered patches can match the approved artwork and still leave a uniform project unfinished. The patches have hook backing, but the garments have no loop panels. Someone then has to source the missing pieces, confirm the fit and arrange sewing before the patches can be used.
When ordering hook-and-loop embroidered patches, define both sides of the attachment. Decide what arrives on the patch, what belongs on the garment or bag and who installs each part. Those decisions belong in the quotation and sample approval notes.
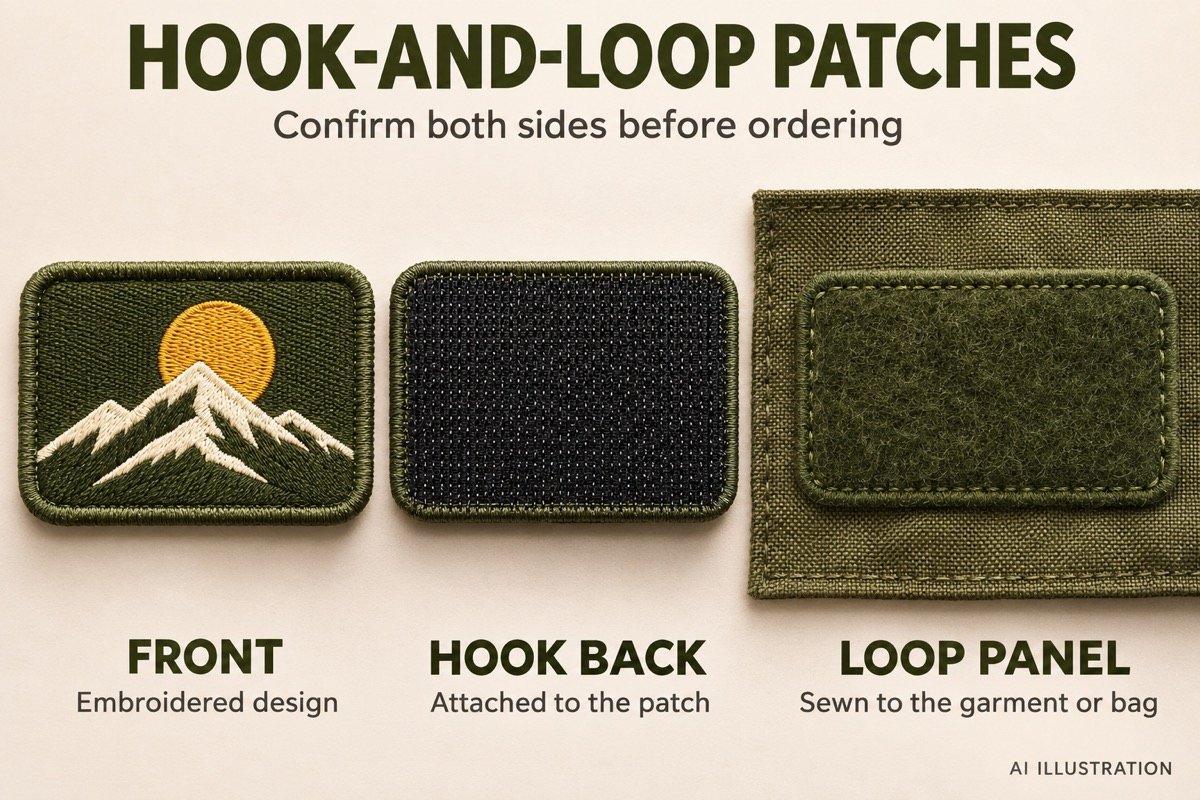
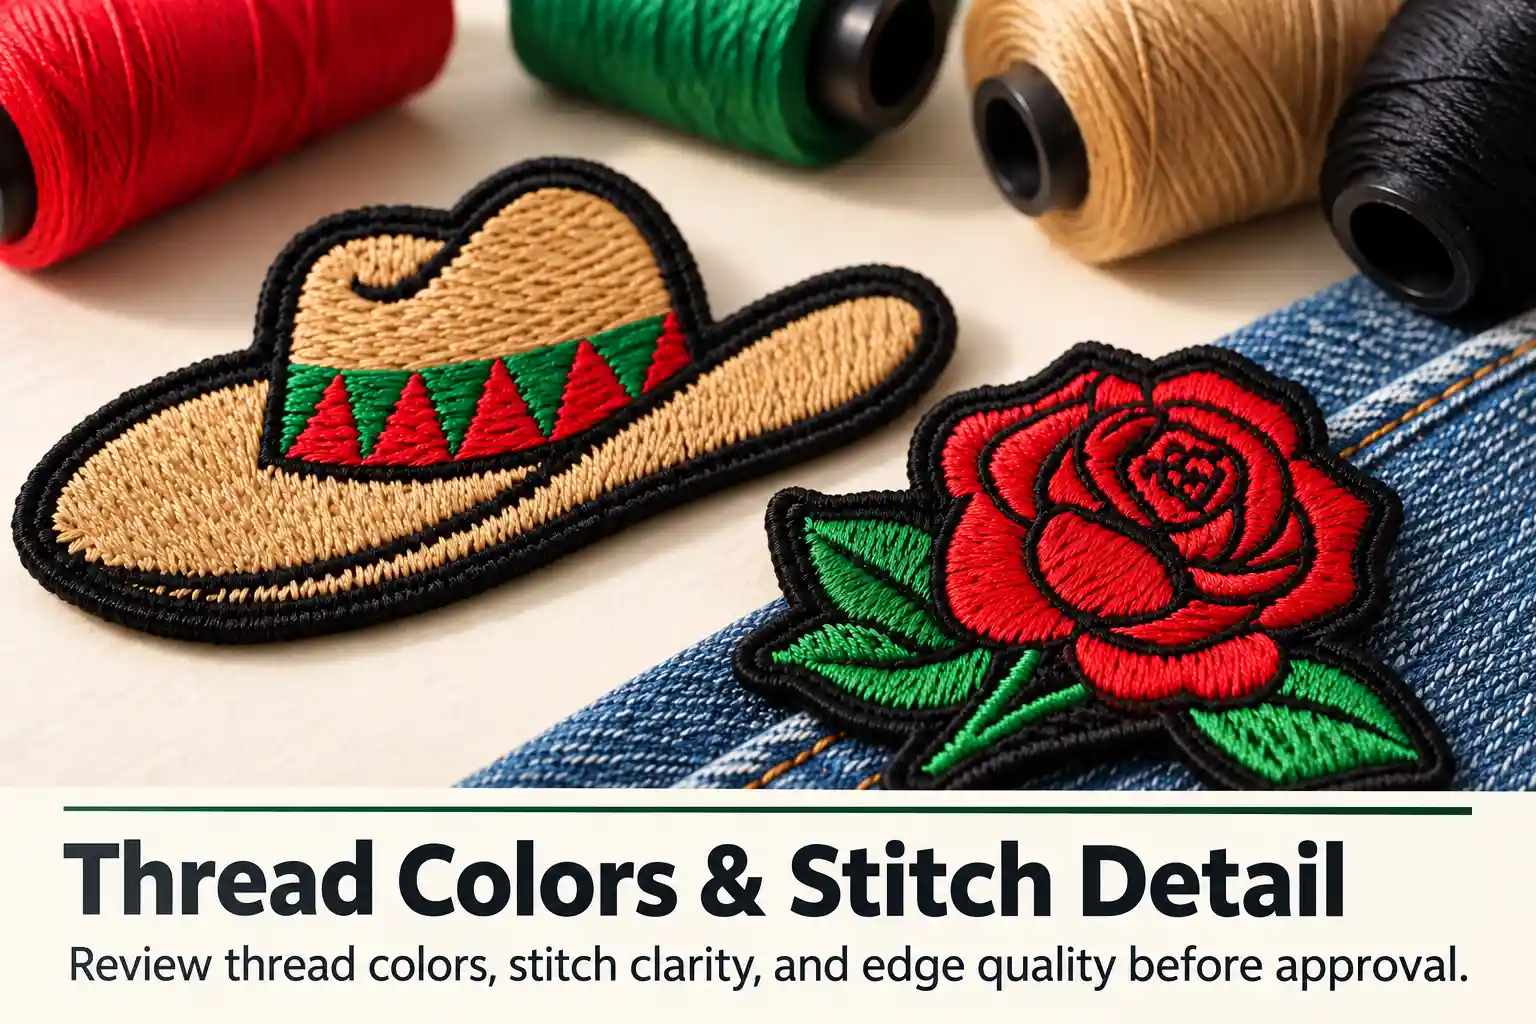
AI-generated illustration of a common removable patch arrangement. Confirm the supplied components and installation on the actual sample.
Understand the hook back and the loop panel
In a common removable patch arrangement, the back of the embroidered patch carries the hook side. A matching loop panel is fixed to the garment or bag. The two surfaces engage when pressed together, allowing the patch to be removed while the panel stays in place.
Ask the supplier to label a front view, a back view and the separate mating panel. A photograph of the embroidery alone cannot confirm the supplied backing. If the buyer already has garments with loop panels, send a sample of that panel so the supplier can check the proposed hook material against it.
Use hook-and-loop as the generic specification. If a particular fastener brand or grade is required, name it separately and request confirmation of the material being quoted.
State whether the order includes both sides
Write the supply scope as a line item rather than relying on a product photograph. Distinguish a hook-backed patch from a patch supplied with a loose loop panel, and distinguish both from a patch already installed on a finished garment.
| Order arrangement |
What the buyer should confirm |
| Hook-backed patch only |
Existing loop panel size and compatibility |
| Patch plus loose loop panel |
Panel shape, dimensions, quantity and installation responsibility |
| Patch and panel installed on an item |
Actual item model, location and installation stage |
For example, 200 patches for 200 new bags might require 200 loop panels. A replacement order for bags that already have suitable panels might require none. These are order-planning examples, not a minimum quantity or a standard packaging rule. State the quantities for each component explicitly.
Check the shape and the installed thickness
Specify the finished patch width and height including its border. Then specify the loop panel dimensions separately. Ask for a drawing that shows the relationship between the two outlines, including any sewing allowance needed for the chosen installation.
Avoid assuming every matching panel must be exactly the same size as the patch. The final outline depends on the design and how the panel will be sewn. Agree on how much panel, if any, may remain visible after the patch is attached.
On the sample, inspect the corners and border from the front and side. Check for exposed hooks, lifted edges and an uneven profile. Review the patch edge options if the outline has tight corners or an irregular shape.
Plan how the loop panel reaches the garment
Tell the supplier the fabric composition, stretch and intended location. Confirm whether the loop panel will be sewn onto a flat component before assembly or onto an already finished item. Access behind a pocket, lining or structured cap can change the installation plan.
Choose the mounting method for the actual material. Velcro Companies identifies sew-on fasteners as suitable for fabric attachment and cautions against assuming its general adhesive-backed products suit fabric. Follow the instructions for the specific product selected. Fastener application reference
Ask the installer to demonstrate the proposed stitch line on the actual garment or bag. Inspect the reverse side as well as the face: the location should work without unintentionally closing a pocket or producing uncomfortable bulk. For cap placement, consult the hat patch guide.
Approve the working assembly before bulk production
Approve the patch attached to the selected loop panel on the intended item. Check the artwork, smallest required lettering, thread references, finished dimensions, placement and contact across the patch. Remove and reattach it to judge handling and alignment.
If repeated opening or washing matters, agree on the test method, repetitions, care conditions and acceptance criteria before sampling. Record the result. A few hand checks help assess handling; they do not establish a service-life claim.
Keep the hook surface protected during storage. Velcro Companies notes that lint can collect in hooks and recommends engaging its hook-and-loop fasteners before washing. Confirm care instructions for the complete patch, fastener and garment combination. Fastener care reference
Keep the approved material references and sample ID with the sample approval checklist. Check substitutions against that reference before accepting a repeat order.
Frequently asked questions
Does hook backing include the soft loop panel?
Only if the quotation says so. List the loop panel as a separate included component when required, with its dimensions and quantity.
Will a new patch fit an existing loop panel?
Send the panel dimensions and a physical sample for checking. Review both the outline and how the proposed hook material engages with that panel.
What should I send for a quote?
Send artwork, finished size, quantity per design, hook and loop requirements, item photos, fabric details, placement and installation responsibility. Include the delivery destination and care requirements. Use Request a Quote on the custom embroidered patches page.