A logo on a polo and the same logo on a jacket can require different production decisions. Before ordering custom embroidered patches, decide whether you want a separate badge or stitching worked directly into the garment. That choice affects the appearance, application work, stock planning and cost of the finished item.
Quick answer: choose embroidered patches when a visible badge suits your design or when you want to produce emblems before allocating them to garments. Consider direct embroidery for a logo that should sit directly on the clothing without a separate patch outline. For either option, approve a sample on the actual garment before committing to a bulk order.
1. Compare the Finished Garment, Not Just the Logo
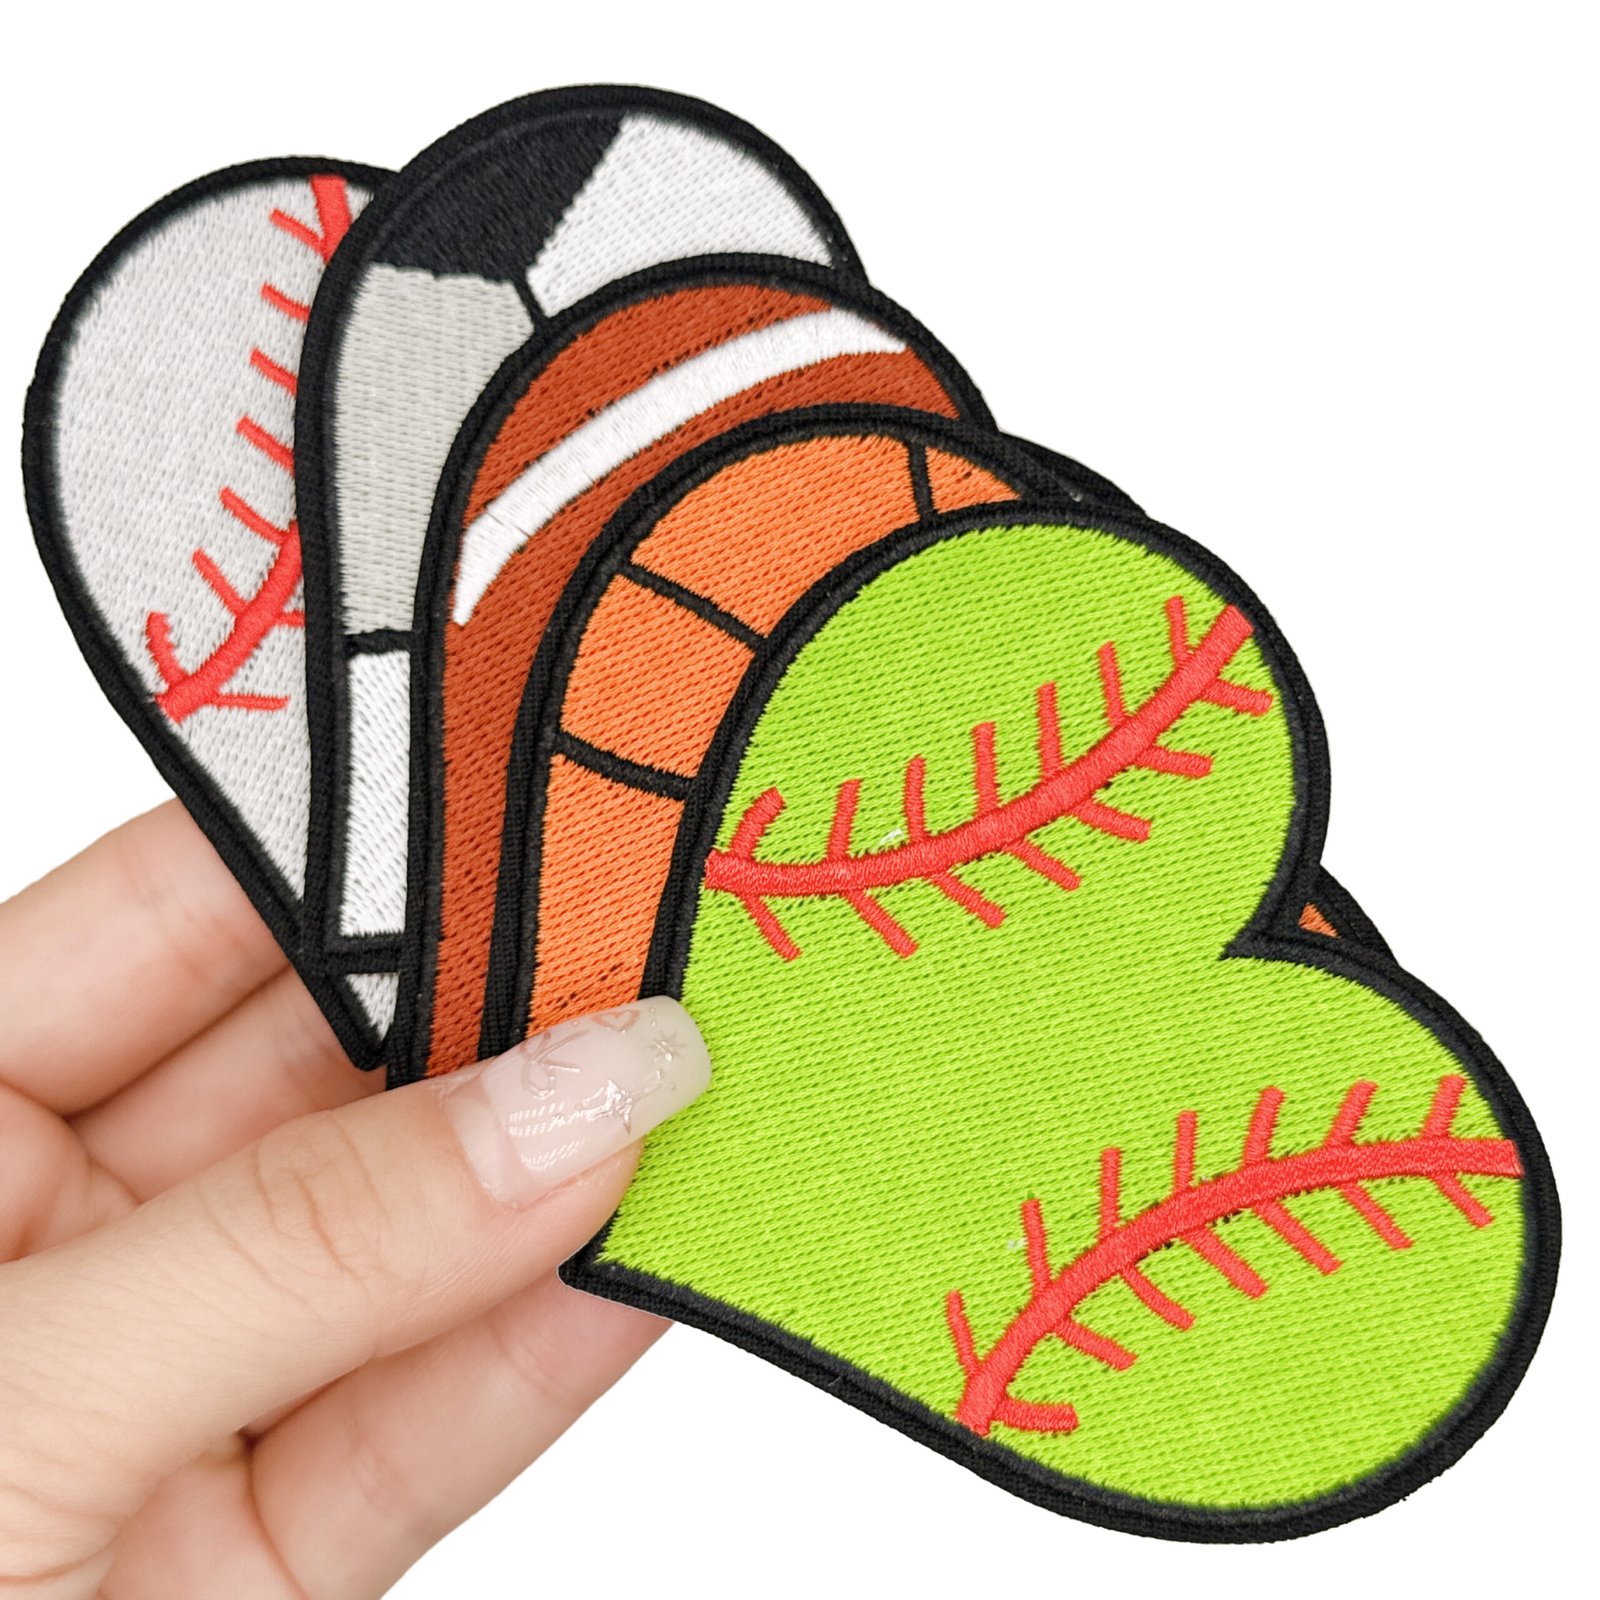
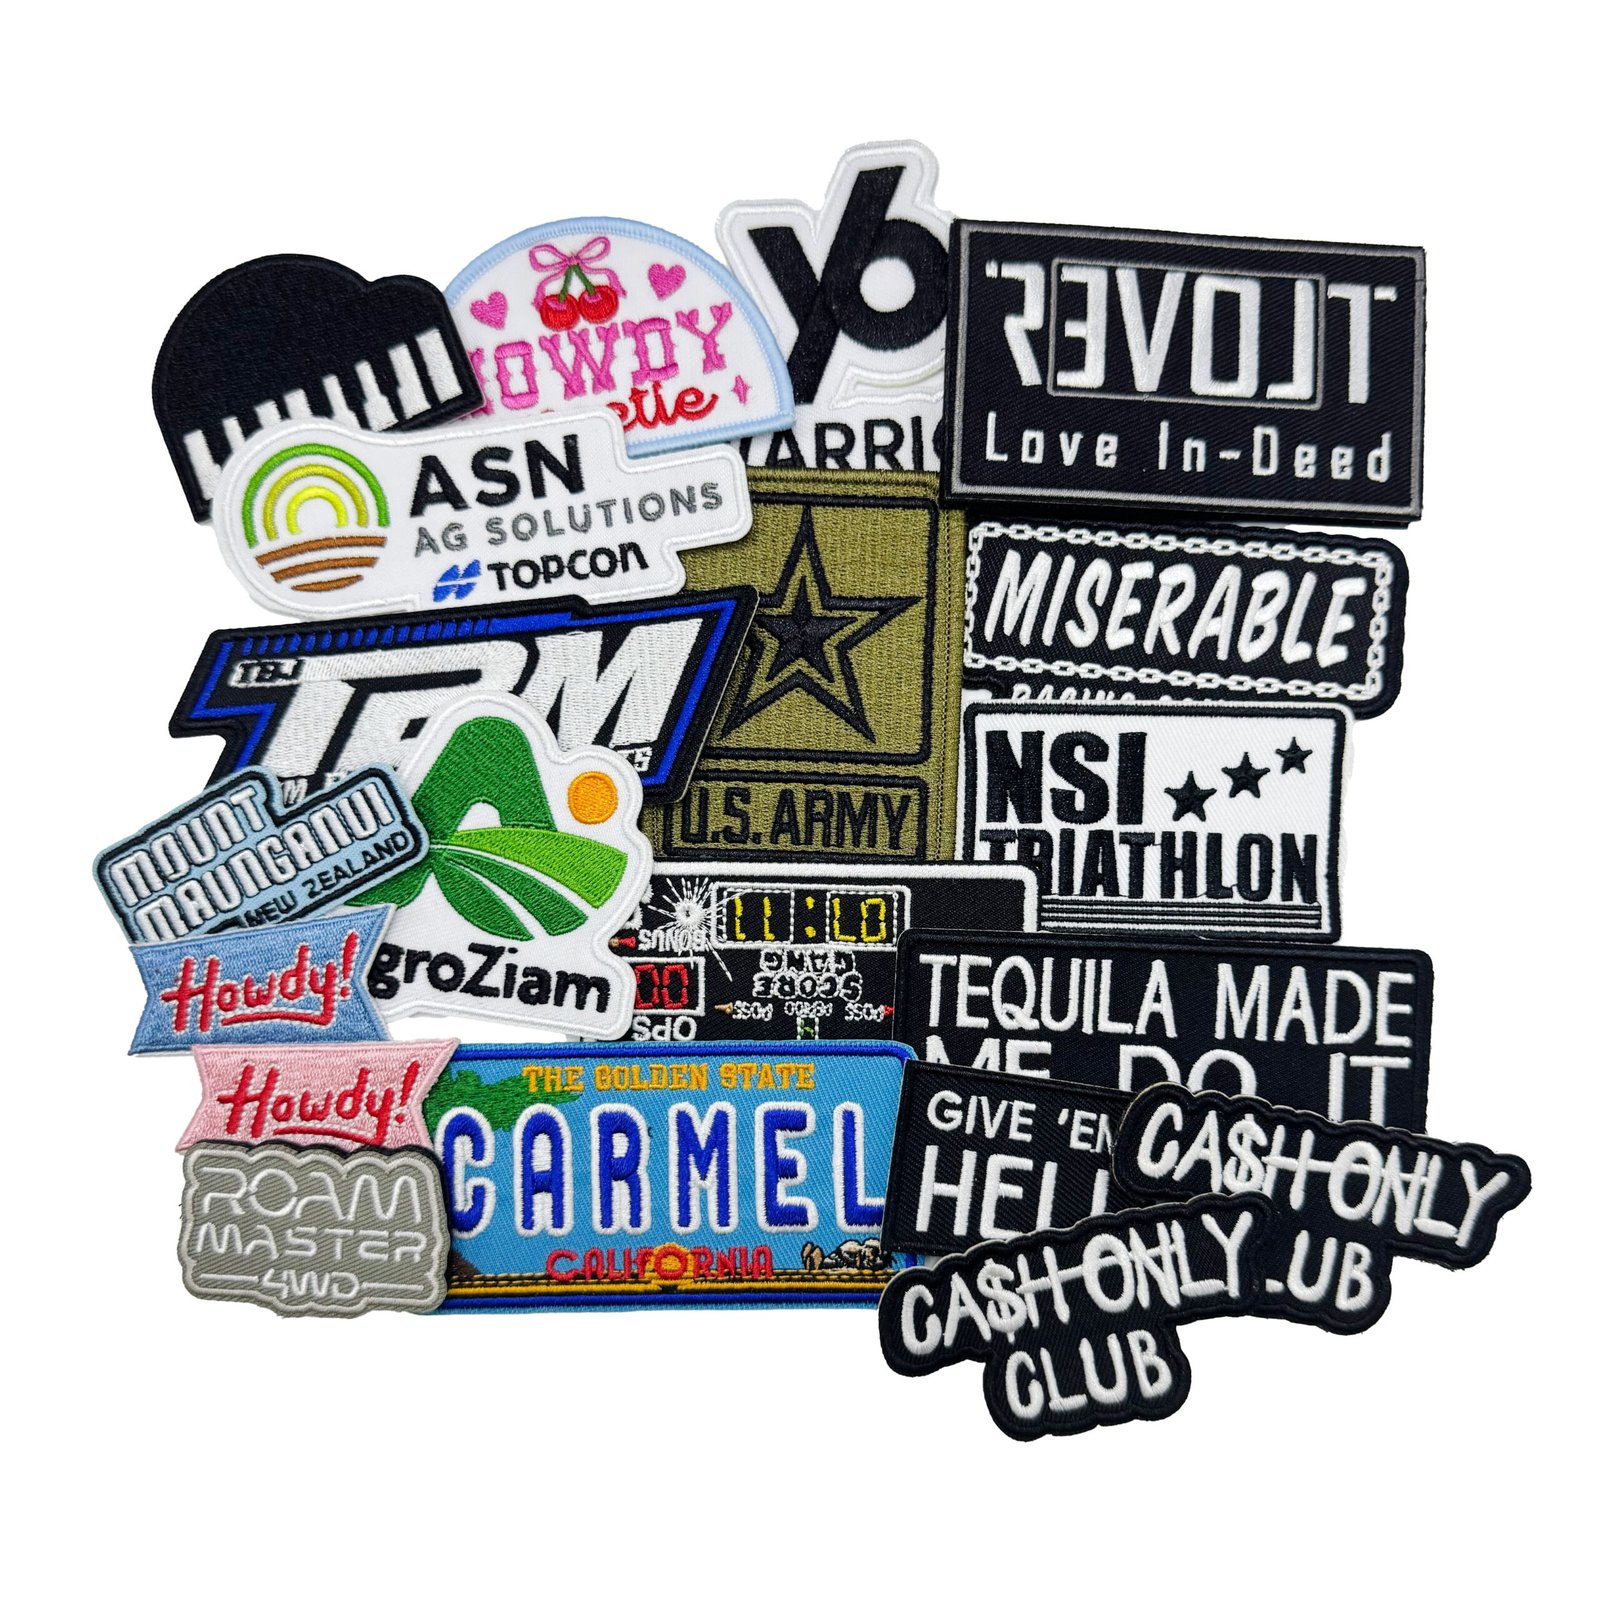
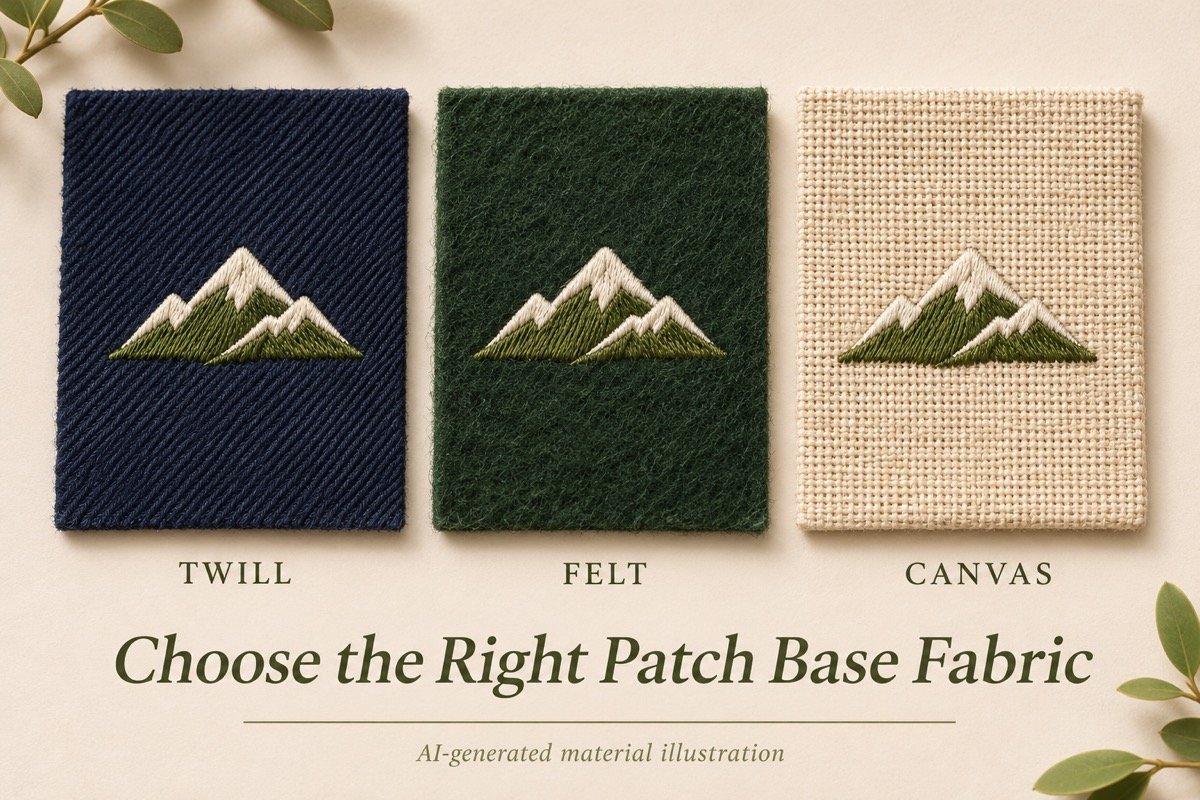
An embroidered patch is stitched on a separate textile base and then attached to clothing. Direct embroidery stitches the design into the garment itself, with suitable stabilizing materials and production settings.
The border and base are part of a patch’s appearance. They can frame a crest or give a collection a recognizable badge style. Direct embroidery leaves the surrounding garment visible between design elements, although supporting materials may remain on the reverse.
Neither method automatically solves fine lettering. Both use stitches, and a patch can still lose small details. Review the smallest text and open spaces at the intended production size. If the design cannot be stitched clearly, discuss enlargement, simplification or a different construction rather than approving an unreadable sample.
| Buying decision |
Embroidered patches |
Direct embroidery |
| Visual effect |
Separate emblem with a defined base and edge |
Design stitched into the garment |
| Production sequence |
Make patches first, then arrange attachment |
Garments must be available for embroidery |
| Mixed garment styles |
One patch design can be evaluated across several styles |
Settings and support may need adjustment for each fabric |
| Extra work to budget |
Patch application and handling |
Garment handling, hooping and embroidery |
| Later replacement |
Depends on backing and attachment; removal may leave marks |
Removing stitches may damage or mark the garment |
| Approval sample |
Patch attached to the intended garment |
Design embroidered on the intended garment |
2. Check Fabric, Placement and Access
A loose patch does not prove that a lightweight shirt will carry it comfortably. The patch, border and attachment add weight and stiffness. Direct embroidery also introduces stitches and support that can affect how the fabric hangs.
Send the garment composition, stretch characteristics and intended position with your enquiry. Include photographs of seams, linings, pockets or other areas that could restrict access. A chest decoration must not accidentally close a working pocket, and a lined jacket may need a different installation plan from an unlined overshirt.
For patch backing options, use the separate iron-on versus sew-on guide. Decide the decoration method first, then confirm how the chosen patch will be attached. Heat application requires compatibility with the garment and adhesive; sewing also needs an appropriate placement and construction.
3. Compare Total Decoration Cost
The patch unit price is only one part of the comparison. Include artwork preparation, samples, application, transport between suppliers, packing and any agreed allowance for production losses. Ask which costs are included rather than assuming two quotations cover the same work.
For example, a hypothetical order contains 200 jackets and 100 bags using one emblem. Request a patch quotation for 300 pieces, with application quoted separately for the two item types. Compare that with direct embroidery quotations for 200 jackets and 100 bags. This is an ordering example, not a price estimate or evidence that one method is cheaper.
If only part of the stock will be decorated immediately, compare the cash committed to unused patches with the cost of later production runs. A lower unit price can still create unnecessary inventory when the logo or collection is likely to change.
4. Plan Stock and Future Additions
Producing patches separately can help when garments arrive in stages or when final size allocations are not settled. However, the same patch is not automatically suitable for every garment. Confirm the installation requirements for each style before treating the batch as shared stock.
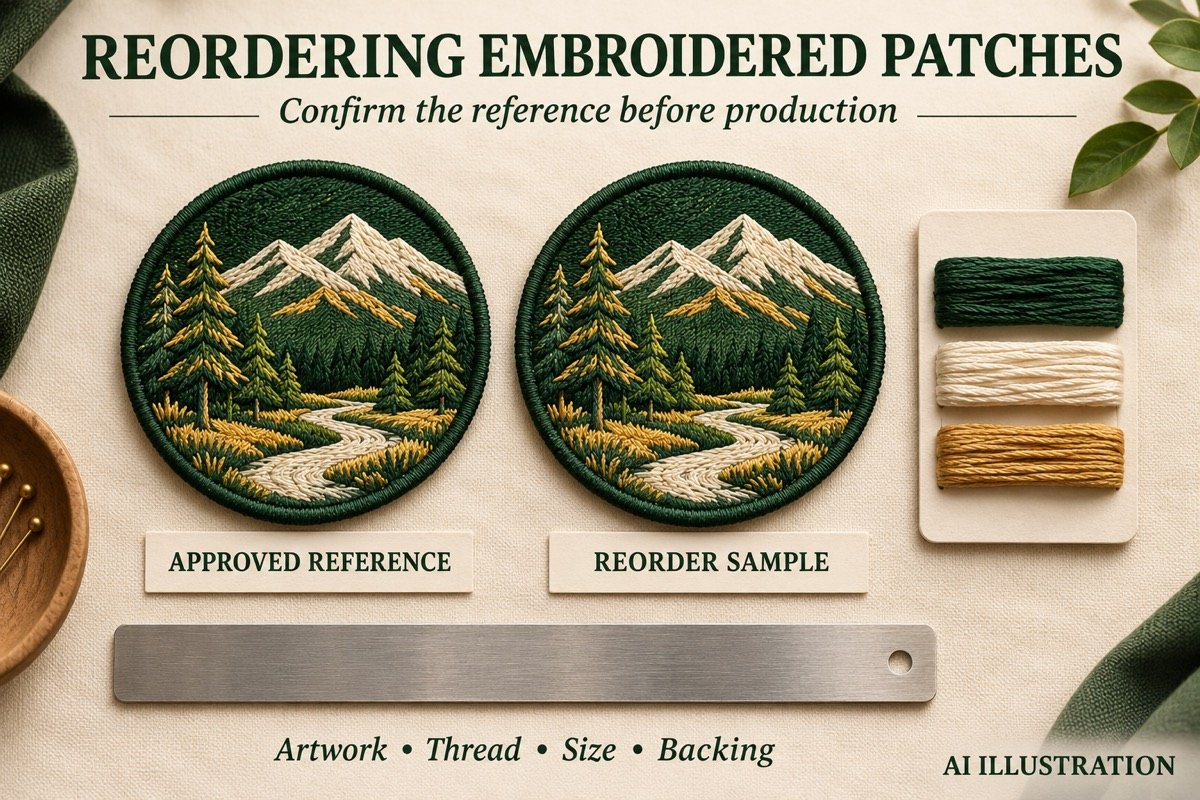
Direct embroidery may suit a settled garment programme with a repeatable logo and position. Reorders still need the approved artwork version, thread references and garment specification. Changes to fabric, logo size or placement can require another sample.
Do not describe every patch as removable. Hook-and-loop construction supports detachment, while sewn and heat-applied patches have different removal risks. Removing any decoration may leave holes, residue, colour differences or other visible evidence.
5. Approve a Representative Sample
Review the complete decorated garment, not only a digital mockup. Use the following checklist alongside the patch sample approval guide:
- Confirm finished dimensions and placement from a fixed seam or other reference point.
- Check the smallest lettering, line spacing and logo proportions.
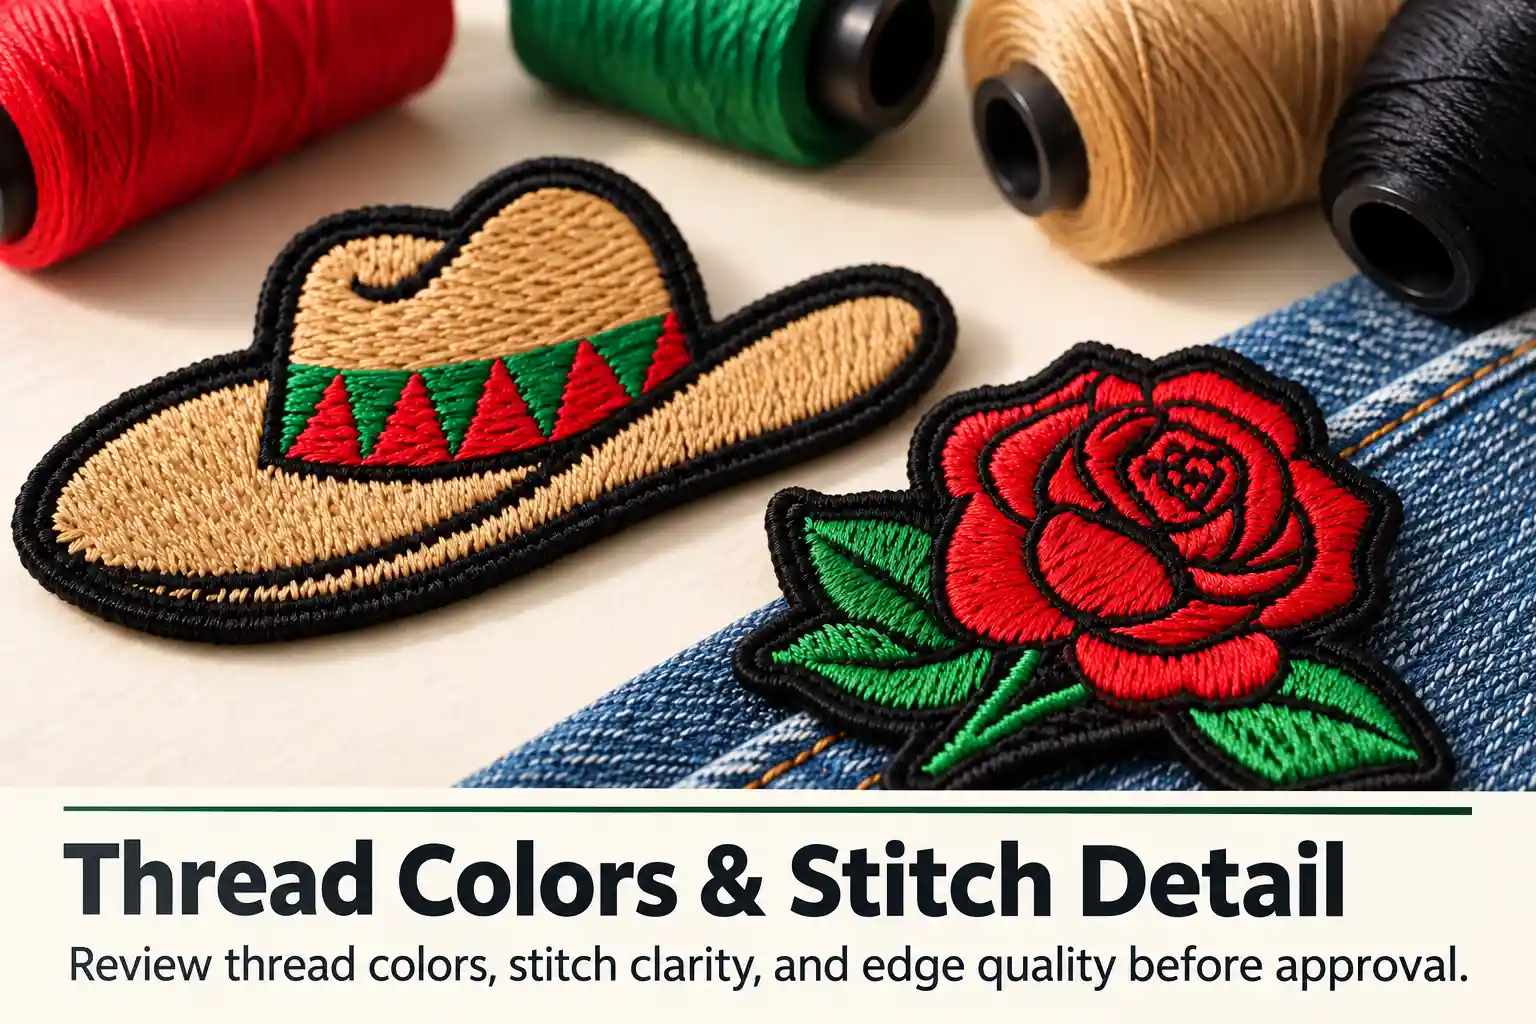
- Record thread references and review colours under agreed lighting.
- Inspect the front and reverse for puckering, exposed support or uncomfortable edges.
- Check pocket access, stretch and movement around the decorated area.
- Evaluate washing and drying using conditions agreed for the complete garment and decoration.
Agree any required tests and acceptance limits before production. A thread specification alone does not establish the wash performance of the complete garment, patch and attachment. Keep the approved sample and written comments for the bulk inspection.
6. Prepare a Useful Quote Request
Send your artwork, finished dimensions, quantity, garment photographs, fabric composition, stretch, placement and laundry requirements. State whether decoration will happen before garment assembly or after the clothing is finished, and identify who will perform patch application.
For a patch project, request a quotation from Heyang Gift with these details. Ask for patch supply, sampling, backing, packing and any application work to be identified separately. Confirm availability and scope rather than assuming a quotation includes garment supply or direct embroidery services.
Frequently Asked Questions
Are embroidered patches always cheaper than direct embroidery?
No. Compare the finished decoration cost for your artwork, quantities and garments. Patch application and handling can change the result.
Can one patch batch be used on shirts, hats and bags?
Potentially, but each item needs a suitable size, position and attachment method. Approve representative applications instead of relying on the loose patch alone.
Which option is better for small lettering?
Neither is automatically better. Stitch size, font, spacing, fabric and final dimensions all matter. Compare actual stitched samples and consider another construction if the text remains unclear.
Can patches be replaced after a logo change?
That depends on attachment and garment condition. Detachable construction makes replacement more practical, while removing sewn or bonded patches can leave marks. Check a representative garment before planning a replacement programme.