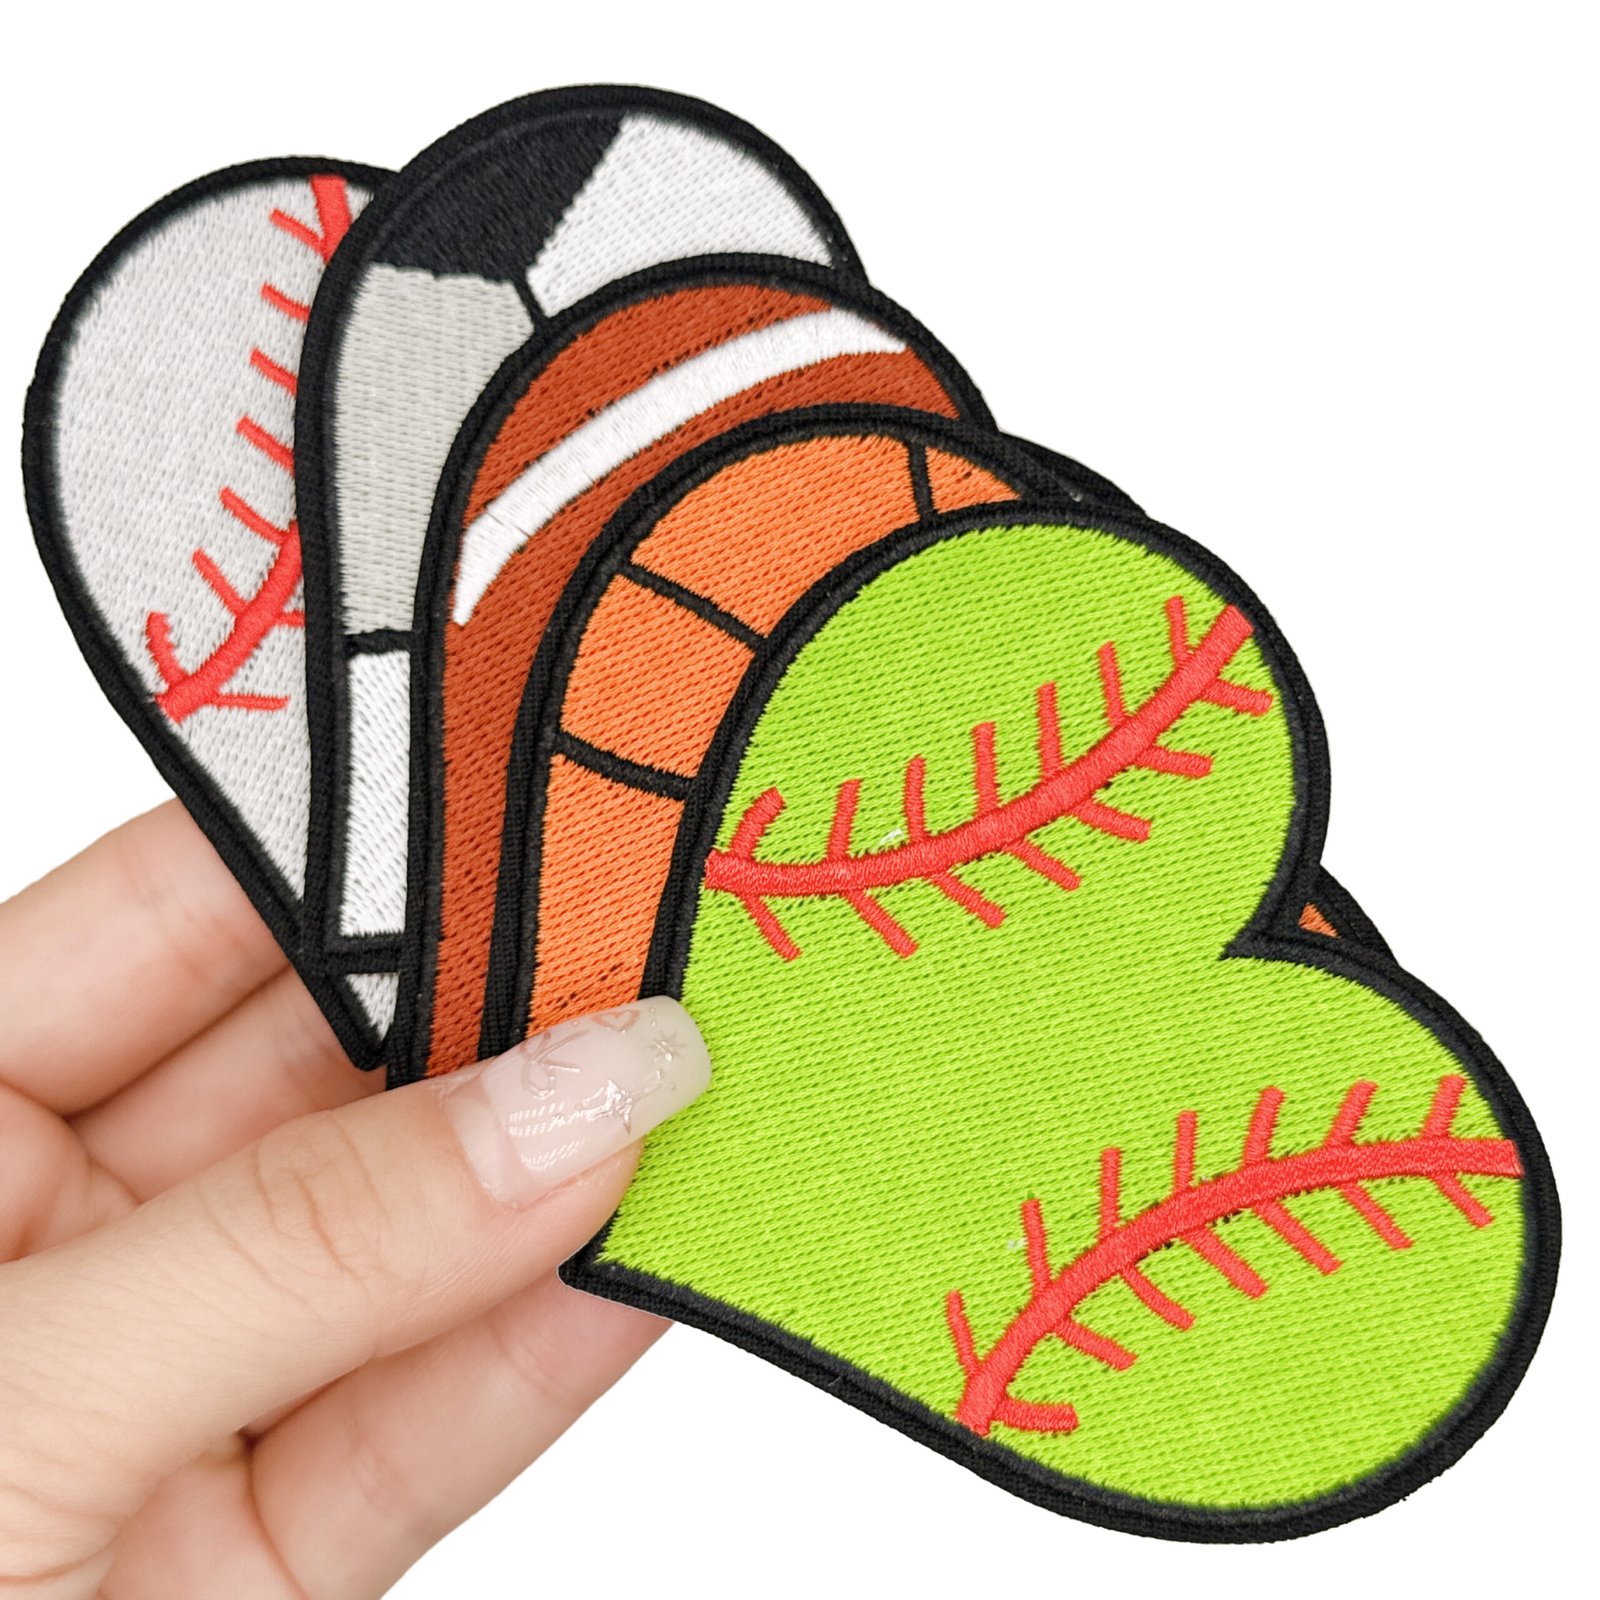
A patch approved flat on a desk can look different on a cap. The front curves away from the viewer, a centre seam runs behind the design and the brim limits how low the patch can sit. A sample that looked balanced in the artwork may feel too tall when someone wears the cap.
Choose embroidered patches for hats around the cap you intend to order. Send the supplier a front photo, the blank cap model and the planned position before fixing the patch dimensions. Then approve one assembled sample so you can judge the design, fit and attachment together.
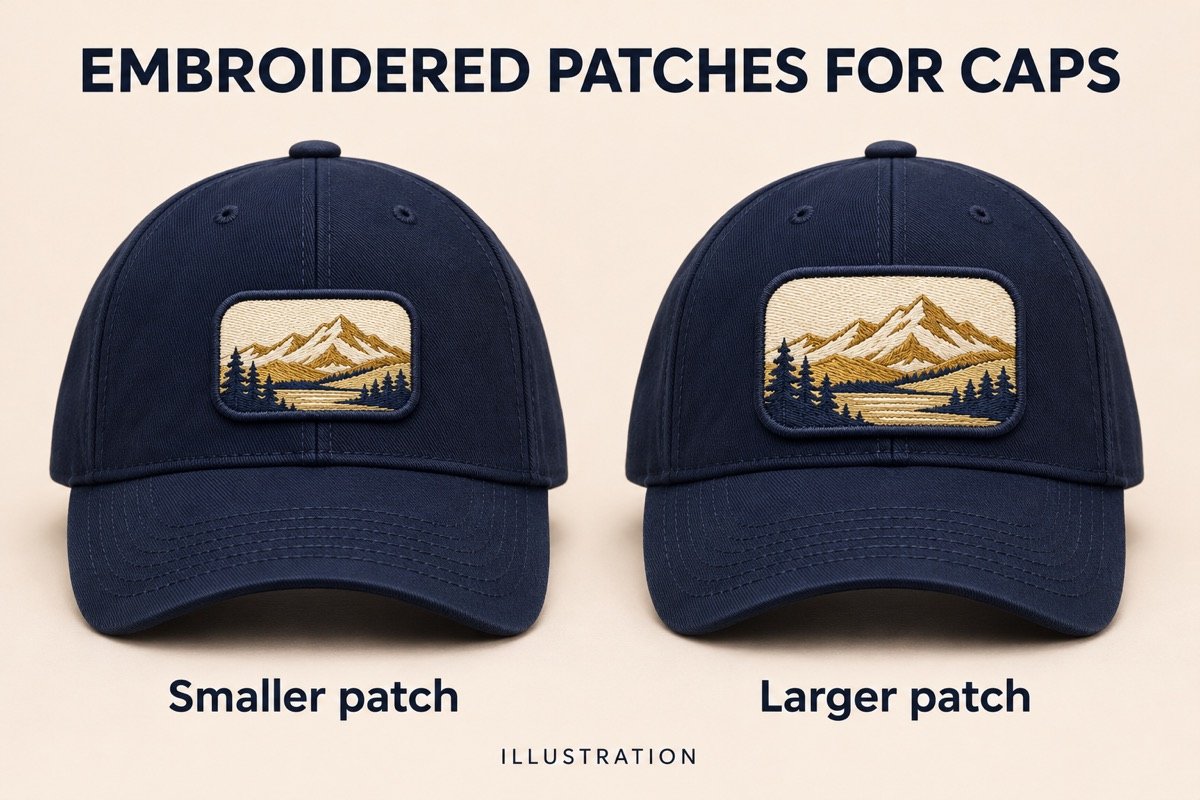
AI-generated illustration comparing patch proportions on matching caps. Confirm fit and placement on your actual cap sample.
Measure the usable front area
Support the cap in its normal shape and measure the area available for the patch. Check the space above the brim, below any eyelets and between panel seams or other decorations. Give both the usable width and height, and say whether either measurement is a strict maximum.
For example, you could compare a 60 × 35 mm patch with a 70 × 40 mm version on the same cap. These are sample sizes for comparison. Both measurements should include the finished border. Cut paper outlines at those sizes and hold them in position to compare proportions, then check the preferred size as a physical patch on the cap.
Take a straight-on photo of the mock-up, followed by a side view. The front photo shows visual balance, while the side view helps you see how the outline follows the crown. Keep the cap model the same throughout approval.
Mark the centre seam and the placement
Show the proposed patch position on a photo of the cap. Mark its centre line and the distance from the lower patch edge to a repeatable reference, such as the crown-to-brim seam. Agree on how that distance is measured so the factory can reproduce it on the next sample.
A patch can span a centre seam, but the assembled sample needs to show how it sits over that seam. Look at the middle and both side edges. Check for gaps, puckering or uneven contact after attachment. Cap construction and the equipment used for application affect what placements can be achieved. STAHLS’ cap decoration reference
If the same logo goes on a structured cap and a soft unstructured cap, review each blank. Record the cap model with the patch specification so a later blank substitution gets checked before production.
Keep the logo readable at the chosen size
Read the smallest required line on the assembled sample at normal viewing distance. Text that curves around the edge may be harder to judge when the sides of the cap turn away. Ask whether moving the slogan, opening the spacing or increasing the patch size would improve the required wording.
Check the border and background at the same time. A prominent rim uses part of the available face, while a stitched background changes the texture behind the lettering. For those design choices, compare the patch edge guide and embroidery coverage guide.
Confirm how and when the patch will be attached
Tell the patch supplier and cap manufacturer who will install the patches. Also confirm whether installation happens on a flat panel before the cap is assembled or on a finished blank. That decision affects access to the intended position and the sample you need to approve.
| Attachment plan |
Details to send |
What to check |
| Sew-on |
Cap fabric, front construction, placement and installation stage |
Even stitch line, clear artwork, a flat seat and an acceptable inside finish |
| Heat-applied |
Cap model, fabric composition, patch backing and available equipment |
Agreed application instructions, edge contact and the cap surface after cooling |
| Hook-and-loop |
Patch shape, matching panel size and which parts are included |
Alignment, flatness and how the patch handles when removed and reattached |
Ask for application instructions suited to the proposed patch, cap and equipment. Embroidered patch suppliers publish instructions for particular products and presses, so confirm the settings for your own combination before installing the order. Transfer Express application reference
Approve an assembled cap before the bulk order
Ask to see the patch attached to the actual cap model. Inspect it from the front, both sides and inside. Check the position, outside dimensions, smallest lettering, edge contact and whether the cap has changed shape around the patch. If washing is part of the intended use, agree on the care check for the finished cap and record the result.
Keep the approved cap model and colour, patch artwork revision, thread references, placement measurements, attachment method and sample ID together. The sample approval checklist gives you a place to record revisions before releasing production.
Frequently asked questions
What is the best size for a cap patch?
Start with the usable area on the chosen blank, then compare paper outlines and an assembled sample. Record finished dimensions including the border.
Can the patch sit over the front seam?
It may be possible. Send a photo of the seam and approve the installed sample on that cap model, checking how the centre and side edges sit.
What should I send for a quote?
Send artwork, quantity per design, proposed patch size, cap photos and model, fabric composition, placement and who will attach the patch. Include whether installation happens before or after cap assembly. Use Request a Quote on the custom embroidered patches product page.