A logo can look sharp on a screen and lose its smallest details when stitched. Before ordering custom embroidered patches, send the supplier a design that can be assessed at the finished size. Include the words that must remain readable, the colours that need approval and where the patch will be attached.
A useful artwork package answers those questions before sampling starts. It also gives your designer, purchasing team and factory one agreed reference when revisions arrive.
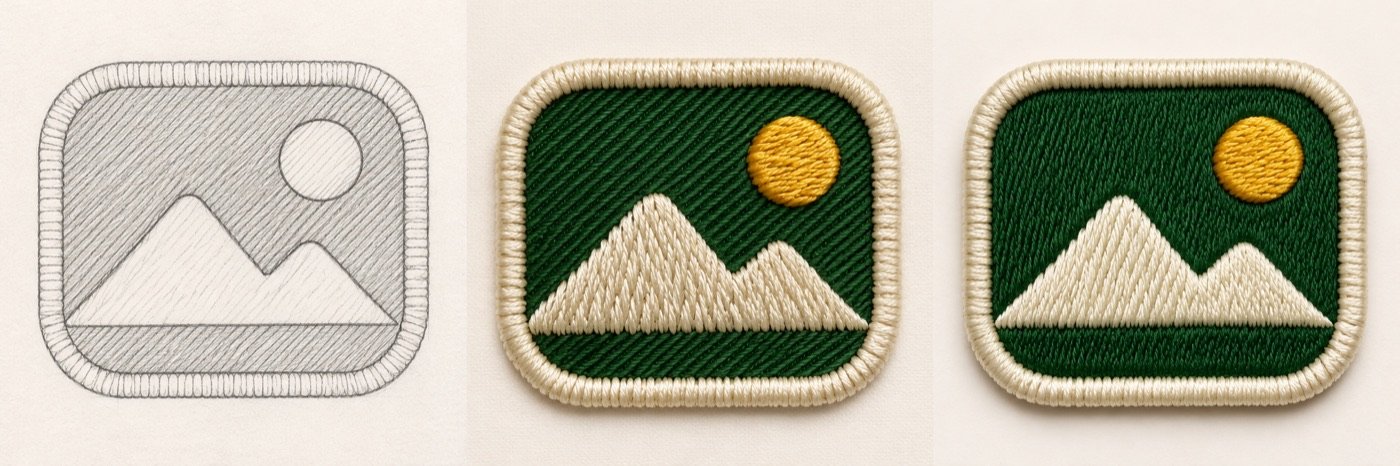
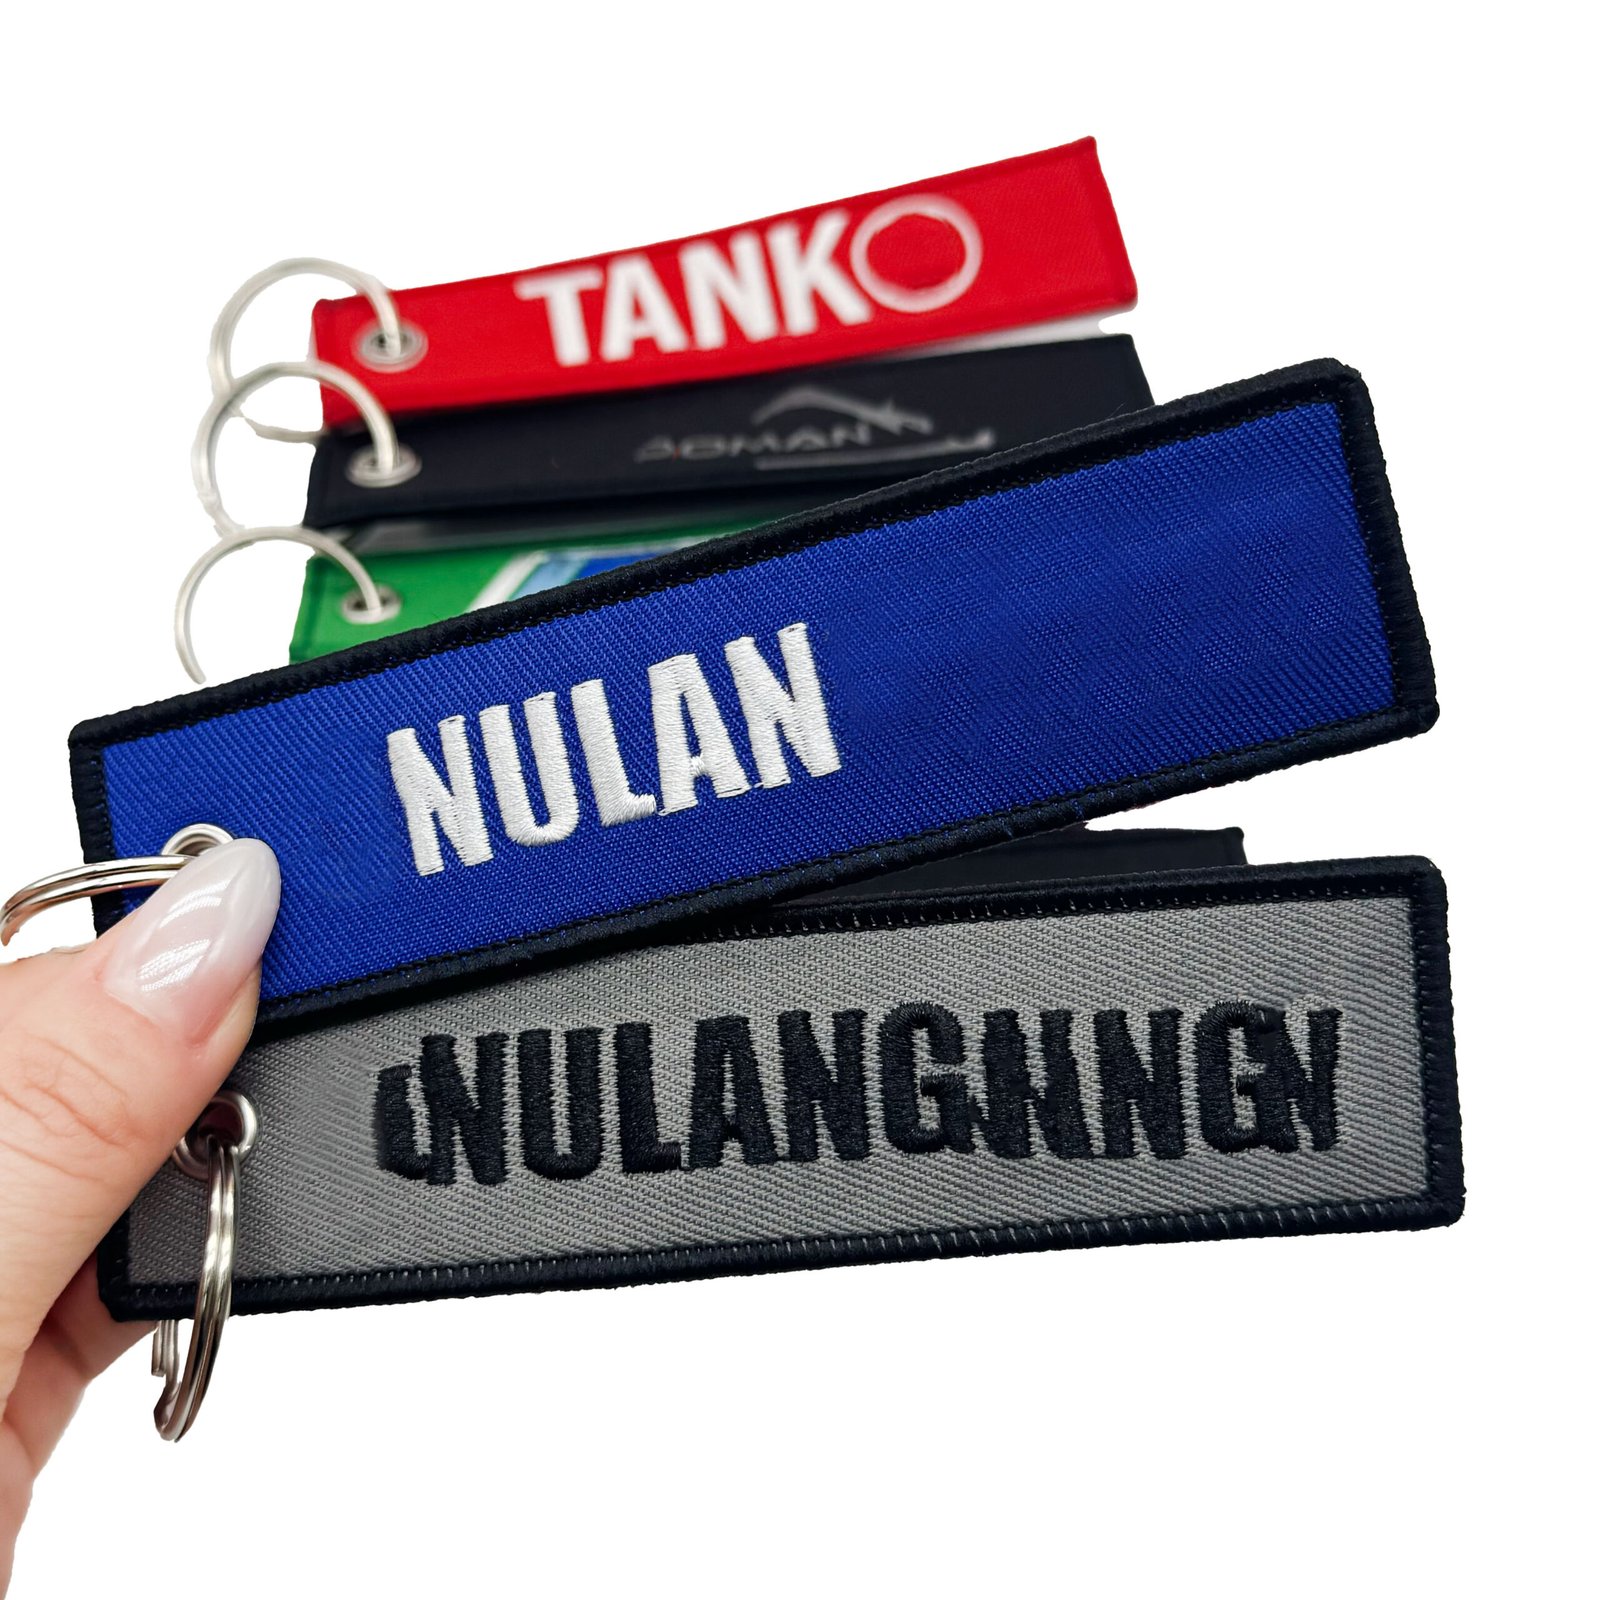
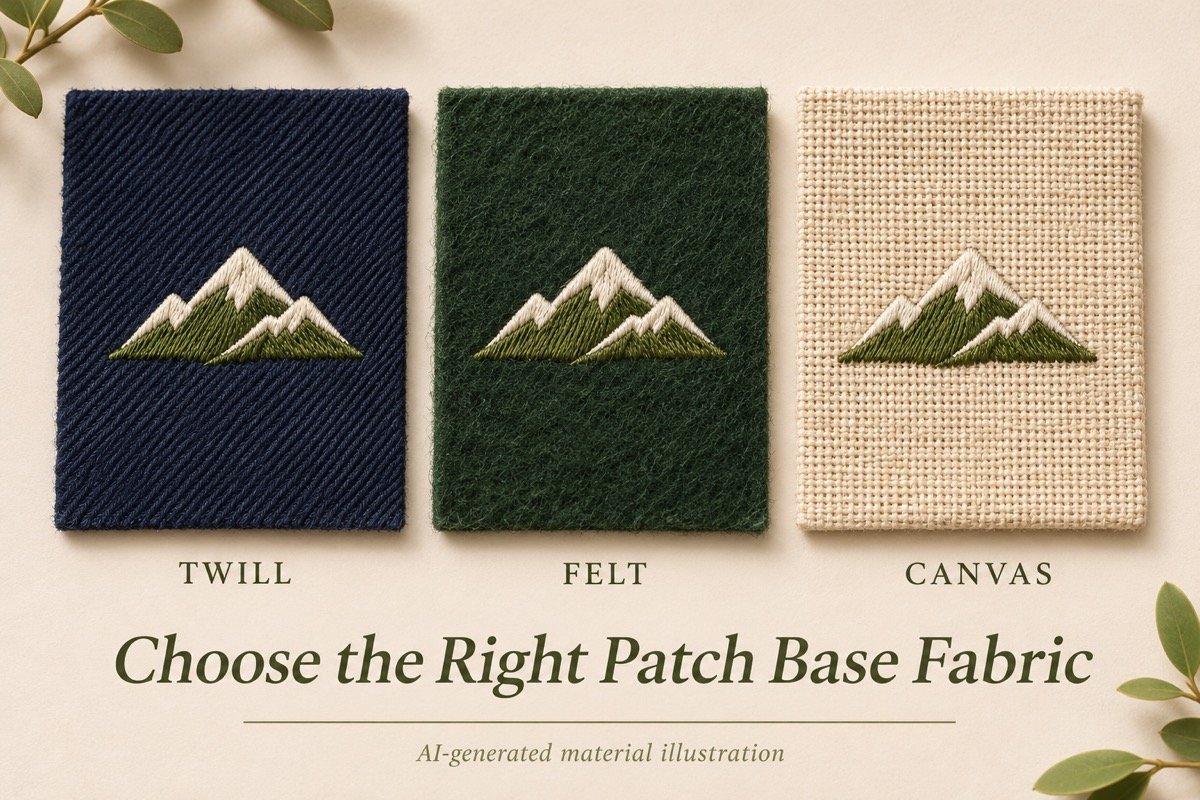
AI-generated illustration of artwork and embroidered patch variations. Approve the actual design and physical sample before production.
Send the clearest original file you have
Send an editable vector file if available, together with a PDF preview showing the intended appearance. If you only have a PNG or JPG, send the largest original rather than a screenshot copied from a message. Ask the supplier to assess it before paying for a redraw.
File extensions alone do not establish quality. A PDF may contain a small photograph instead of editable shapes. Open the file and check whether the logo edges and lettering remain clear when enlarged. Wilcom explains that vector artwork retains quality when resized, while bitmap images can become pixelated. Wilcom artwork reference
Keep the original editable text in your working file. In the copy sent for production, convert lettering to outlines where possible and include the exact wording in your order notes. This gives the supplier both a visual reference and a spelling check.
Set the finished dimensions before reviewing detail
Specify width and height in millimetres, including the border. Show which line marks the finished outside edge. If a garment position limits the size, identify that limit before the supplier adjusts the artwork.
Consider a simple sizing example: a logo with lettering 5 mm tall at a patch width of 100 mm will have lettering approximately 3 mm tall if scaled proportionally to 60 mm wide. That is a geometry example, not a promised embroidery limit. A smaller version needs its own review.
Print the proposed outline at actual size and hold it against the garment. Check the proportions, then ask the supplier to identify details that may need changing. For cap projects, use the hat patch size and placement guide.
Separate essential details from optional decoration
Mark the brand name, required wording and recognisable symbol as essential. Then identify decorative lines, tiny dates or background textures that can be simplified if they do not stitch clearly.
Ask for a marked-up revision showing each proposed change. For example, the supplier might open the space inside a letter, remove a fine outline or replace a gradient with separate colour areas. Your brand team should approve those changes before sampling.
Avoid agreeing to a universal minimum letter height without seeing the design. Letter shape, spacing, thread and stitching decisions all matter. Madeira discusses finer 60- and 75-weight threads for small lettering and delicate details; that does not establish a guaranteed result for every logo. Madeira thread reference
Identify thread colours, background and border
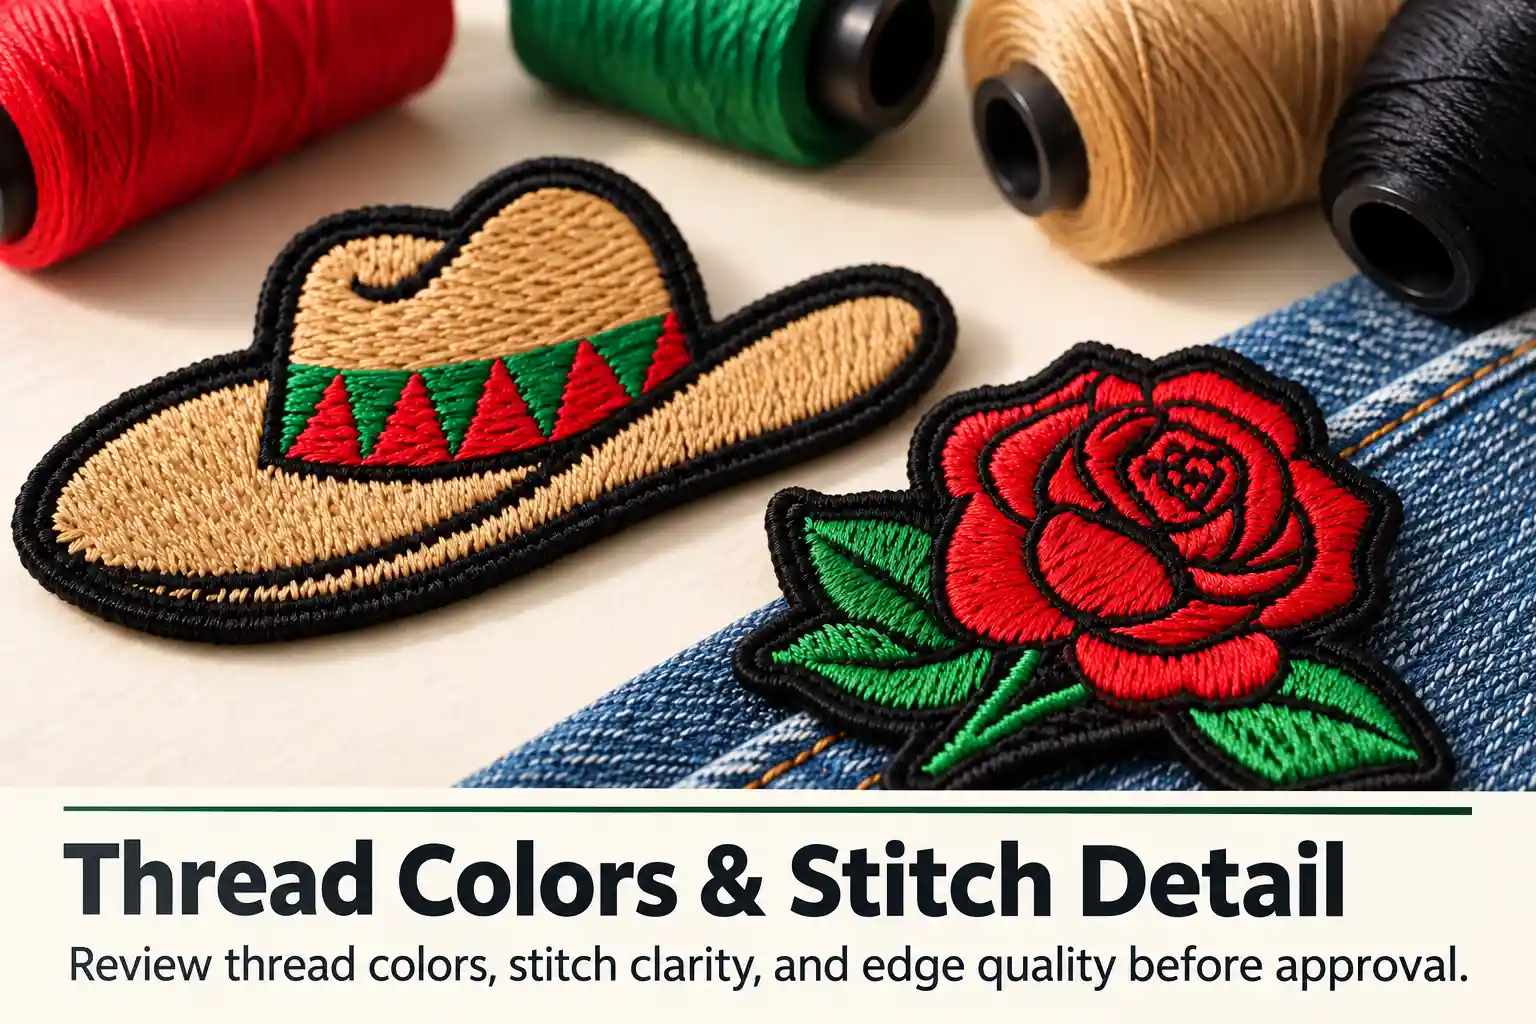
Number the colour areas on the proof and distinguish exposed base fabric from stitched fill. Specify whether the border matches another area or uses a separate thread. These details help the supplier understand the appearance you want and what needs approval.
Send any brand colour references, then ask for proposed thread references and a physical sample when colour accuracy matters. Keep the approved thread manufacturer and shade code with the order. A screen preview helps you discuss colour placement, but the stitched sample is the reference for the selected combination.
If you are deciding how much fabric should remain visible, compare the embroidery coverage options. Confirm the intended background before the digitizer prepares the design.
Keep artwork approval and sample approval separate
An artwork proof shows layout, wording, dimensions and proposed colours. A stitched sample lets you inspect what the factory actually produces. Approve both against the same revision number.
| Approval item |
What to record |
| Artwork |
File name, revision, finished dimensions and exact wording |
| Materials |
Base fabric, thread references, border and backing |
| Installed sample |
Smallest text, placement, attachment and agreed care-check result |
Use a file name such as Brand-Patch-70x40mm-R03.pdf and state that it replaces R02. If you change the size, wording or attachment after sampling, ask which checks need repeating. Keep the approved proof and sample ID together. The patch sample approval checklist covers the physical checks in more detail.
Frequently asked questions
Can I order patches with only a JPG logo?
Send the clearest original and the intended patch dimensions. The supplier can assess whether clarification or redrawing is needed. Include exact wording separately if the image is difficult to read.
Is a vector logo already an embroidery file?
A vector logo provides shapes for artwork review. Embroidery digitizing adds the stitching instructions for production. Ask whether digitizing, sampling and revisions are included in the quotation.
What else should I send for a quotation?
Provide quantity per design, finished size, artwork revision, border and backing preferences. For clothing, add fabric composition, stretch, installation position and whether attachment happens before or after garment assembly. Include care requirements and your delivery destination. If a detail is undecided, identify it as a question. Send your package through Request a Quote on the custom embroidered patches page.